
Earth Day Upcycled Tin Can Crafts give ordinary metal cans a cheerful second life, turning household waste into useful, colorful objects that brighten a windowsill or porch while inviting bees and birds with fresh herbs and blooms.
I once lined a dozen cans with bright paints and tiny seedlings for a classroom table, and the hum of leaves and laughter made Earth Day Upcycled Tin Can Crafts feel like a small neighborhood celebration.
Sunlit herb windowsill tin can planters
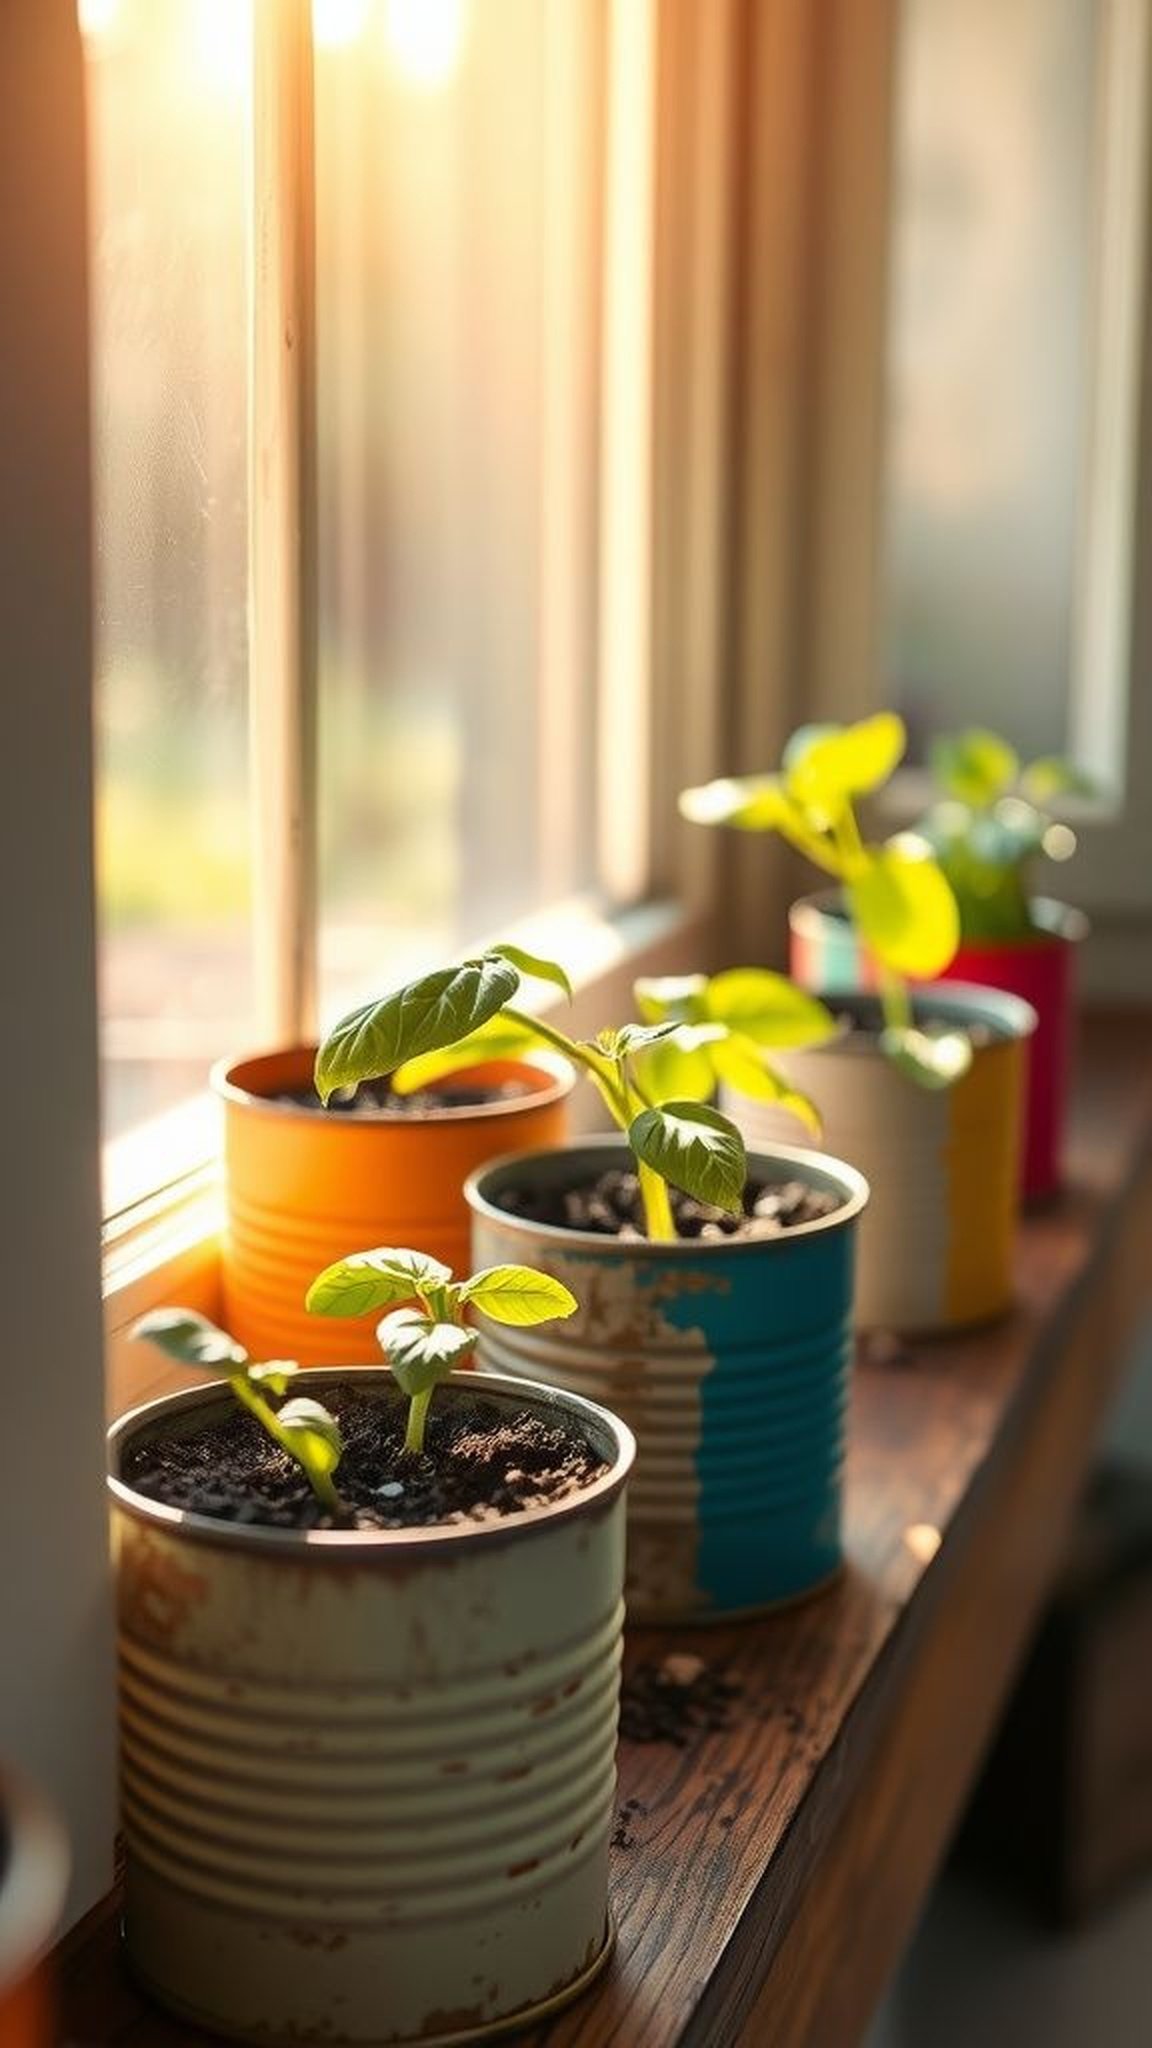
A dozen tin cans lined the sash like a miniature garden, each surface a little story of color and wear. Soil smelled warm and earthy after rain, and the basil leaves shimmered with tiny dew drops in morning light.
The metal had a comforting clink when nudged and the painted stripes had softened edges from seasons of sun. Pulling the chair close to check new shoots became a quiet ritual, the cans bringing a humble, tactile reminder that small acts can brighten a kitchen corner and lure tiny pollinators.
Steps
- Clean the tin can interior and smooth any sharp rim edges with a file or metal snip protector.
- Paint the outside with outdoor acrylic paint or spray, allowing each coat to dry fully between layers.
- Place a layer of small pebbles in the bottom, fill with potting mix, and nestle an herb seedling in each can.
- Position the cans on a bright windowsill and water lightly until soil feels evenly moist.
- Rotate cans occasionally so light reaches all seedlings and trim herbs as leaves mature.
Perforated tealight lanterns with soft glow
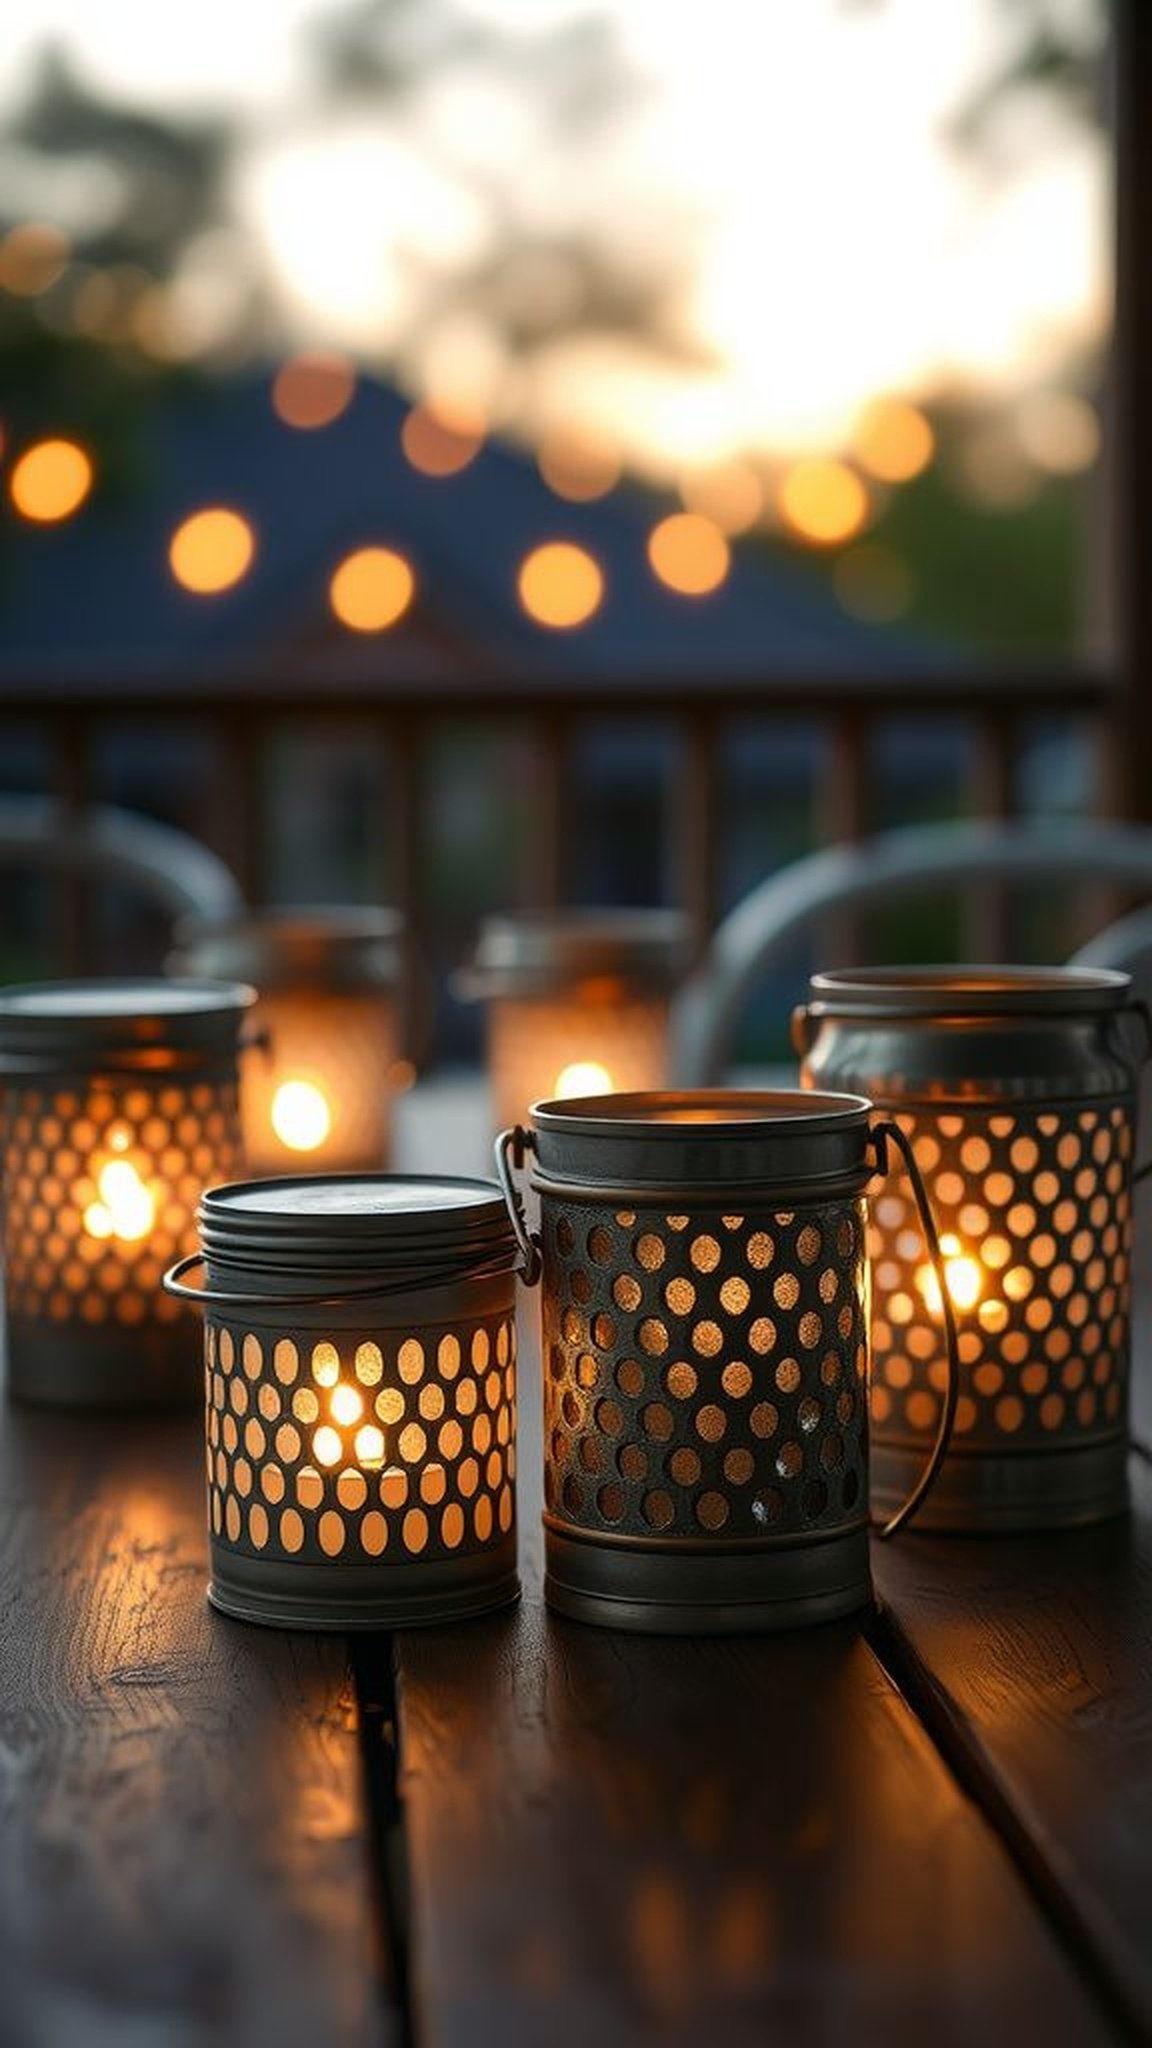
One evening a cluster of perforated cans turned a back porch into a cozy nook, each pinprick pattern throwing little stars across the tabletop. The metal edge felt cool to the touch while the inner warmth of a tealight created flickering, honey-colored light.
Patterns ranged from tiny hearts to loose spirals, and when a breeze moved the flames the dancing reflections felt like an old film moment. Those quiet hours with gentle light made the simplest cans feel thoughtful and alive, lending a gentle atmosphere that invited lingering and quiet talk.
Steps
- Empty and clean a tin can, then mark a pattern on its surface with a pencil or marker.
- Use a metal punch or hammer and nail to create holes along the drawn pattern, spacing holes evenly.
- Place a small tea light or LED candle inside on a non-flammable base to steady the flame.
- Arrange several lanterns at varying heights on a table or path to create layered pools of light.
A tiny bird feeder made from a recycled can

A dented can became a magnet for sparrows and finches, hung low from a branch where leaves whispered. Seed spilled in a soft arc onto weathered wood, the rhythm of birds landing and taking off offering a friendly soundtrack.
The can’s paint had faded to a sun-bleached patina that suited the garden, and the scent of seeds and nearby wet earth felt oddly comforting. Watching a mottled wing pause on that rim turned a simple metal object into a small, shared corner of neighborhood life where moments of quiet joy arrived without fuss.
Steps
- Clean the tin can and create a shallow lip by bending the top edge slightly outward for bird perch comfort.
- Attach a sturdy cord through two opposite holes near the rim to form a hanger, securing knots tightly.
- Fill the can with mixed birdseed and hang from a low, sheltered branch where birds can land safely.
- Refill the feeder regularly and place a small driftwood or stick perch if birds need extra balance.
Succulent trio planted in a row of cans
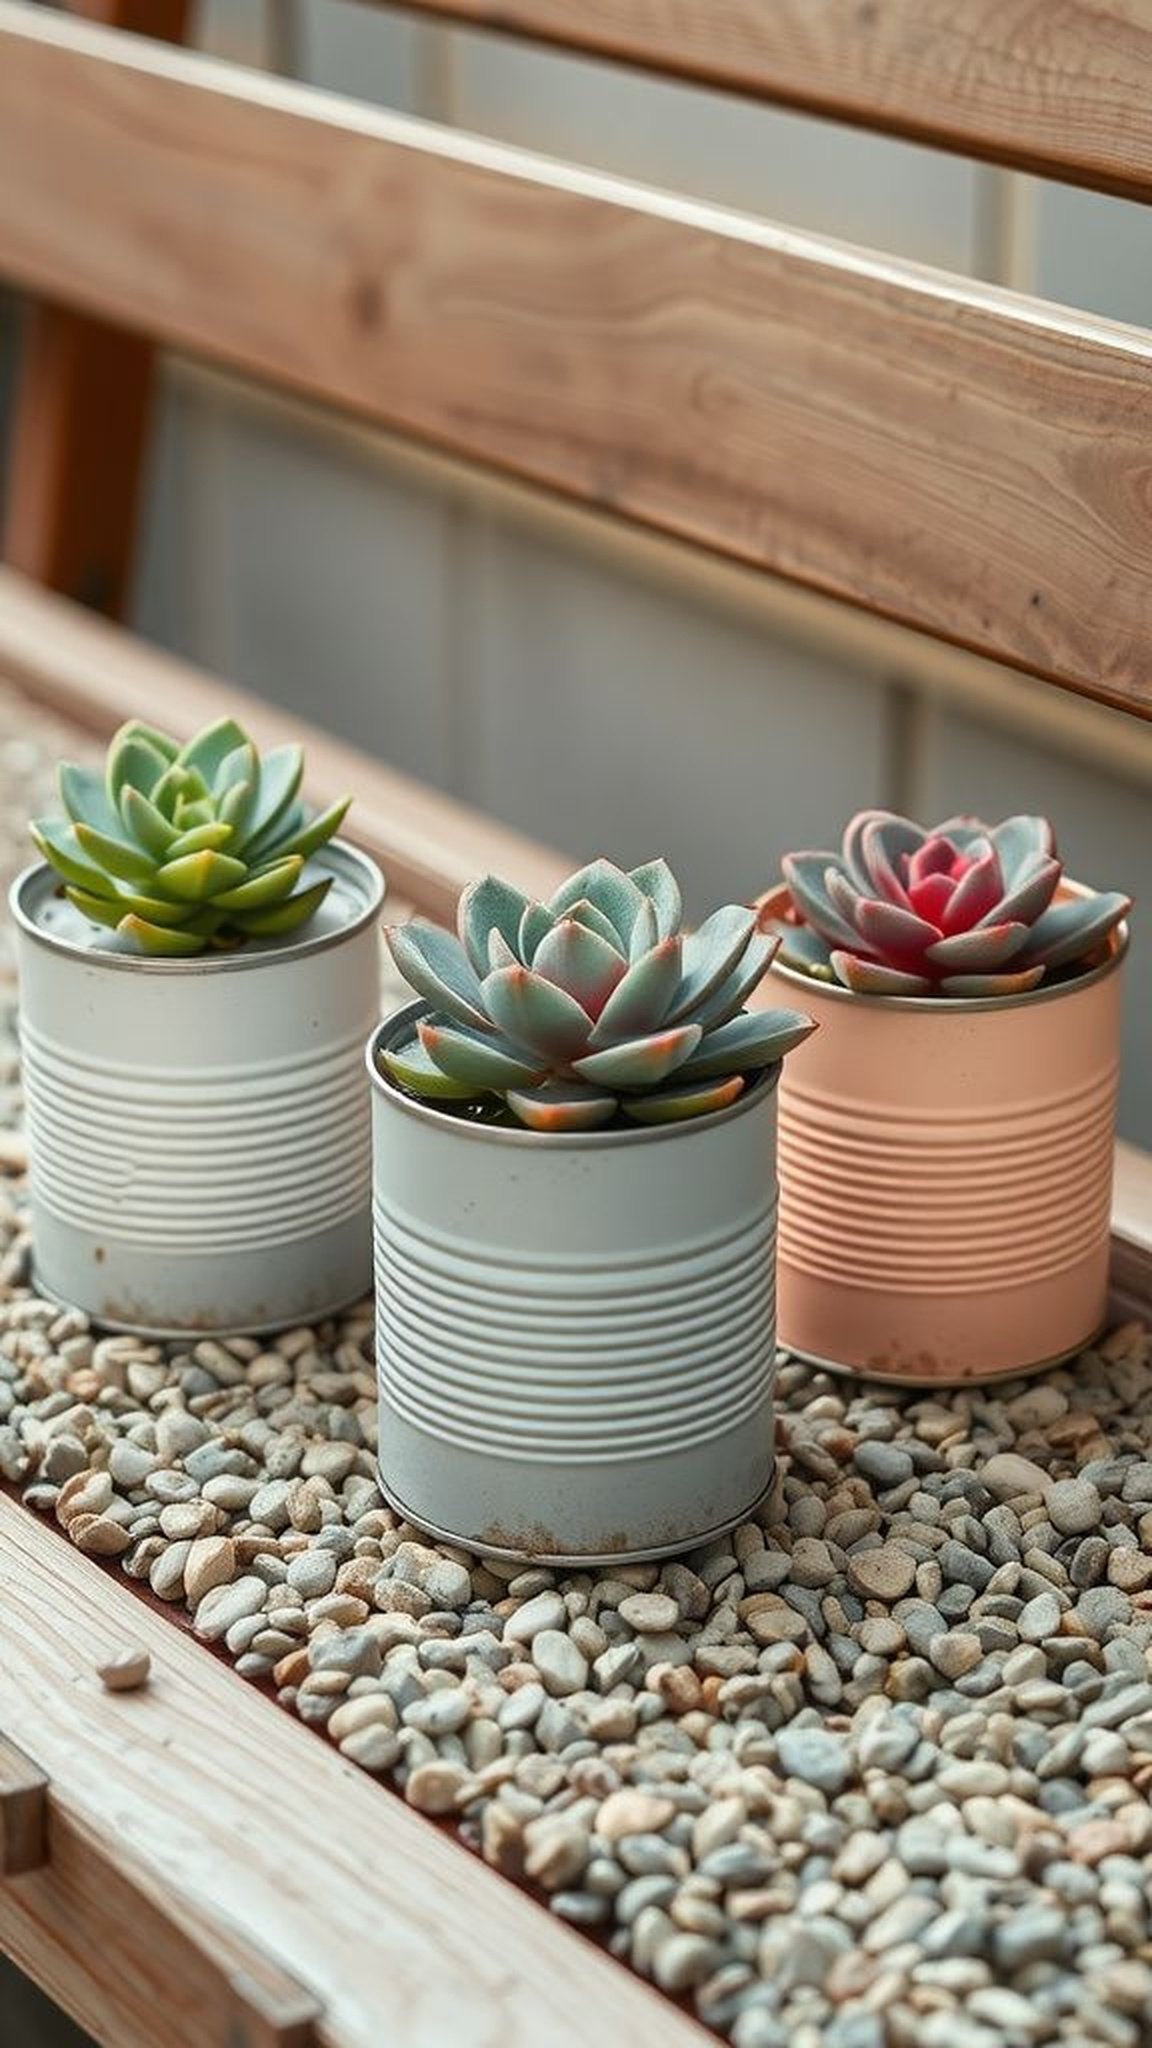
Three small succulents in mismatched cans made a tidy line on the patio bench, each rosette showing subtle differences in leaf texture and color. The metal containers sent a faint metallic coolness through fingertips when picked up, and dry gravel around the plants clicked softly as pots shifted.
The palette of sage greens and pale blues against rusty orange or sky-blue paint felt quietly elegant. Watching slow growth across months was oddly pacifying, a reminder that small containers can hold pockets of calm and low-maintenance life for a busy countertop.
Steps
- Choose three similar-sized tin cans, clean them, and ensure drainage by making a few holes in the bottom.
- Add coarse gravel for drainage, then fill with a porous succulent potting mix to near the rim.
- Gently place each succulent in its can and press soil lightly around the roots to secure them.
- Position the trio where bright indirect light reaches them and water sparingly when soil is dry.
A self-watering planter made from two cans

A can-within-a-can setup kept herbs plump during a warm spell, the inner pot perched over a reservoir that hummed with the faint scent of soaked twine. The inner lip had a gentle gleam where water condensed and tiny droplets traced slow paths down the metal.
Soil felt evenly moist without becoming heavy and the plant leaves sat unexpectedly perky on mornings after long afternoons in sun. That quiet efficiency felt like a small victory for weekend gardening and for making something useful out of an object once headed for recycling.
Steps
- Prepare one can as a reservoir by cleaning it and adding a layer of water-holding material or pebbles.
- Fit a second, slightly smaller can above it and thread a wick or strip of cotton from the soil into the reservoir.
- Fill the upper can with potting soil and plant the chosen herb or flower, ensuring the wick reaches the water.
- Keep the reservoir topped and monitor soil moisture, refilling when the topsoil begins to feel dry.
Chalk-finished desk organizer with vintage feel

A chalk-painted can became a quiet companion on a cluttered desk, its matte finish soft under fingertips and the faint chalk dust leaving a smudge on a thumb. Pencils jostled against the metal with a little metallic chime and labels written in fading ink lent a worn-in look.
The muted hue made pens and brushes appear almost framed, while the can’s weight kept things steady during hurried note-taking. That familiar tactile presence turned a discarded can into a small, practical object that seemed to understand the slow rhythm of work and small pleasures.
Steps
- Sand and clean the can exterior, then apply a base coat of chalk paint for a matte, vintage look.
- Allow the paint to cure, then rub a bit of fine sandpaper over raised edges to reveal subtle distressing.
- Add felt to the base to protect surfaces and place pens, brushes, and scissors inside for neat storage.
Hanging herb tower made of stacked cans
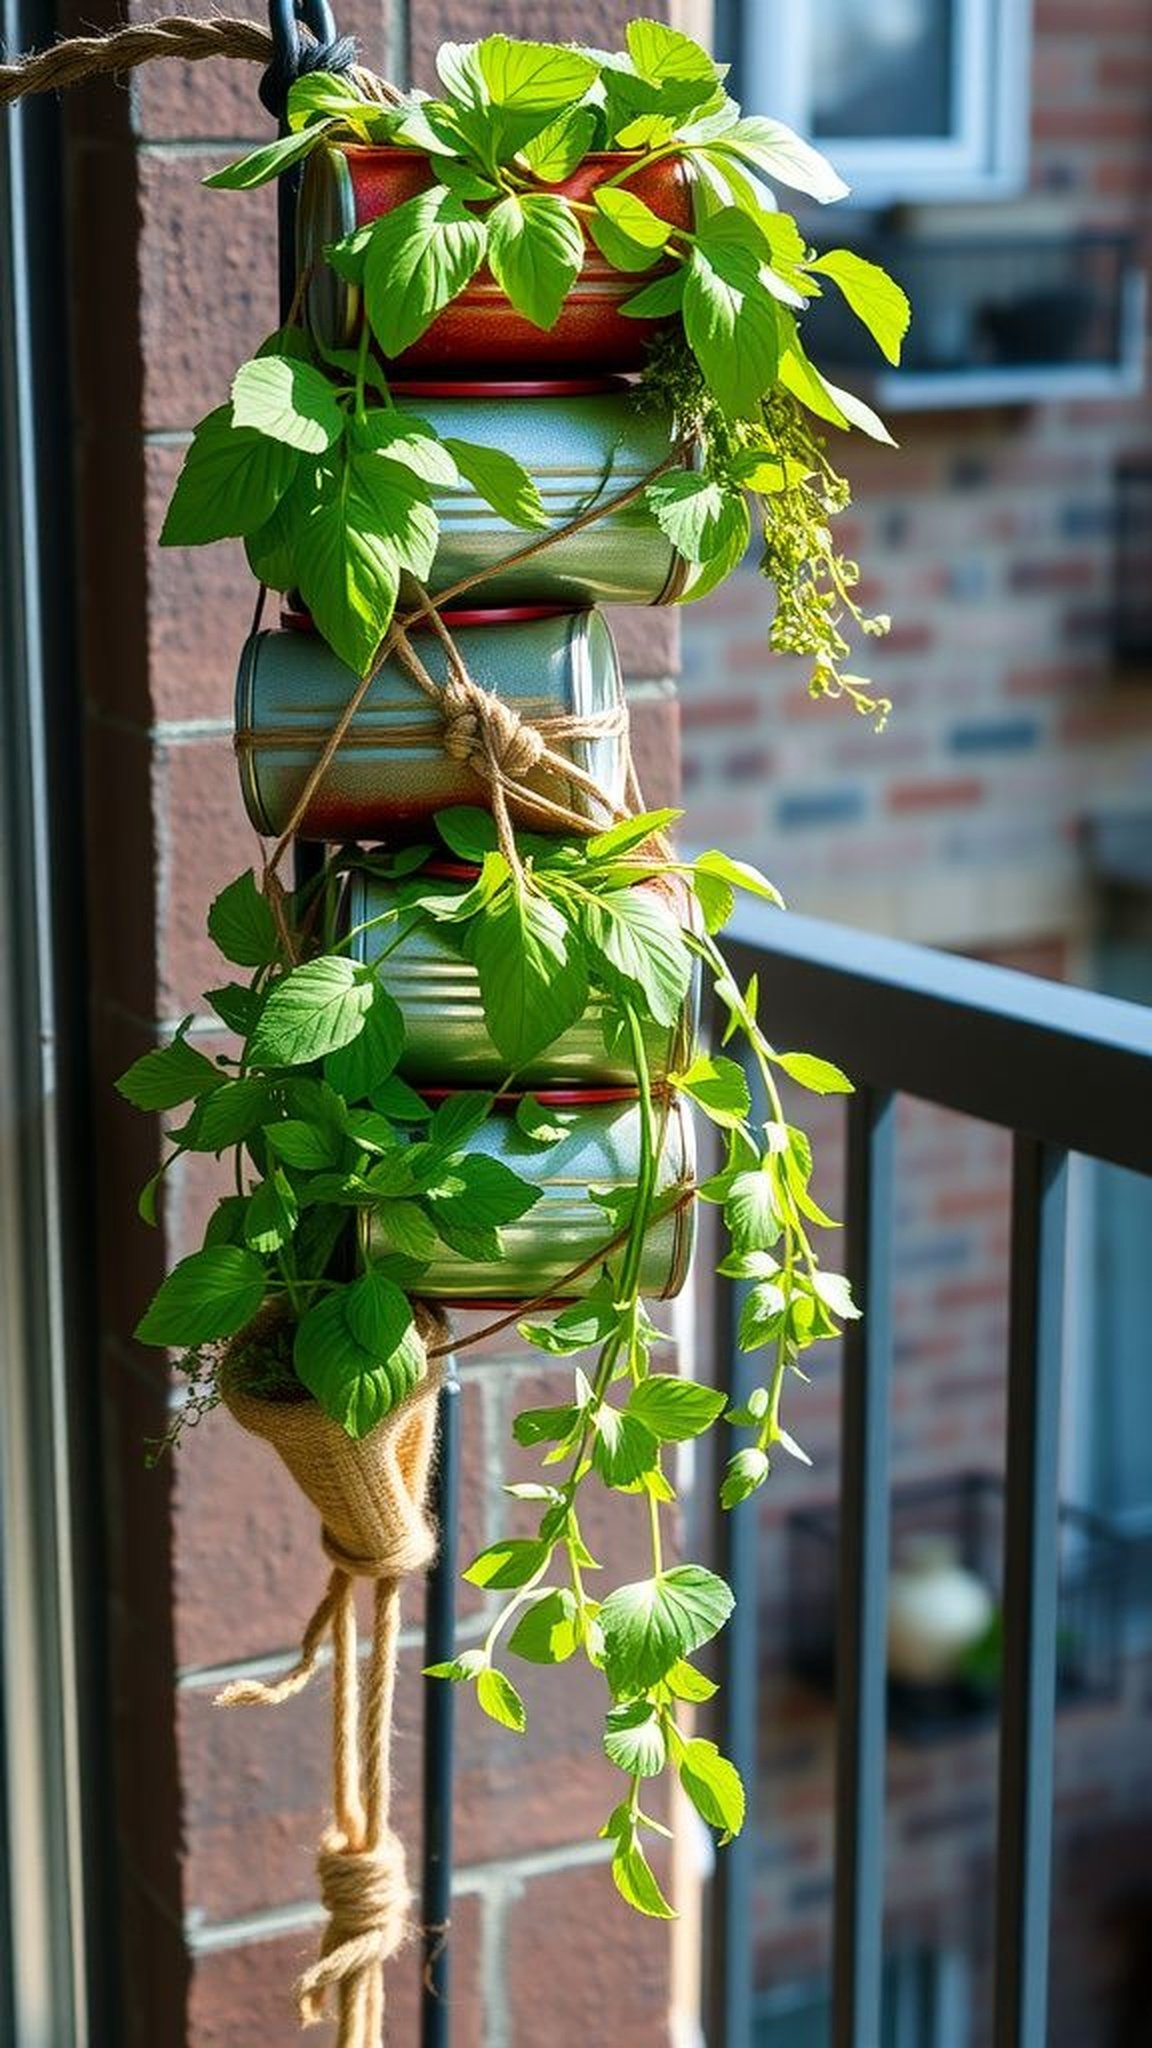
A vertical stack of cans hanging by twine created a compact herb tower that smelled faintly of oregano and damp soil. The metal hung with a gentle sway when the breeze touched it, and the layered green patches at each level created a cascading visual rhythm.
Watering mornings turned into a soft ritual as droplets slipped down between tiers, leaving rivulets on nursery labels. The whole structure felt like a living garland, a narrow slice of garden that drew in neighbors’ compliments and small, curious visits from bees.
Steps
- Prepare multiple cleaned cans and drill drainage holes in bottoms before stacking them vertically with sturdy twine threaded through each can.
- Nest a small amount of gravel at the bottom of each can, then add potting mix and plant herbs or flowers in each tier.
- Knot twine securely between tiers to keep spacing even and hang the tower from a strong overhead hook in a sunny spot.
- Water from the top and monitor moisture levels in lower tiers, adjusting as plants establish.
Tiny fairy garden inside a painted can
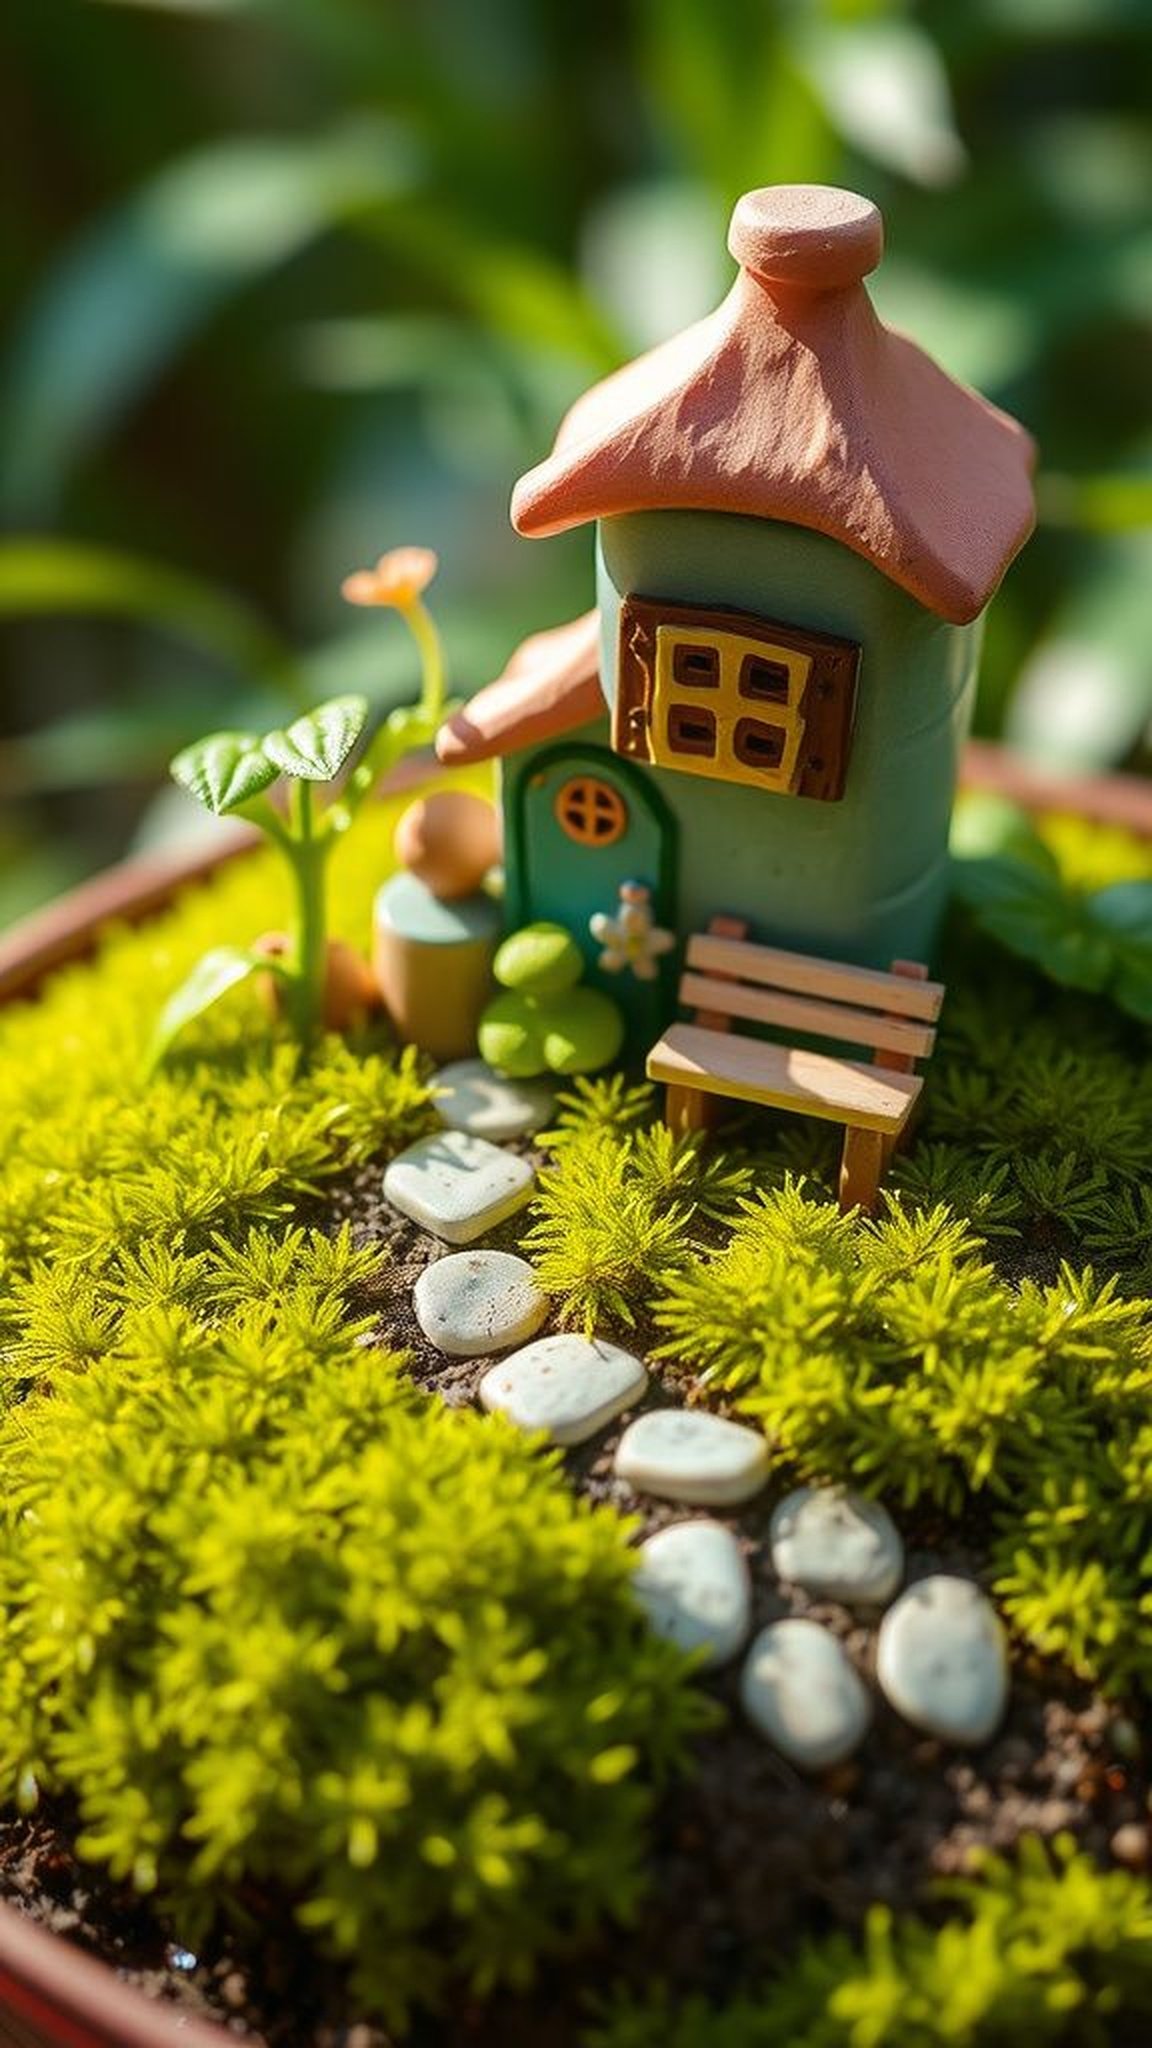
A shallow can transformed into a tiny fairy nook with mossy paths and miniature stones, the moss smelling damp and sweet when fingered gently. Little ceramic figurines sat under a curved rim as if tucked into a secret alcove, while soft miniature furniture cast small, friendly shadows.
The painted exterior faded to pastels that made the scene feel like a storybook page left open on a rainy afternoon. That little ecosystem invited slow attention and frequent smiles, offering a childlike pocket of imagination tucked into an ordinary recycled vessel.
Steps
- Choose a shallow tin can and clean it, then add a base layer of small pebbles for drainage.
- Add soil and arrange patches of moss, miniature stones, and tiny decorations to create paths and seating areas.
- Place small figurines or handmade miniatures and mist the moss lightly to maintain moisture.
- Keep the fairy garden in bright indirect light and spritz occasionally to keep moss healthy.
Picnic-ready utensil caddy from a recycled can
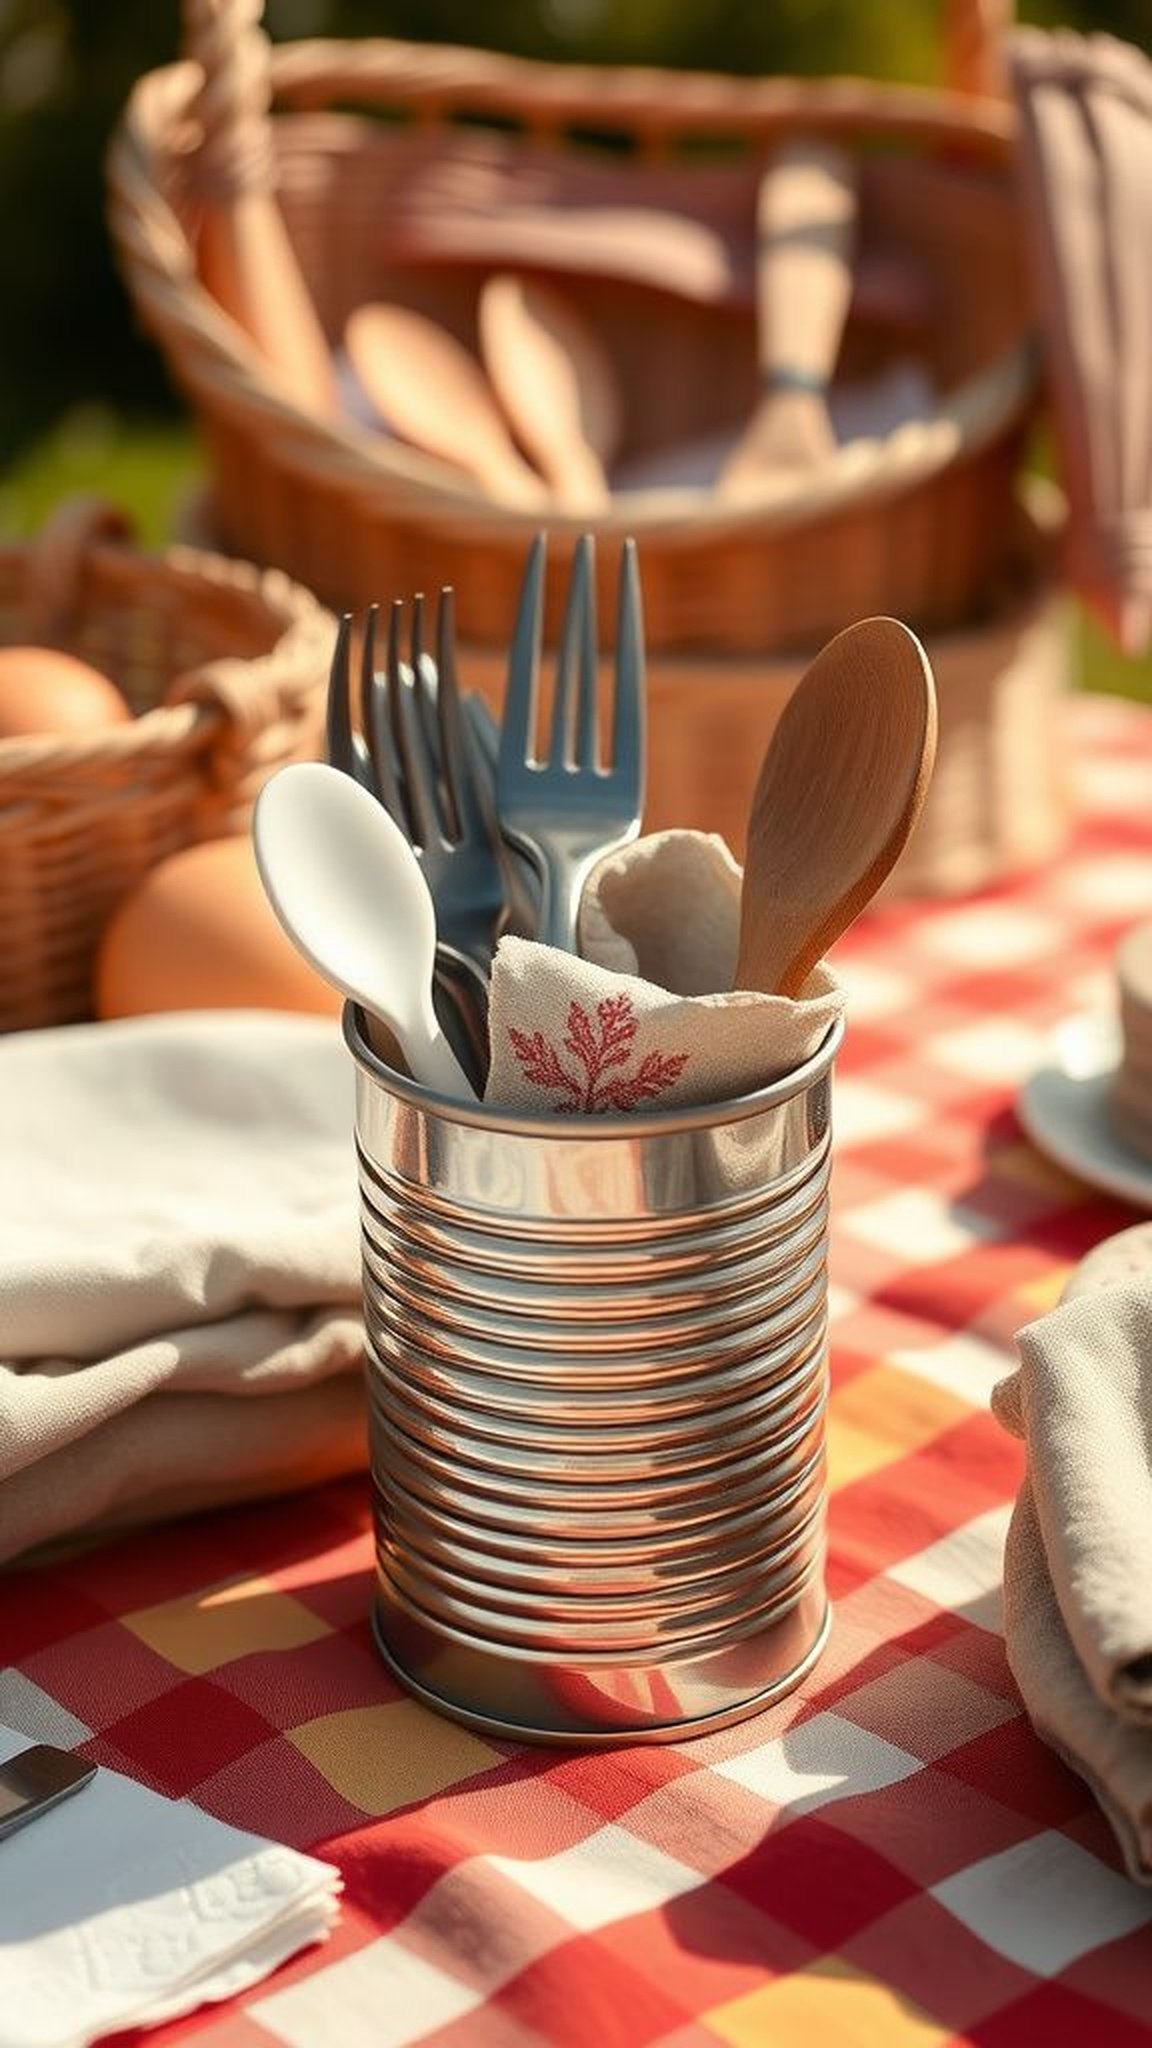
A tall can lined with patterned fabric held metal forks and wooden spoons during a neighborhood picnic, the clink of silver against metal a pleasant backdrop to laughter. The fabric added a soft contrast to the cool interior and made loading feel cozy rather than utilitarian.
Sunlight picked out bright highlights on fork tines while napkins tucked around handles offered pops of color. The caddy’s rough-hewn charm matched the mood of casual, sunlit eating and it became an often-requested grab during porch gatherings where little details mattered more than fuss.
Steps
- Clean the can interior and line with a fabric sleeve or food-safe liner to soften the inside.
- Group utensils by type and place them upright in the can, adding a small bundle of napkins for ease.
- Carry the caddy to a picnic table or place it at the center of a casual outdoor spread.
- After use, remove the fabric for washing and allow the can to air dry fully.
Wind chime bells crafted from painted cans
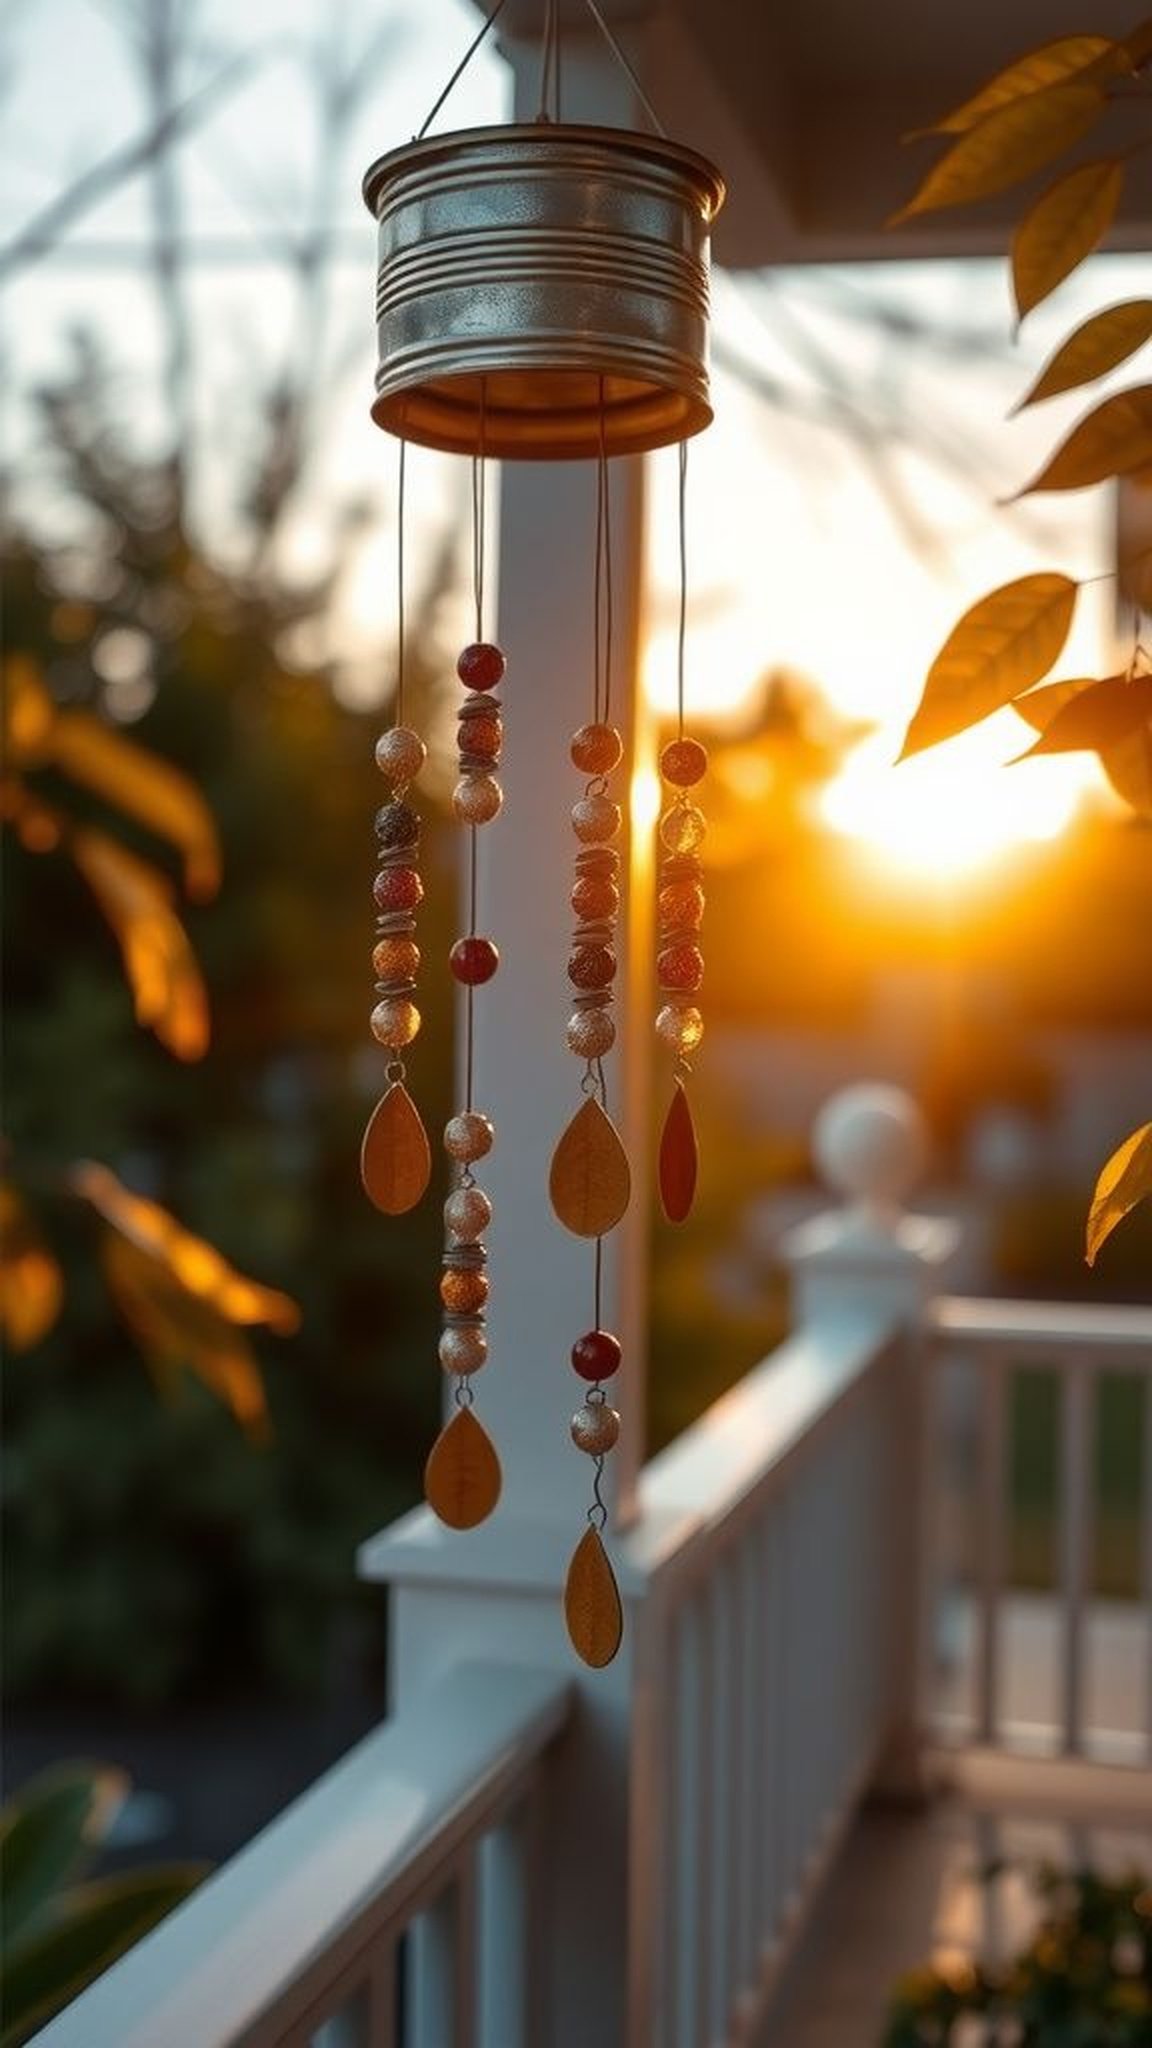
Several cans hung at different lengths, their rims chiming gently with every breeze and leaving a memory of soft metallic songs. The painted patterns had chipped in places, lending a worn, seaside character that blended with distant lawn mower hums and bird calls.
Small beads threaded between cans caught sunlight and threw tiny prisms against a fence. Each gentle tinkle felt like a small punctuation to afternoons spent in shade, an accidental orchestra born from humble materials that made a porch feel slightly more melodic and alive.
Steps
- Clean and paint multiple tin cans, then pierce small holes opposite each other near the rim for hanging cords.
- Thread durable cord through the holes and tie secure knots, spacing cans at varied lengths on a single hanger.
- Add beads or small metal washers between cans for extra sound variation and visual interest.
- Hang the chime from a sturdy branch or porch beam where gentle winds will create soft tones.
Mosaic tin can vases with broken tile accents
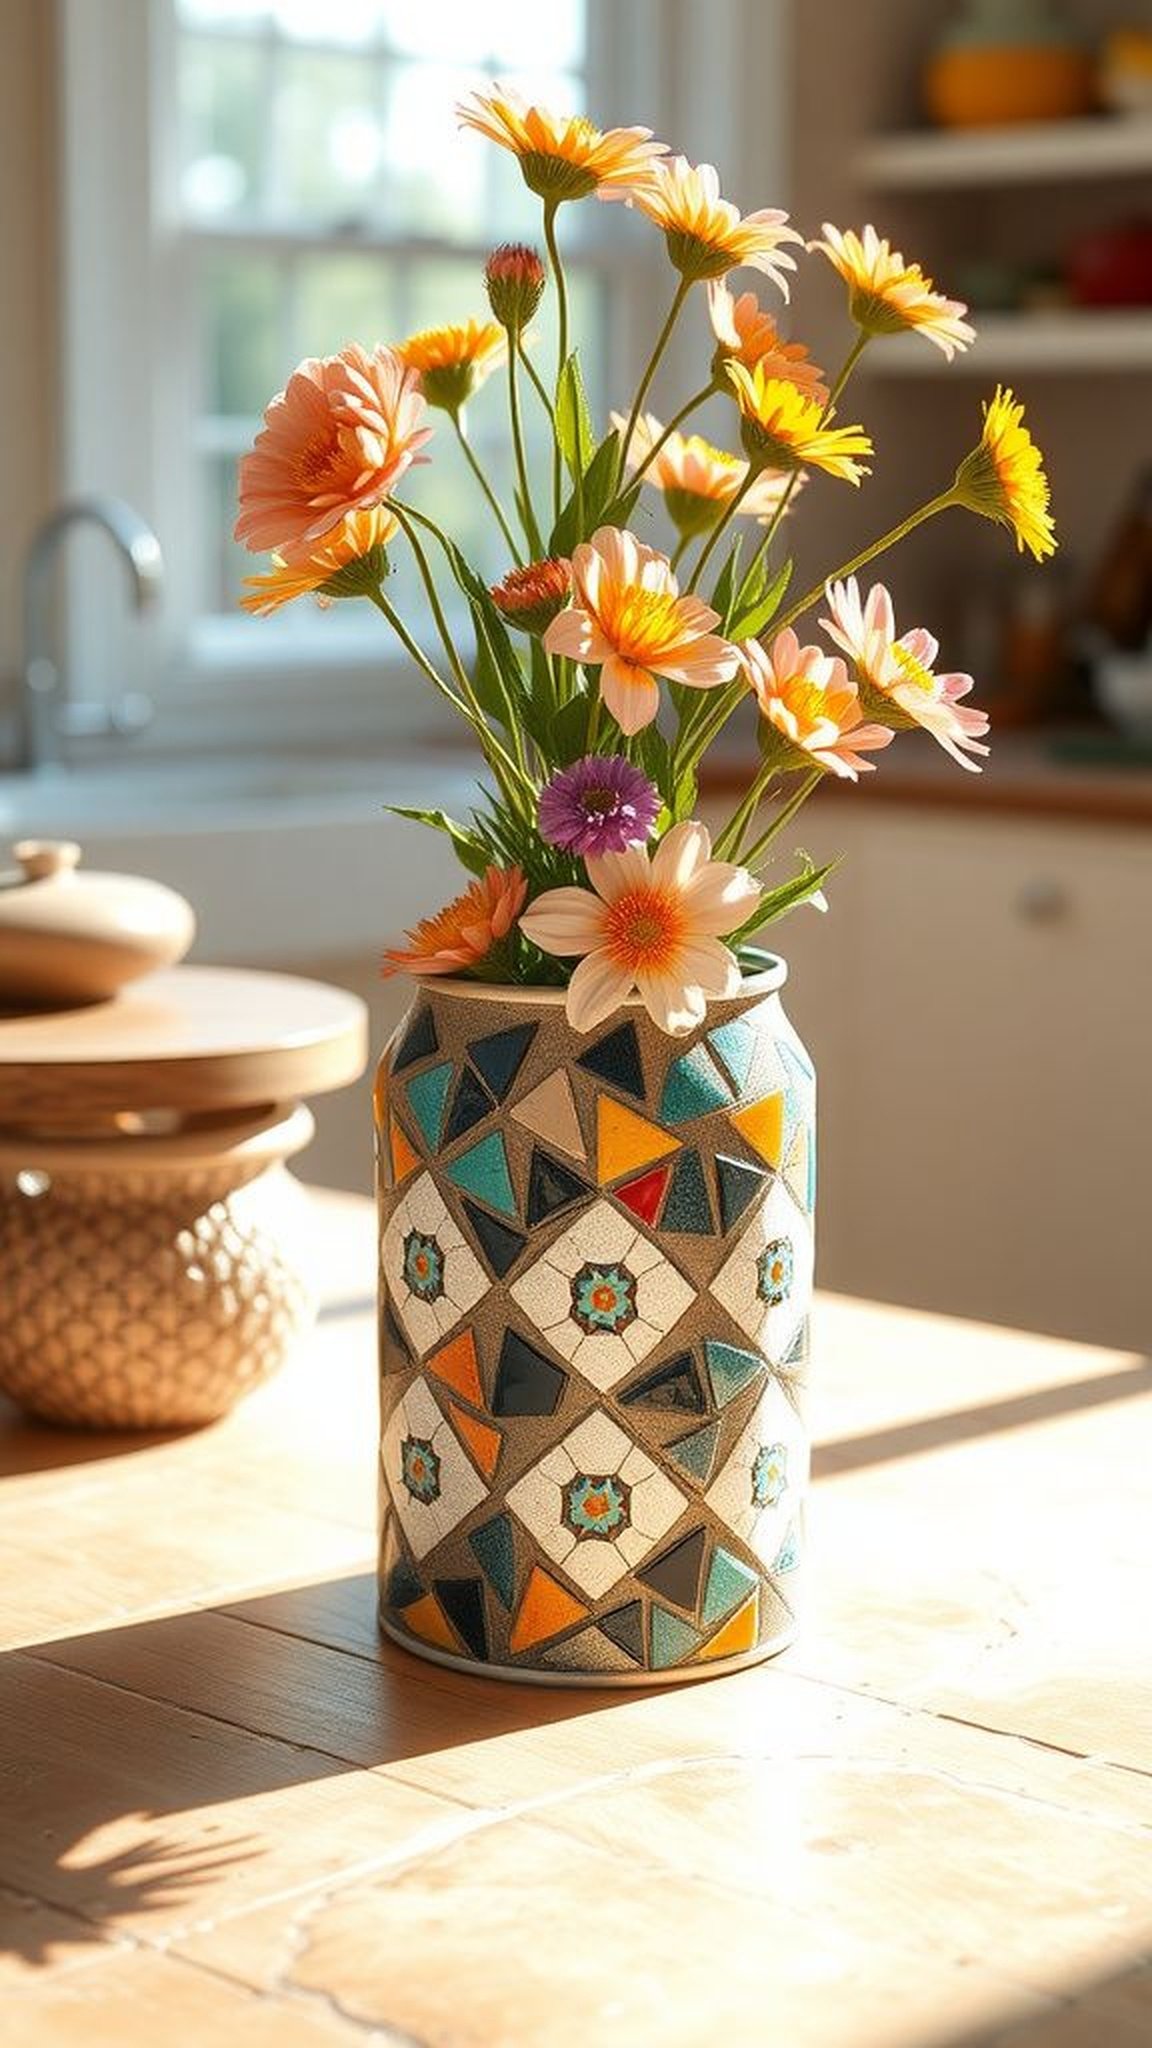
Tiny shards of colored tile and glass adhered to a can created a lively mosaic vase that caught light at odd angles, scattering tiny rainbows across a tablecloth. The mosaic pieces felt cool under fingertips and the grout lines added a pleasing tactile rhythm.
Fresh stems looked dramatized against the sparkle, each petal reflected in fractured glints. That rough-bright surface made bouquets feel dressed up without being fussy, a joyful marriage of rough metal and glittering fragments that suited a casual centerpiece or a sun-drenched kitchen corner.
Steps
- Prepare a cleaned tin can and select small tile pieces or broken glass for mosaic placement.
- Apply a strong adhesive to small sections and press mosaic pieces into place, keeping consistent spacing.
- Once adhesive dries, spread grout over the surface, pressing it into gaps and wiping excess with a damp cloth.
- Allow grout to cure, then rinse gently and arrange fresh flowers or stems inside the can vase.
Colorful pencil holder with patterned washi trim

A can wrapped in layered washi tape became a cheerful desktop companion, the patterned bands giving a soft paper texture against cool metal. The tape edges offered little ridges that fingers liked to trace during idle moments, and piles of colored pencils leaned like a miniature forest.
The contrast between bright geometric patterns and dull metal made the holder pop in a sea of neutral stationery, bringing a small smile between spreadsheet rows. It felt like a tiny, constant nudge toward creative distraction during busy afternoons.
Steps
- Clean and dry a tin can, then choose several washi tape patterns to layer around the exterior.
- Wrap the tape smoothly around the can, aligning edges for a neat finish and trimming excess with scissors.
- Place pencils, pens, and markers inside and keep the holder on a desk or craft table for easy access.
Rustic perforated lantern for garden pathways

Rowing several perforated cans along a pathway created a rustic corridor of flickering light, each hole pattern casting playful speckles on flagstones. Damp evening air carried a faint scent of cut grass and the softened glow pooled in shallow circles where footsteps paused.
The cans’ metallic rims held dew and little insects sometimes hitchhiked on the outer edges, adding to the sense of life. That slow procession of light felt like a modest invitation to stroll and linger, turning a short walk into a small, illuminated wander at dusk.
Steps
- Prepare multiple tin cans by cleaning and arranging a decorative hole pattern around each surface with a metal punch.
- Insert a tealight or battery-operated candle inside each can and place them along a garden path or steps.
- For safety, set cans on heat-resistant bases and consider wind protection when placing candles outdoors.
Seed packet storage in a painted can jar
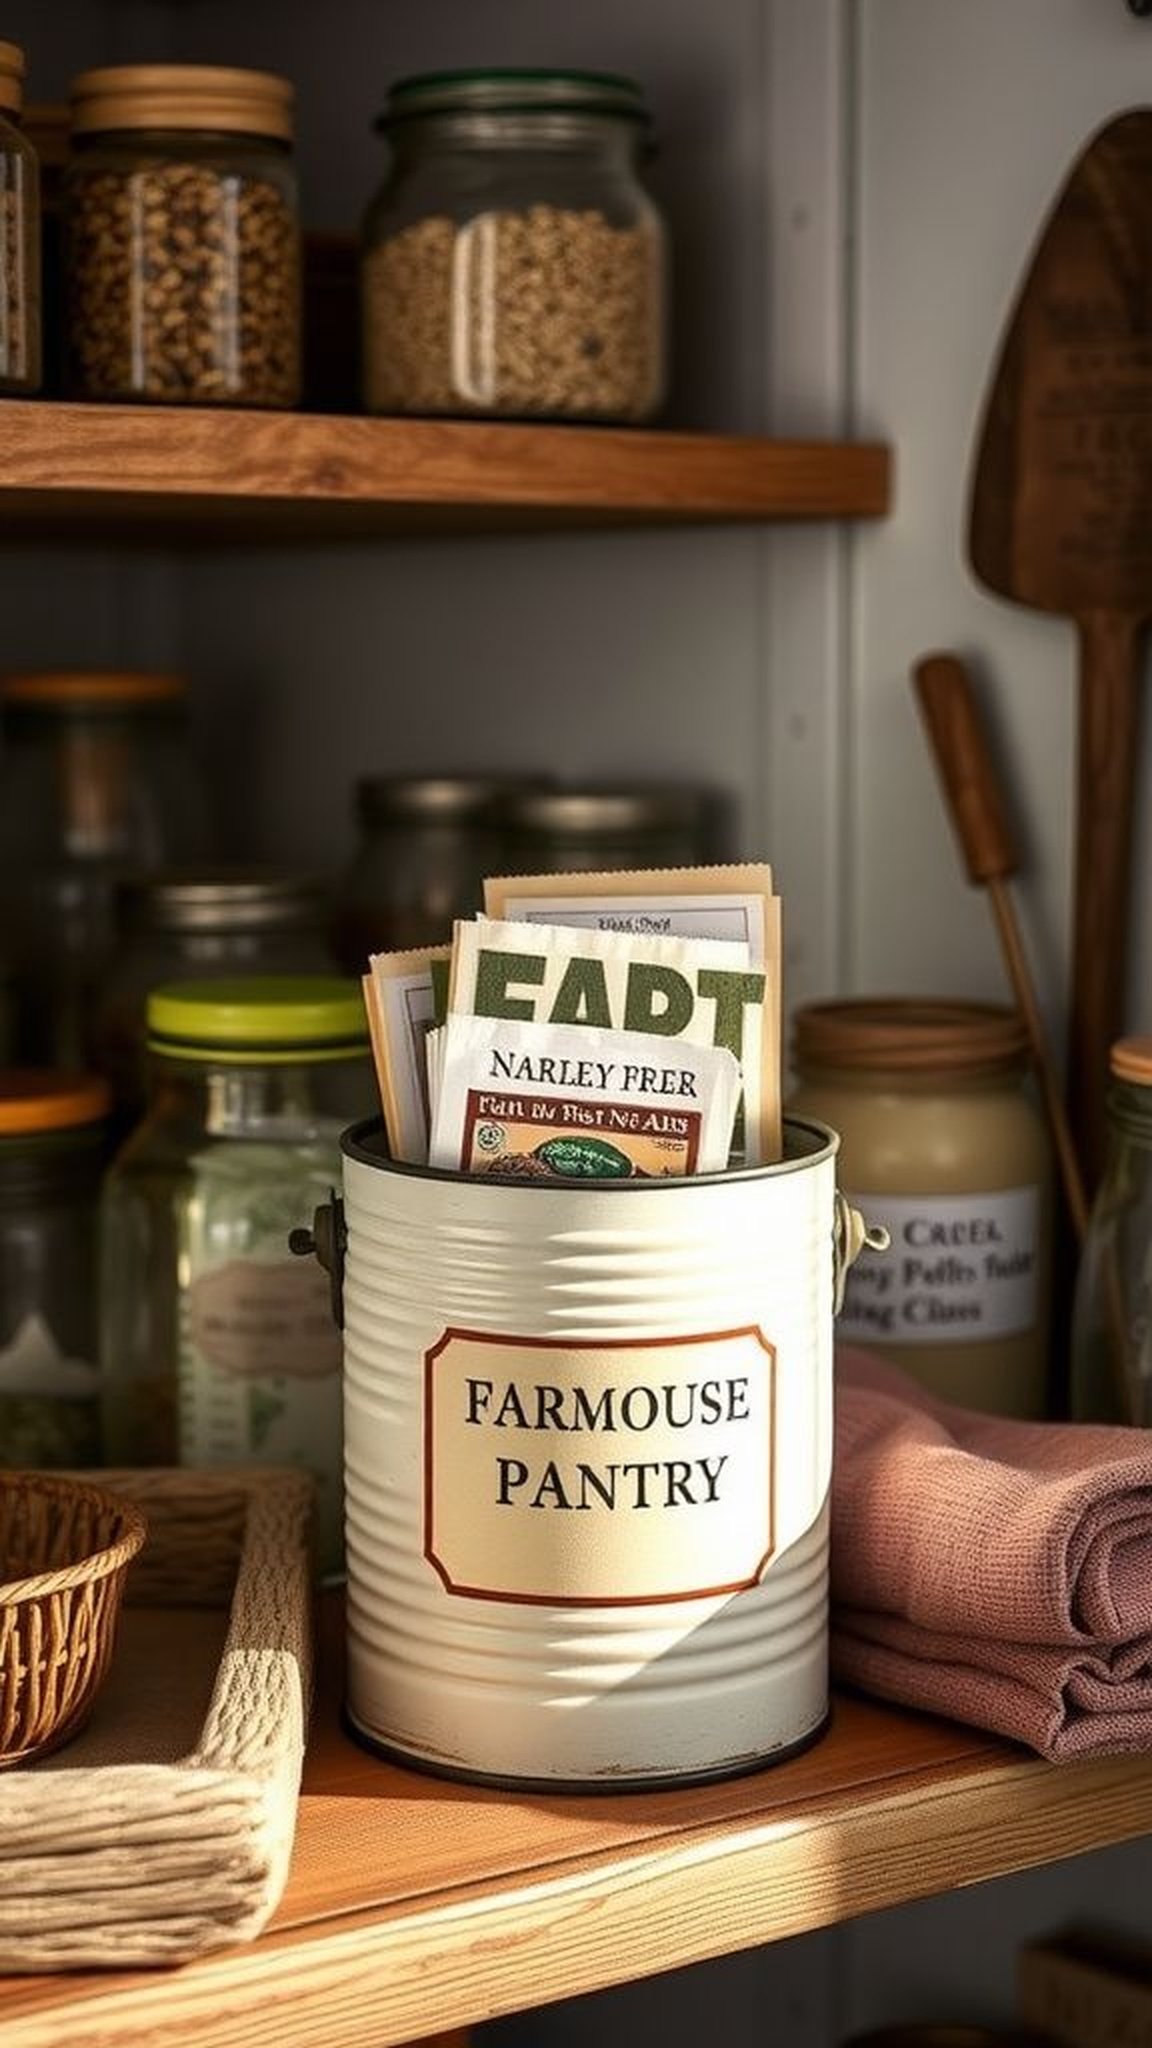
A wide can kept seed packets neatly stacked like a small library, the paper packets rustling softly when browsed on colder evenings. The painted exterior had a worn farmhouse tone and a hand-lettered label suggested seasons of planting rituals.
The scent of dried seed filled the air when opened, mixing with memory and the sound of rain on the roof. That modest organization turned a kitchen shelf into a place of future plans and quiet anticipation as seed varieties hinted at next spring’s possibilities without any fuss.
Steps
- Select a wide-mouthed tin can, clean it, and paint the exterior if desired, then allow to dry.
- Label the outside with the plant type or planting month for quick reference and file seed packets inside upright.
- Store the can in a cool, dry place away from direct sunlight to preserve seeds until planting season.
Pendant lamp made from an upcycled large can
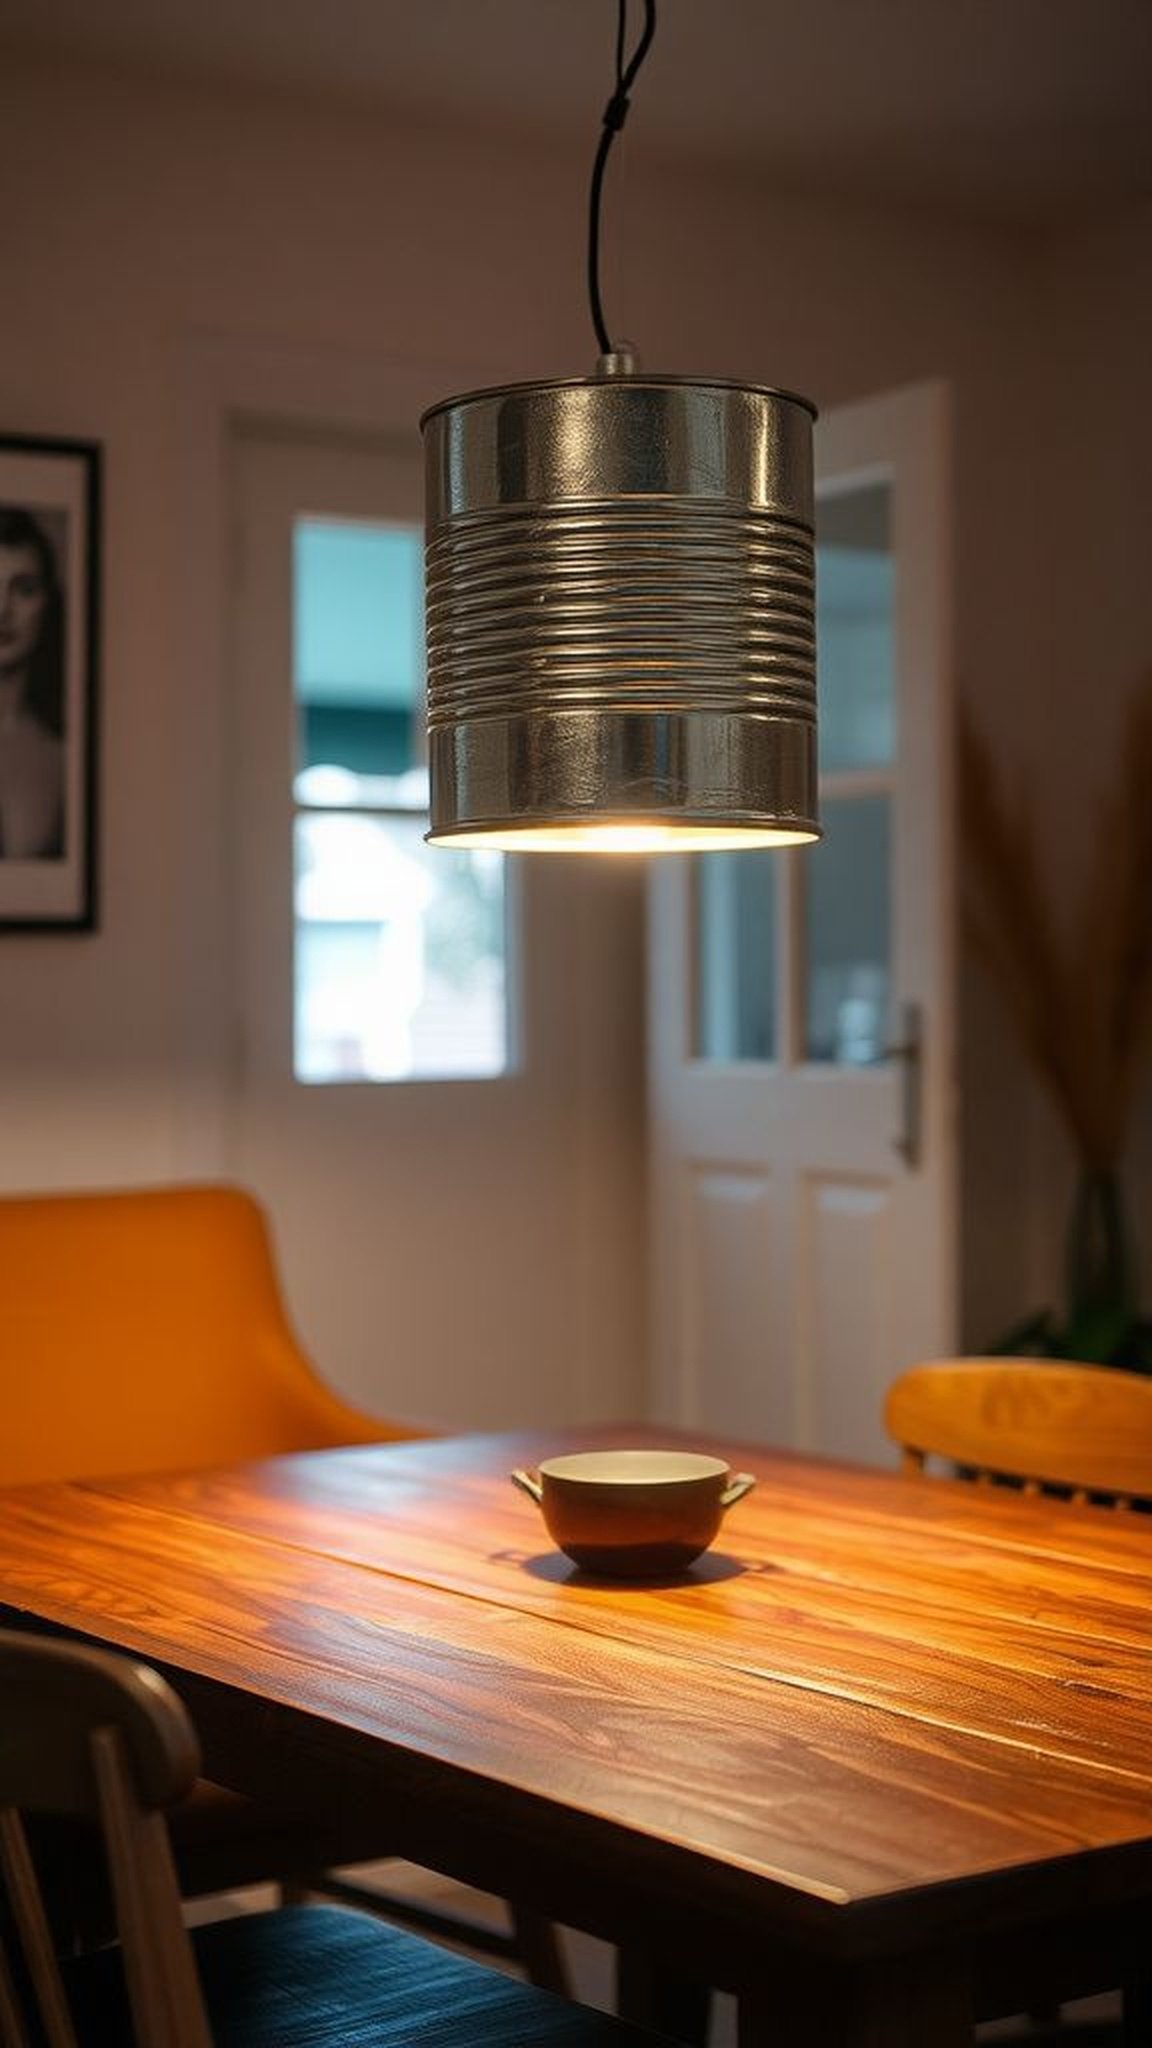
A larger can refashioned as a pendant sent a focused cone of warm light over a small dining nook, its interior gleaming faintly where a bulb reflected. The outer finish carried flaky layers of old paint that gave it personality and the light created a soft pool on the table below.
At night the lamp felt intimate and honest, throwing subtle metal shadows across walls and making plates and cutlery shine in new ways. The fixture suggested a quiet thriftiness that still offered comfort and charm during slow evening meals.
Steps
- Clean and paint a large tin can, then safely create an opening for wiring at the top and a hole for the bulb socket.
- Install a standard pendant light kit according to electrical safety guidelines, securing the socket inside the can.
- Hang the pendant at a comfortable height above a table and fit a bulb with a warm color temperature for cozy light.
Napkin and cutlery holder for outdoor dining
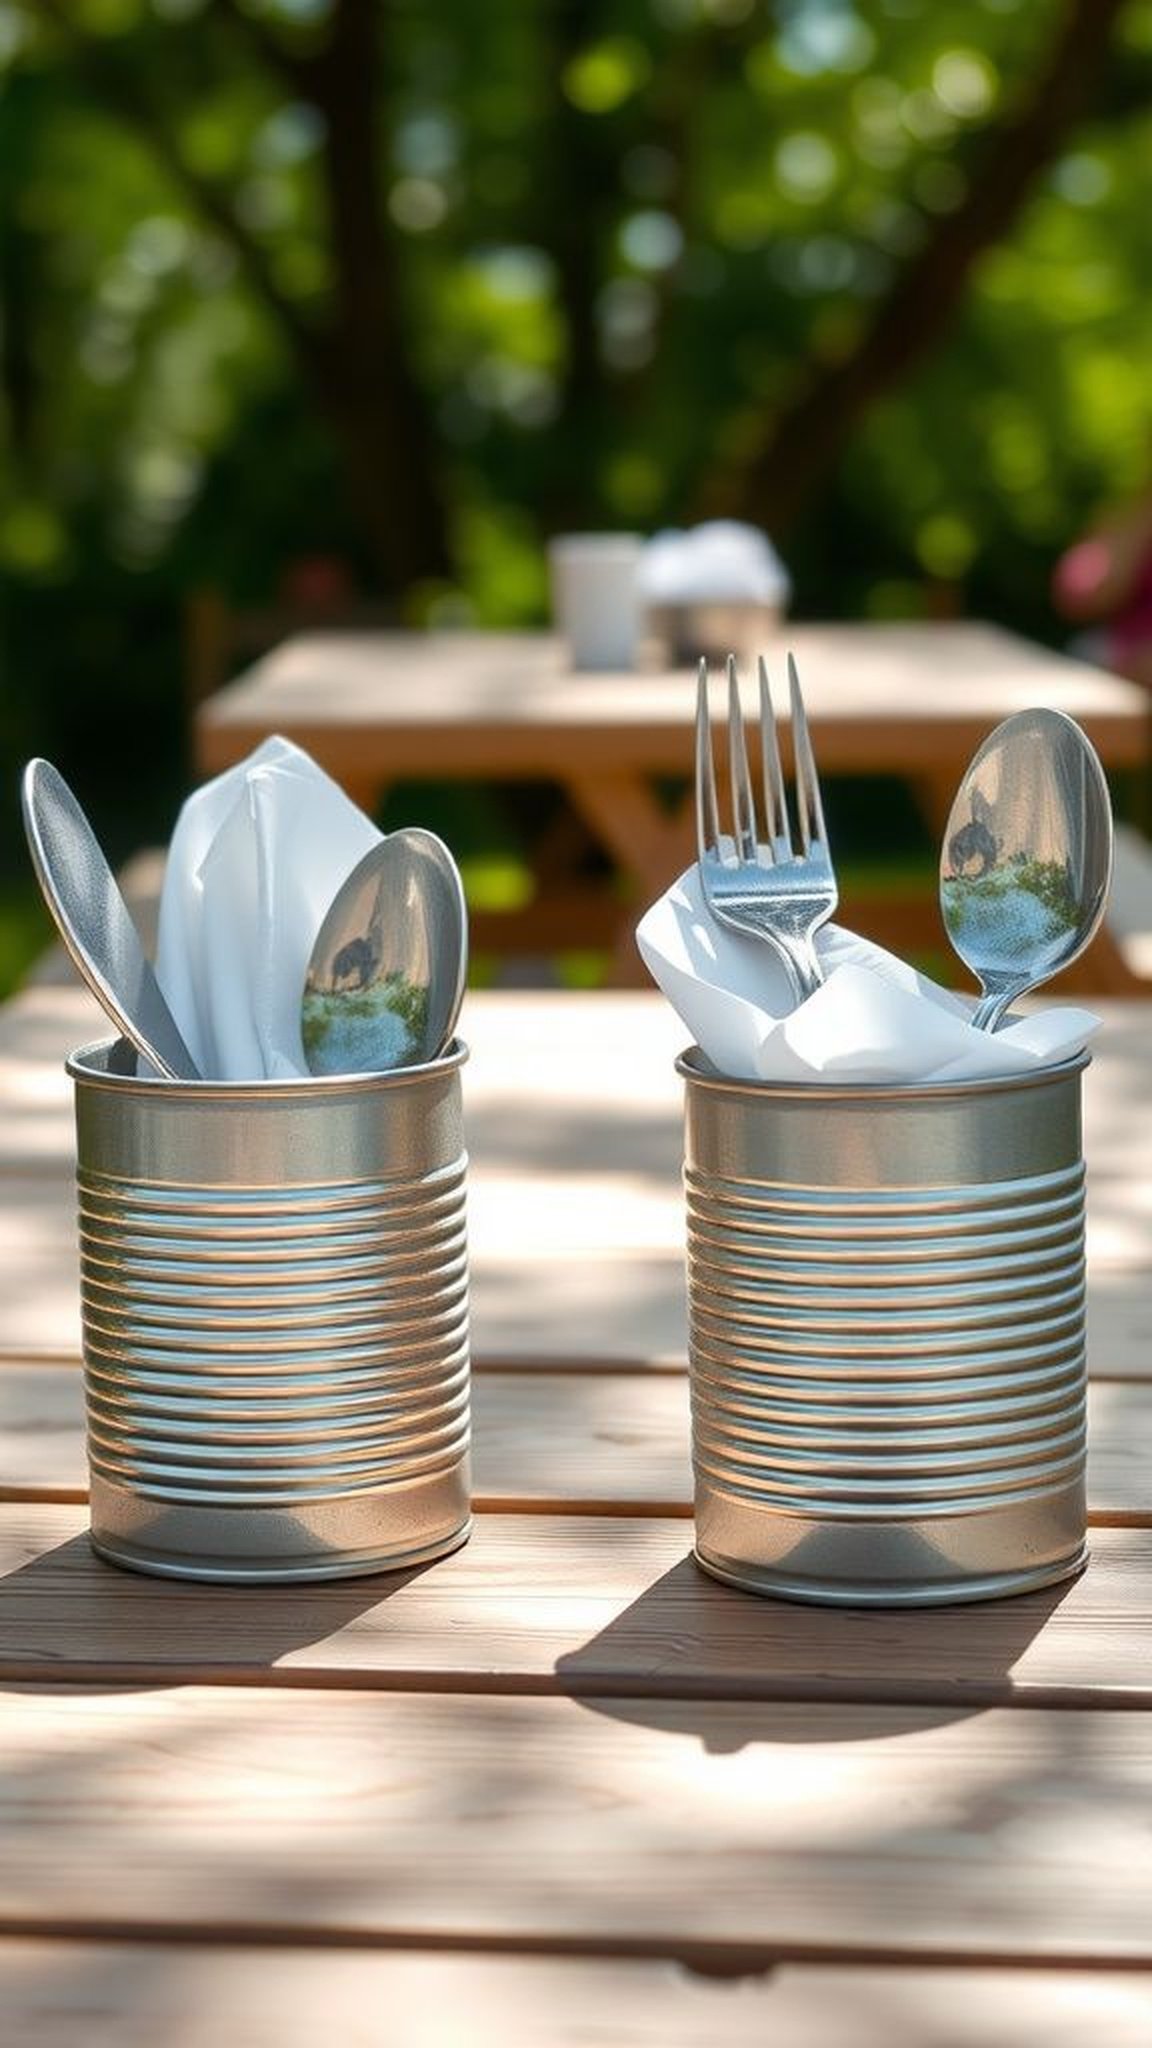
A pair of cans, one for napkins and one for cutlery, sat centerstage on a picnic table and made serving feel less fussy. The napkin can offered a soft flutter when a breeze passed and the cutlery can held the satisfying weight of spoons and forks standing upright.
Sunlight traced the edges and the table smelled faintly of lemon from previous cleaning. The setup made casual meals feel thoughtfully arranged without ceremony, and guests reached for utensils with easy, familiar movements that kept the mood relaxed and cheerful.
Steps
- Clean two cans and paint or decorate them to match a table setting, allowing decoration to dry fully.
- Line one can with a fabric napkin or insert and place folded napkins inside, while filling the other with upright cutlery.
- Place both on the table center for easy reach during outdoor meals and refresh napkins as needed.
Pebble-drained planter that feels balanced
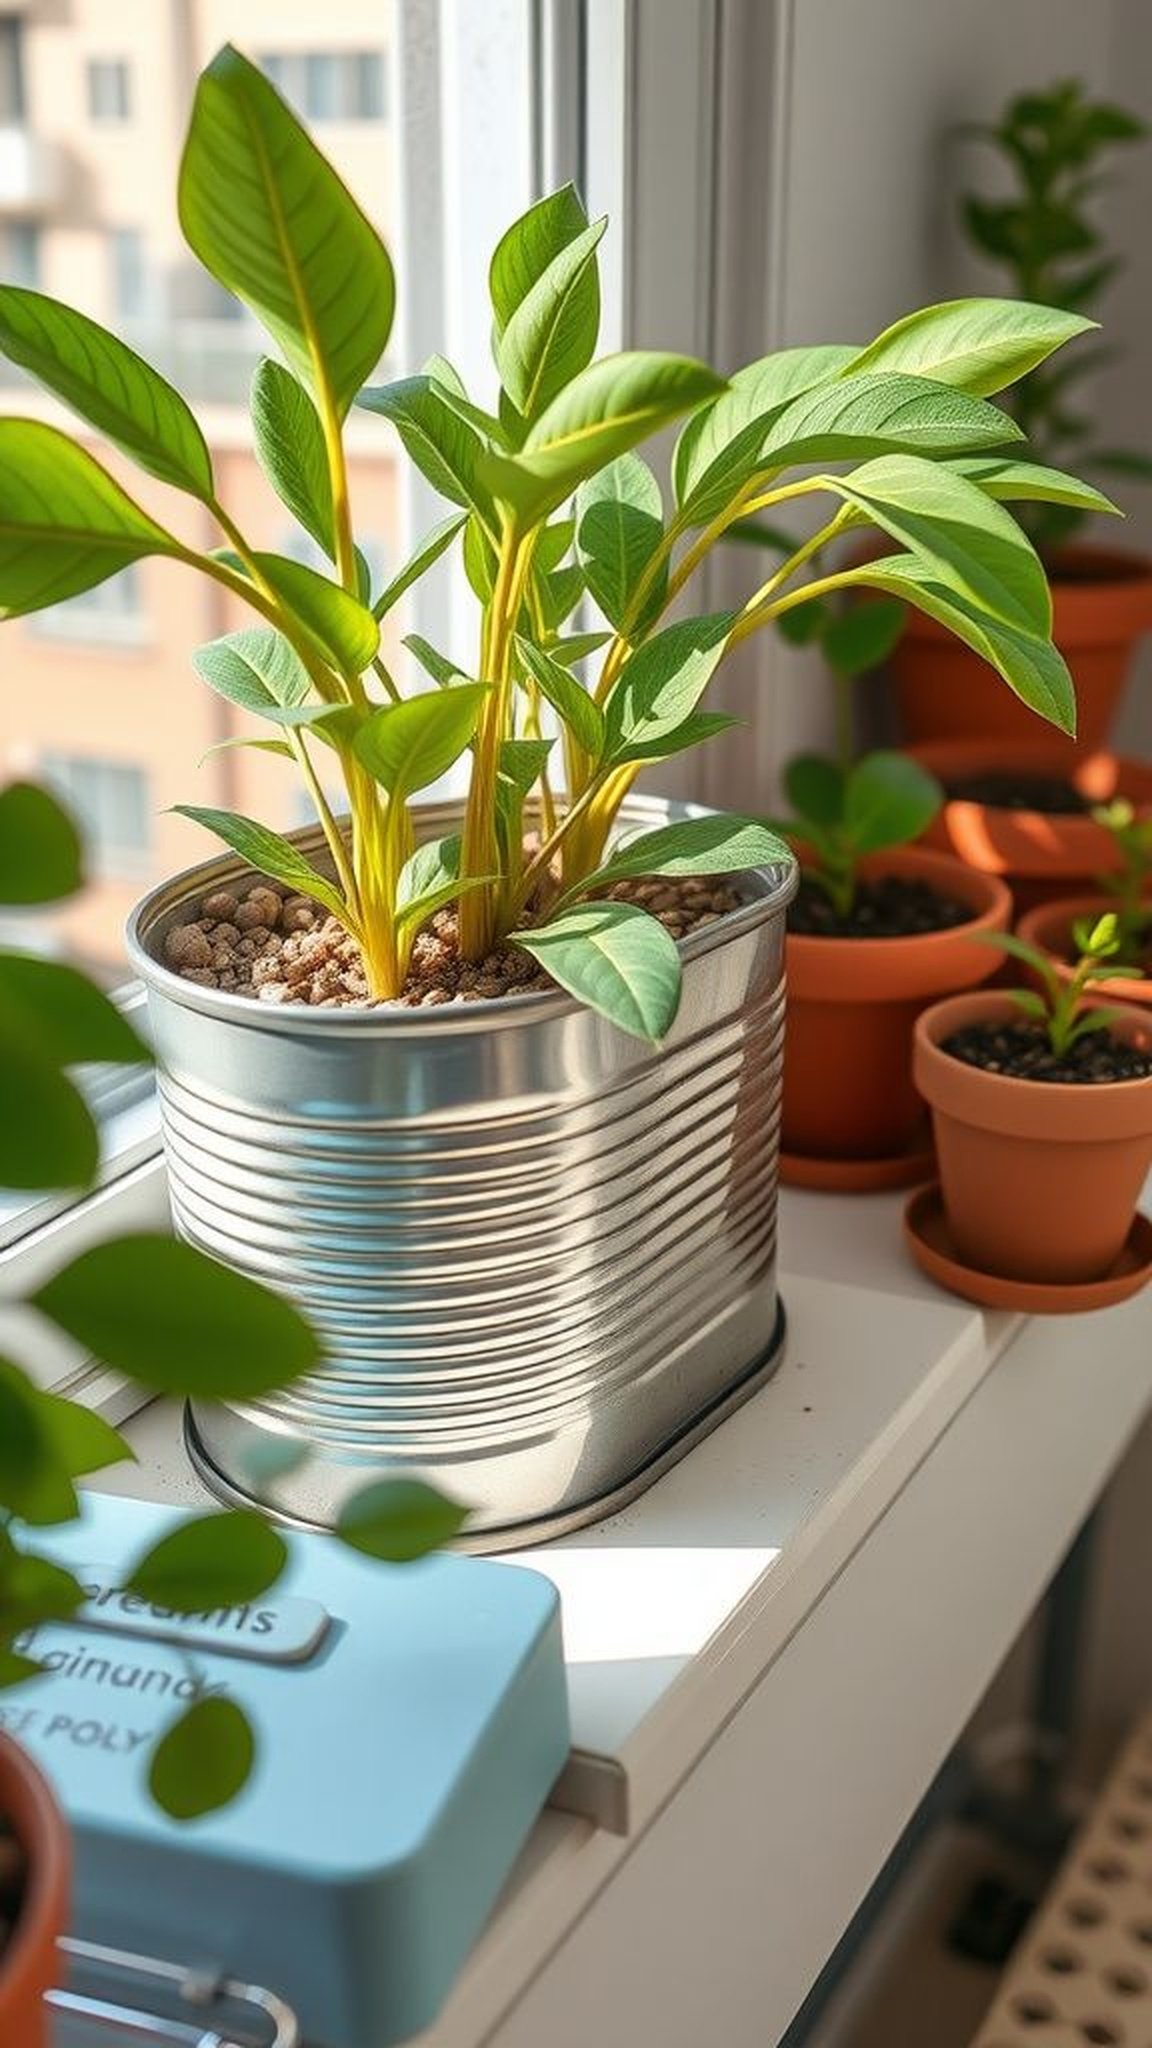
A can with a pebble base offered a satisfying balance between drainage and neatness, the tiny stones clicking as the pot was moved to a sunnier spot. The soil sat just right, neither soggy nor bone-dry, and morning light brought out subtle veins in the leaves.
The cool rim contrasted pleasantly with warm terracotta nearby and the plant seemed steady after a few dry weeks. That quiet stability made the can an appealing choice for apartment gardeners who wanted predictable, low-fuss greenery that fit narrow ledges and small corners.
Steps
- Clean the can and add a generous layer of small pebbles or coarse gravel to the bottom for drainage.
- Fill with a lightweight potting mix, set the plant gently into place, and firm soil around the roots.
- Water until excess drains into the pebble layer, and position the planter in appropriate light for the plant type.
Portable first-aid tin for hiking or picnics

A shallow can tucked with bandages, antiseptic wipes, and plasters felt reassuring during a long day outdoors, the metallic case cool and compact in a backpack. The swish of fabric inside and the faint medicinal scent when opened were oddly calming.
Labels on the lid helped locate items quickly and the can’s size allowed it to slip into side pockets without fuss. Having that small, practical kit at hand made spontaneous adventures feel a little safer and less hurried, a quiet promise of readiness for minor mishaps.
Steps
- Clean a shallow tin can and line it with a soft fabric to protect contents from rattling.
- Organize essential first-aid items such as adhesive bandages, antiseptic wipes, small scissors, and blister pads inside.
- Close and label the lid clearly, then store the tin in a backpack pocket for easy access during outings.
Air plant wall of suspended tin can pockets
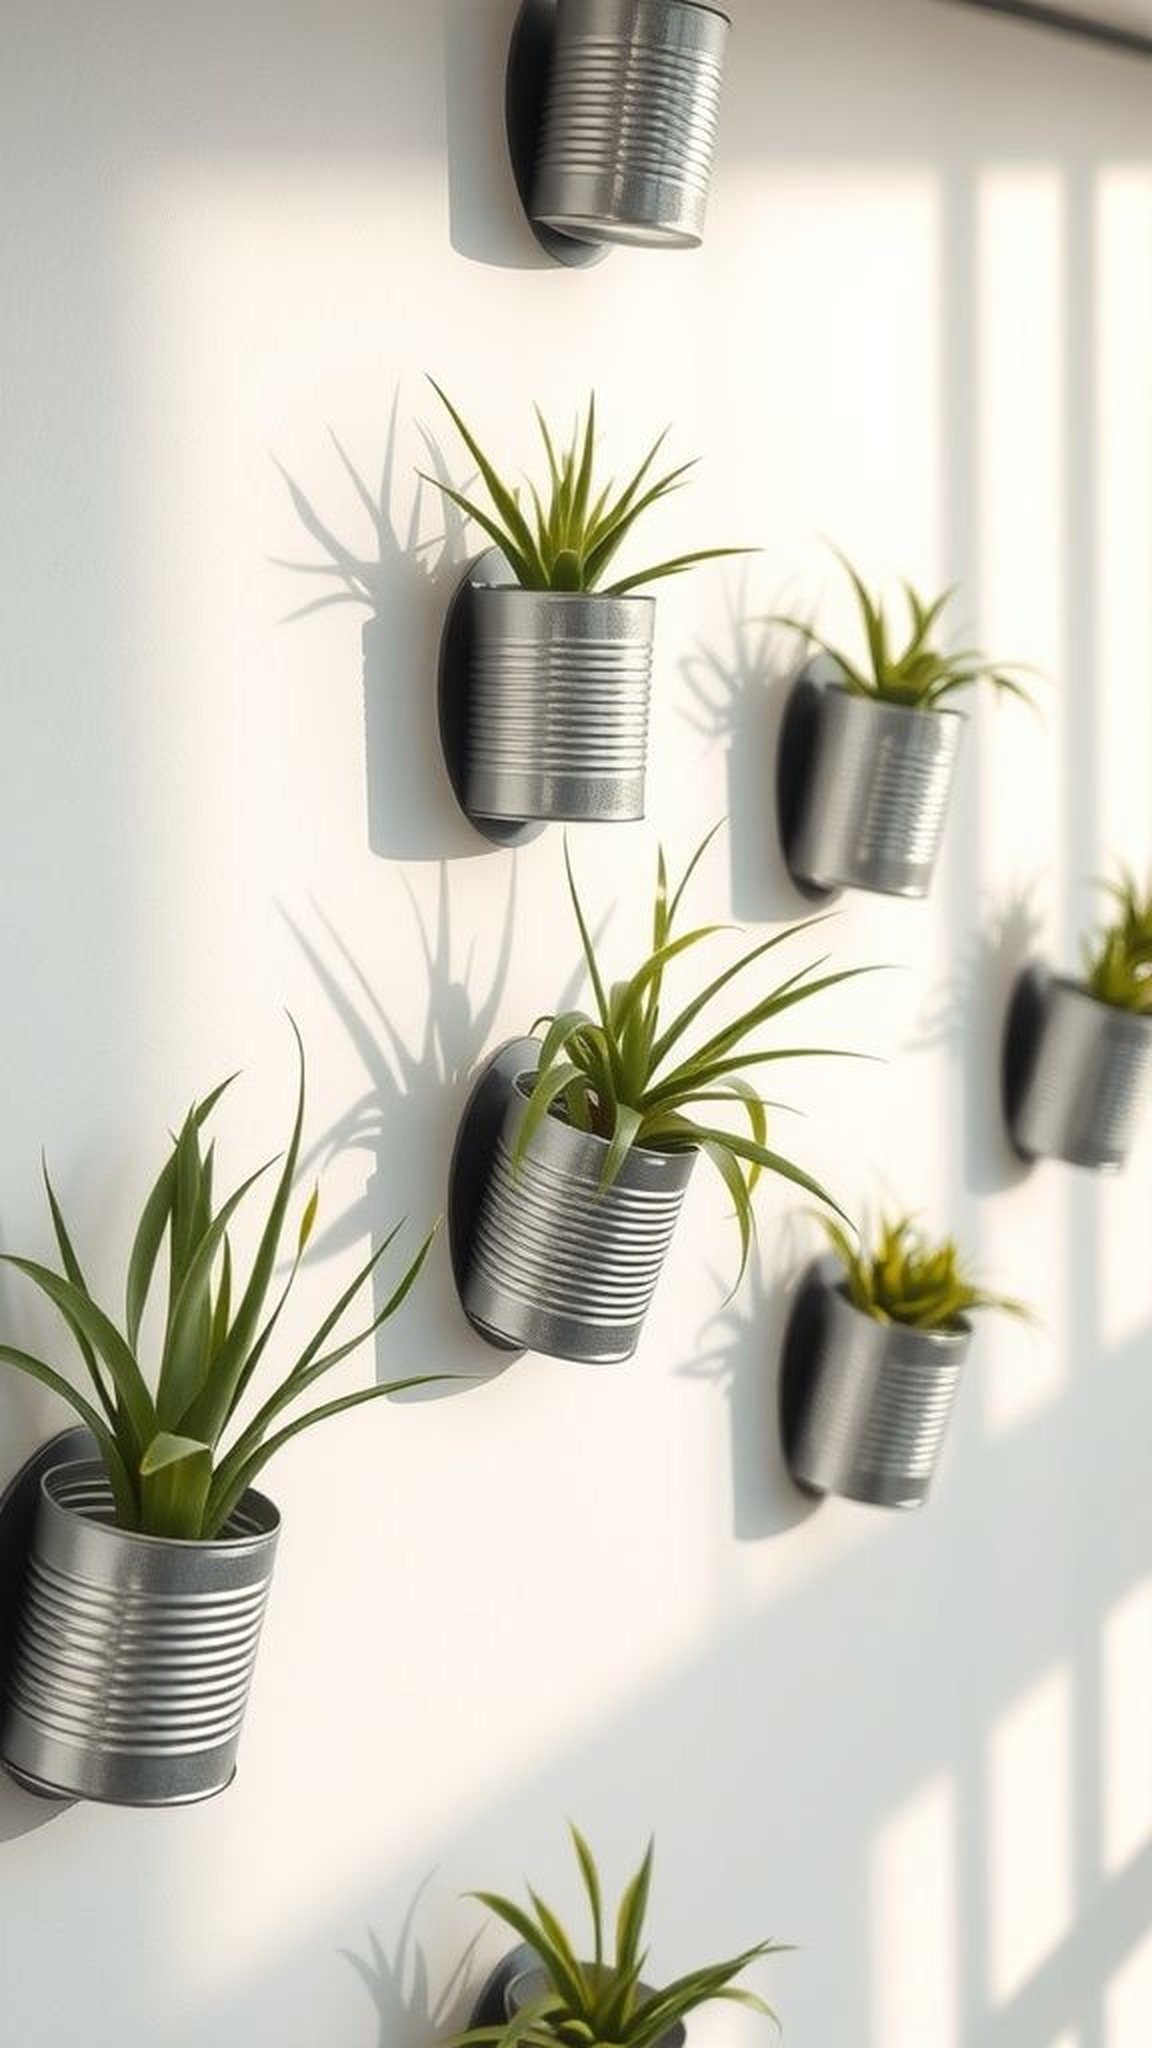
Tiny air plants nestled in slotted cans created a vertical green whisper along a sunlit wall, their pale silvery leaves contrasting with chipped paint. The plants felt dry and papery to touch but looked lively when misted, and the metal pockets made a rhythmic pattern across the wall.
Light moved across the installation during the day, casting soft plant shadows that shifted slowly. That arrangement added a sculptural plant element without bulk, bringing a hint of forest coolness and texture to an otherwise plain wall.
Steps
- Prepare several tin cans by cleaning and fashioning a wide opening or cutting a side window for planting air plants.
- Attach strong hooks or a wooden board to the wall, then secure each can as a pocket for an individual air plant.
- Place an air plant inside each can and mist lightly a few times weekly, adjusting placement for indirect bright light.
Garden tool caddy for a bustling shed corner
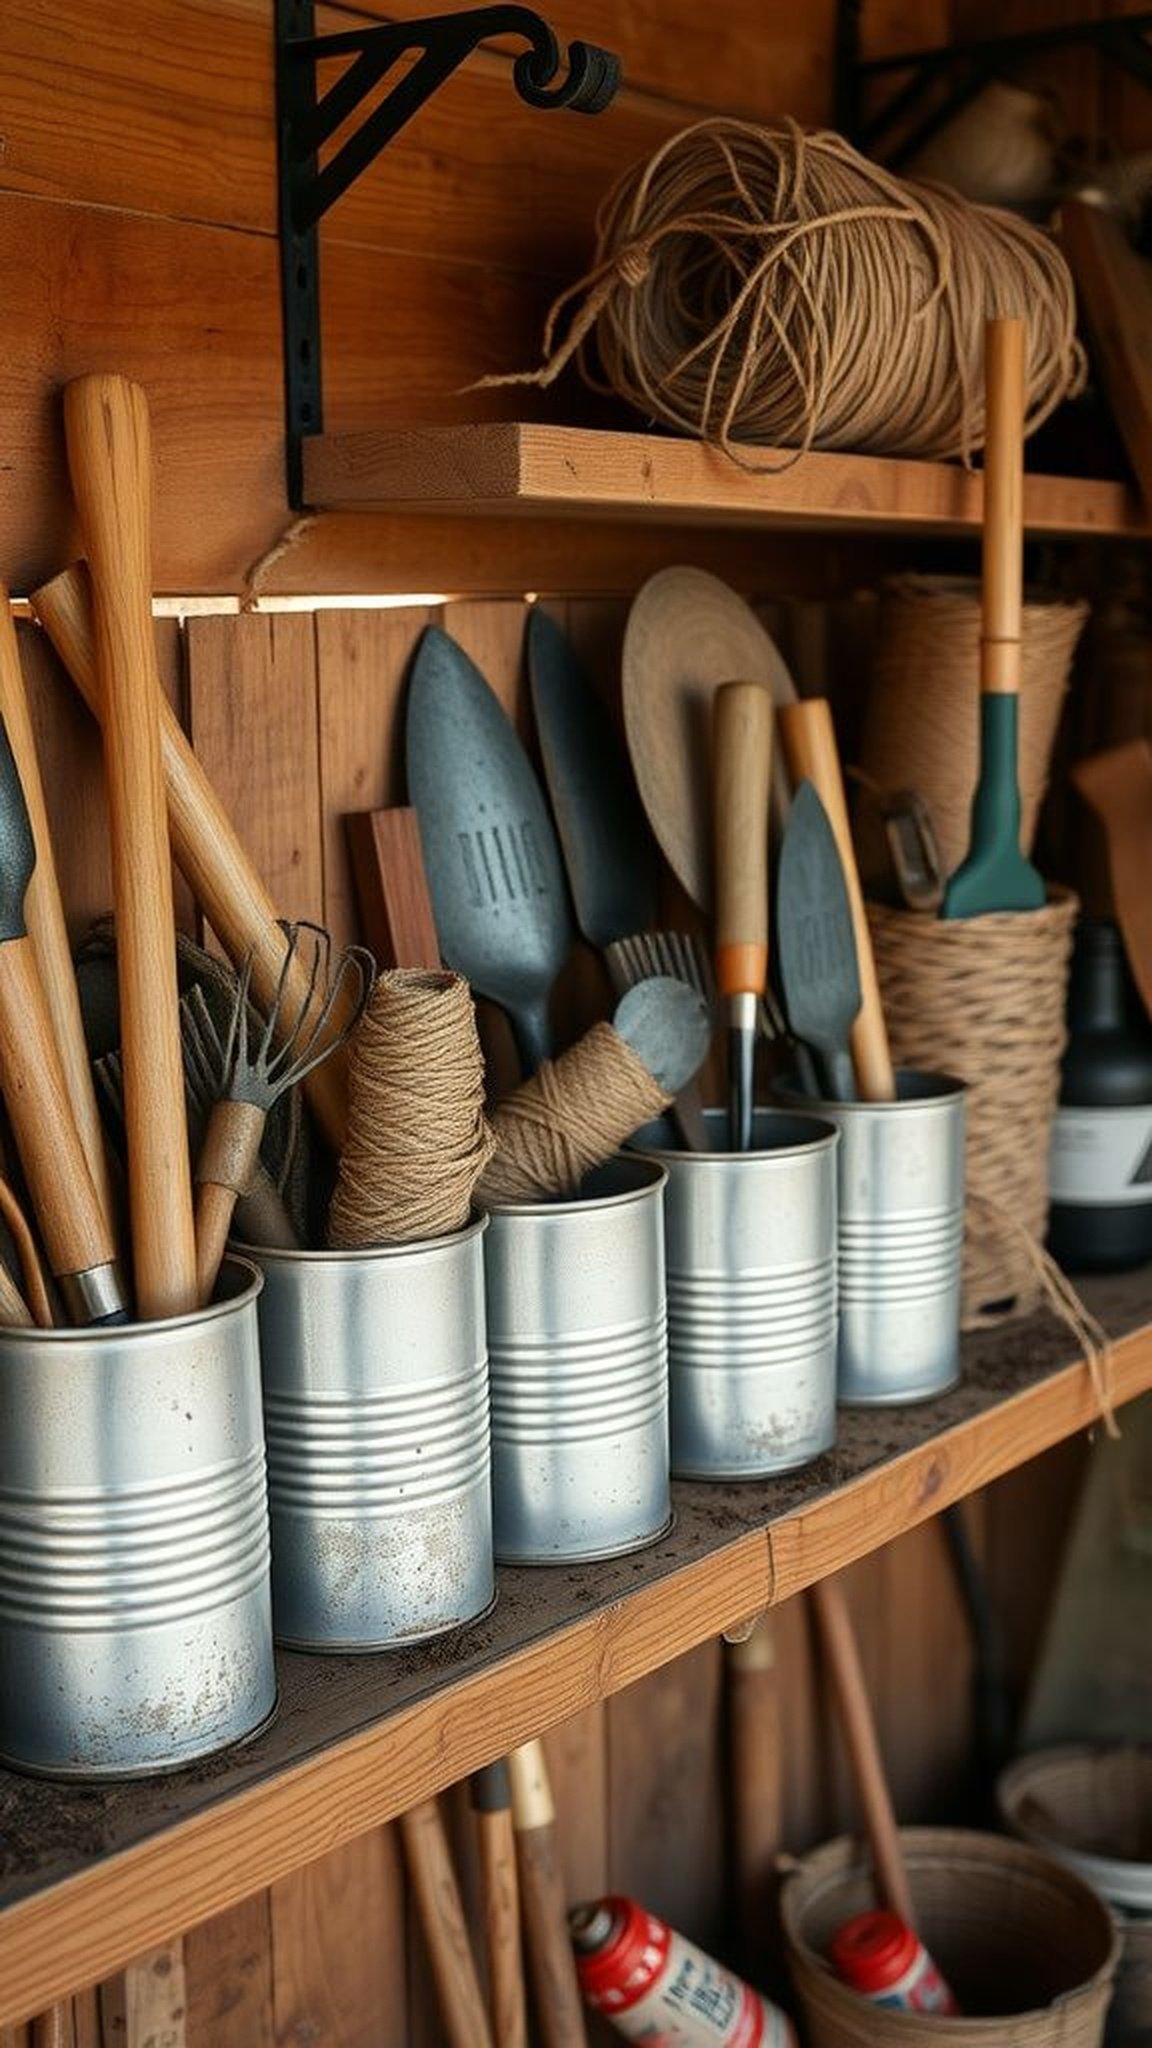
A band of cans grouped on a narrow shelf kept trowels, dibbers, and twine organized in a busy shed, each tool whispering metal when nudged against another. The can rims had rust freckles and the handle grips carried remnants of soil that smelled faintly of compost.
The sight of neatly upright tools made quick chores begin with less searching, and the whole caddy felt like a small, practical anchor in a chaotic workspace. Reaching for a conservatively used trowel became a simple, reliable motion that fit gardening’s modest rhythm.
Steps
- Line multiple tin cans on a shelf or attach them to a wooden board to form a grouped caddy.
- Place hand tools, twine, plant tags, and gloves upright in individual cans for easy access.
- Keep the caddy near the door or potting bench so tools return easily and the workspace stays tidy.
Painted gift tins filled with small treats

Hand-painted cans tied with simple twine turned into modest gift tins full of cookies or seed packets, the paint surface still warm from the brush. The metallic inside contrasted pleasantly with the soft treats and the lid’s click felt satisfying when closed.
The scents of cinnamon or lavender escaped when lids lifted, creating a small moment of delight for the recipient. Those tins felt thoughtful without fuss, a little carrier of seasonable pleasures that could be passed along at doorsteps or tucked into a basket for neighbors.
Steps
- Clean and paint the exterior of a tin can, then allow it to dry thoroughly before filling.
- Line the inside with parchment if placing edible treats, then add cookies, candies, or a small gift.
- Secure the lid and finish with a ribbon or twine for presentation, labeling if desired.