
Handmade offerings often feel warmer than store-bought trinkets, and Father’s Day DIY Gift Crafts can turn simple materials into keepsakes that carry stories and texture. These projects bring scent, handwriting, and small surprises together in ways that feel intentional and heartfelt for Father’s Day DIY Gift Crafts.
Message in a keepsake glass bottle
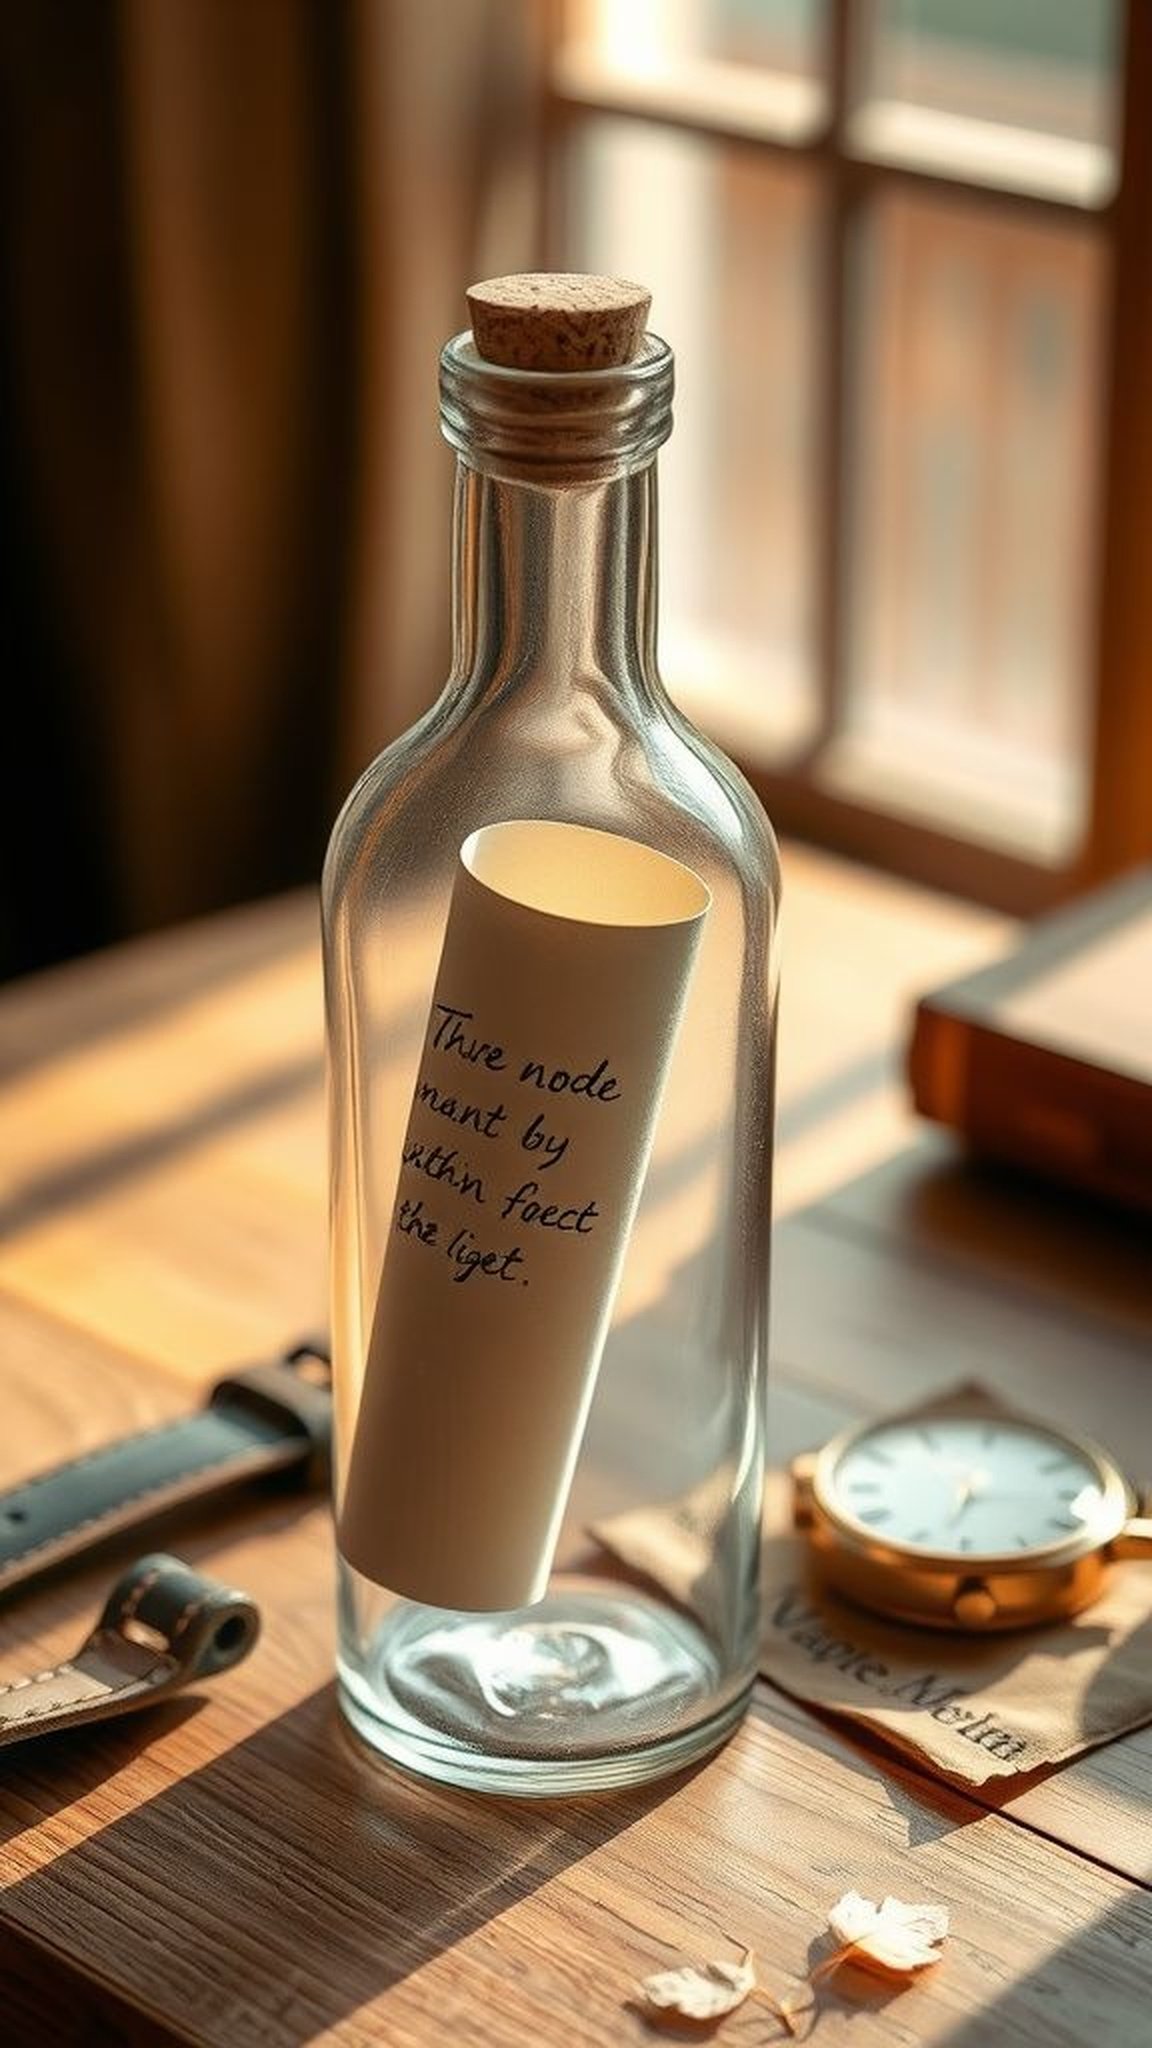
I love the way a tiny rolled note looks against curved glass, the way light bends through the bottle and makes handwriting glow. There was a quiet afternoon when a weathered recipe and a short, silly story slipped into a corked bottle and became a shelf treasure.
The paper had faint tea stains and the bottle smelled faintly of cedar from the box where it was kept. Each time it catches the sun the ink looks warmer and the memory seems to sit a little closer.
Steps
- Write a short, heartfelt note on thin paper, including a small sketch or a favorite memory.
- Roll the paper gently and secure it with a tiny ribbon or waxed thread so it stays snug inside the bottle.
- Slide the rolled note into a clean glass bottle and close it with a cork that has been rubbed with a touch of beeswax.
- Tuck the bottle into a small box lined with fabric, add a dried herb or a pressed leaf for subtle scent.
Custom photo collage on reclaimed wood
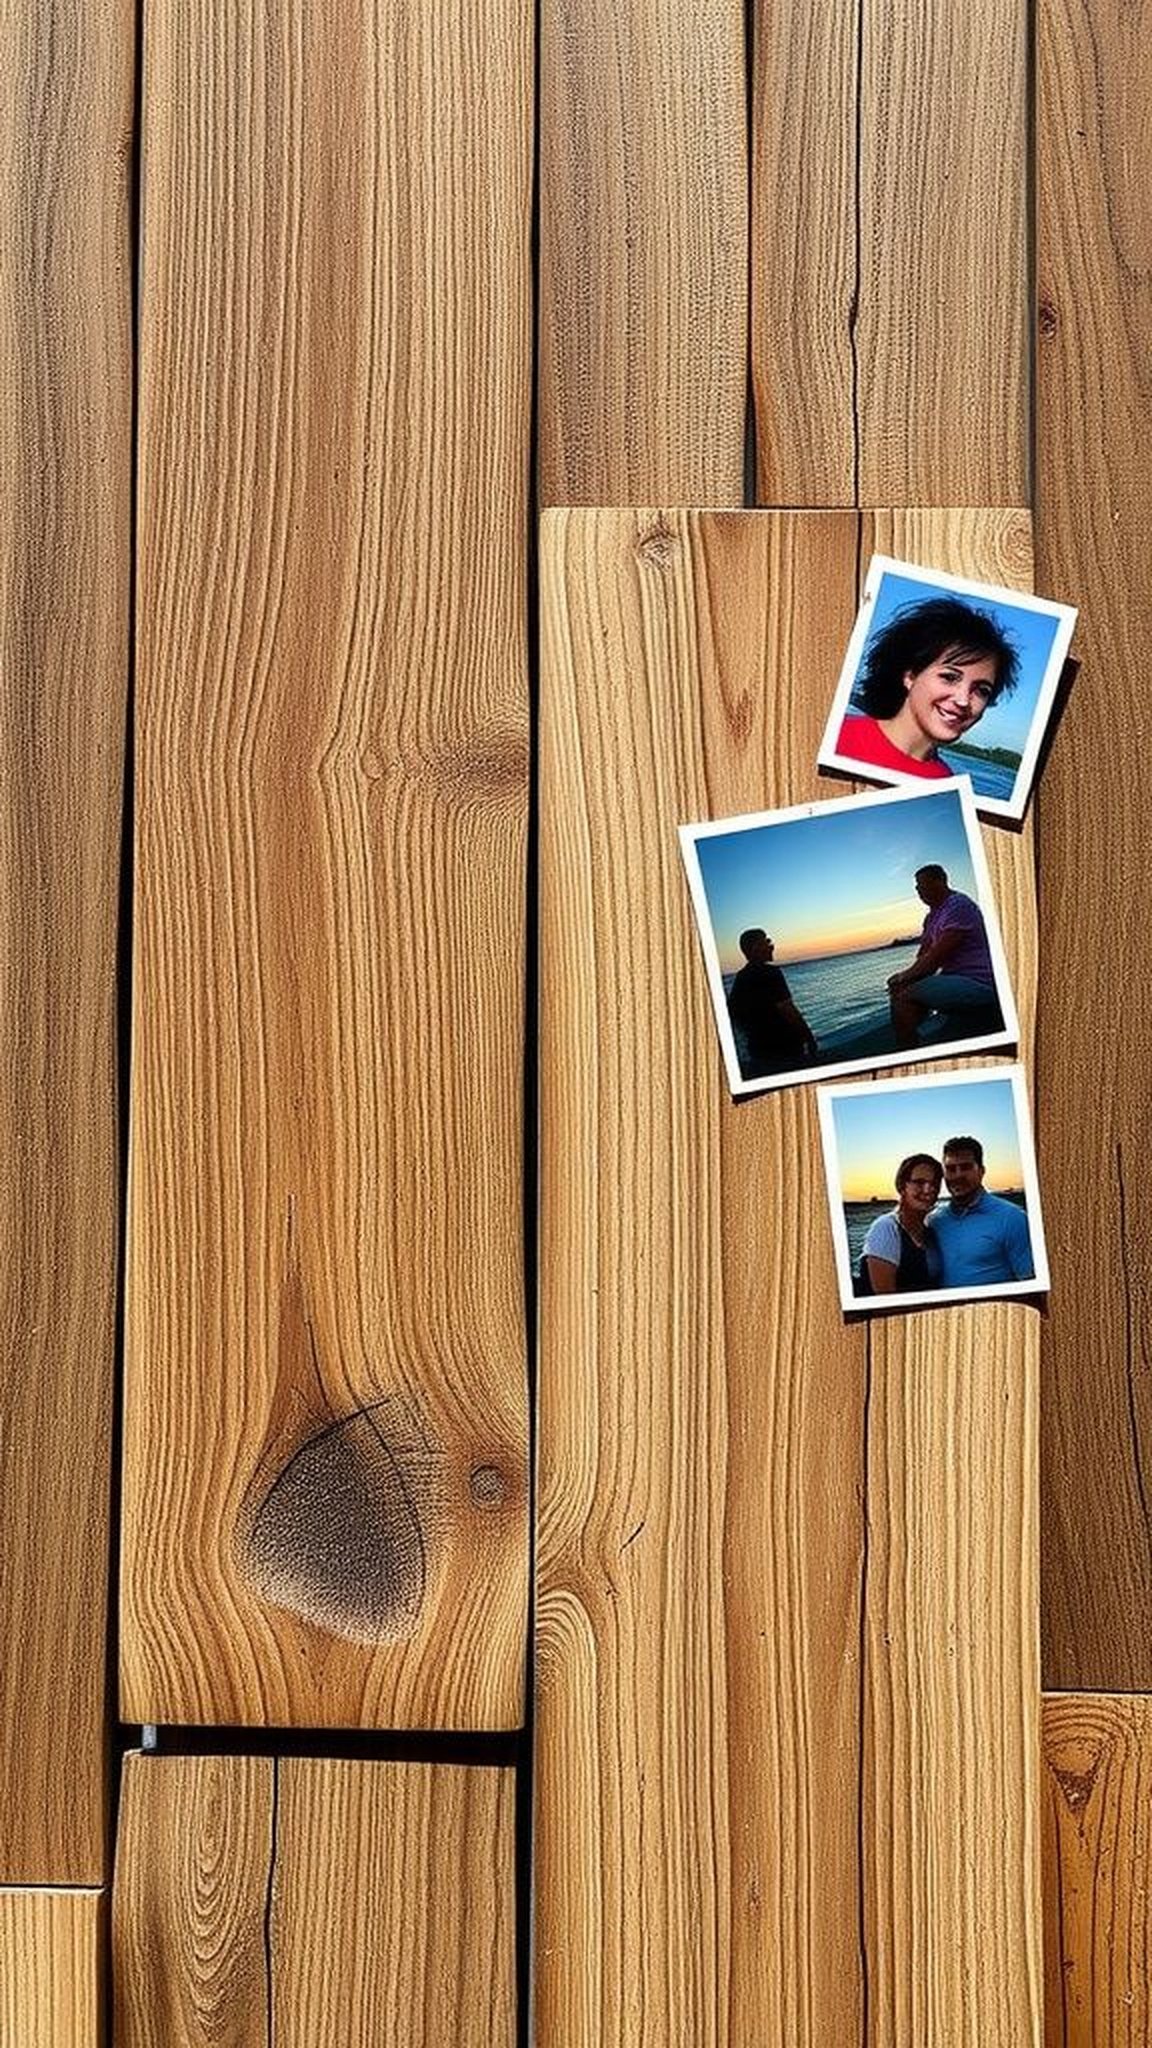
A collage on reclaimed wood brings together grain, thumbprints, and familiar faces in a way that feels honest. One panel I made carried a mix of glossy snapshots and matte Polaroids, each corner holding a tiny smudge from handling and a small flake of paint that matched the wood.
The texture of the board and the slight wobble in a crooked frame made the whole piece feel like an old family artifact. Passing my hand over the surface felt like reading a layered story of weekends, road trips, and small jokes.
Steps
- Choose a weathered piece of wood and sand the top lightly to remove any loose splinters without altering the character.
- Arrange chosen photos across the board until the composition feels balanced, mixing sizes and orientations for visual interest.
- Adhere photos with archival-safe adhesive, smoothing each one gently to avoid bubbles and to keep edges aligned.
- Finish by sealing the surface with a matte protective coat to preserve texture and colors while maintaining a tactile feel.
Leather cord key fob with embossed initials
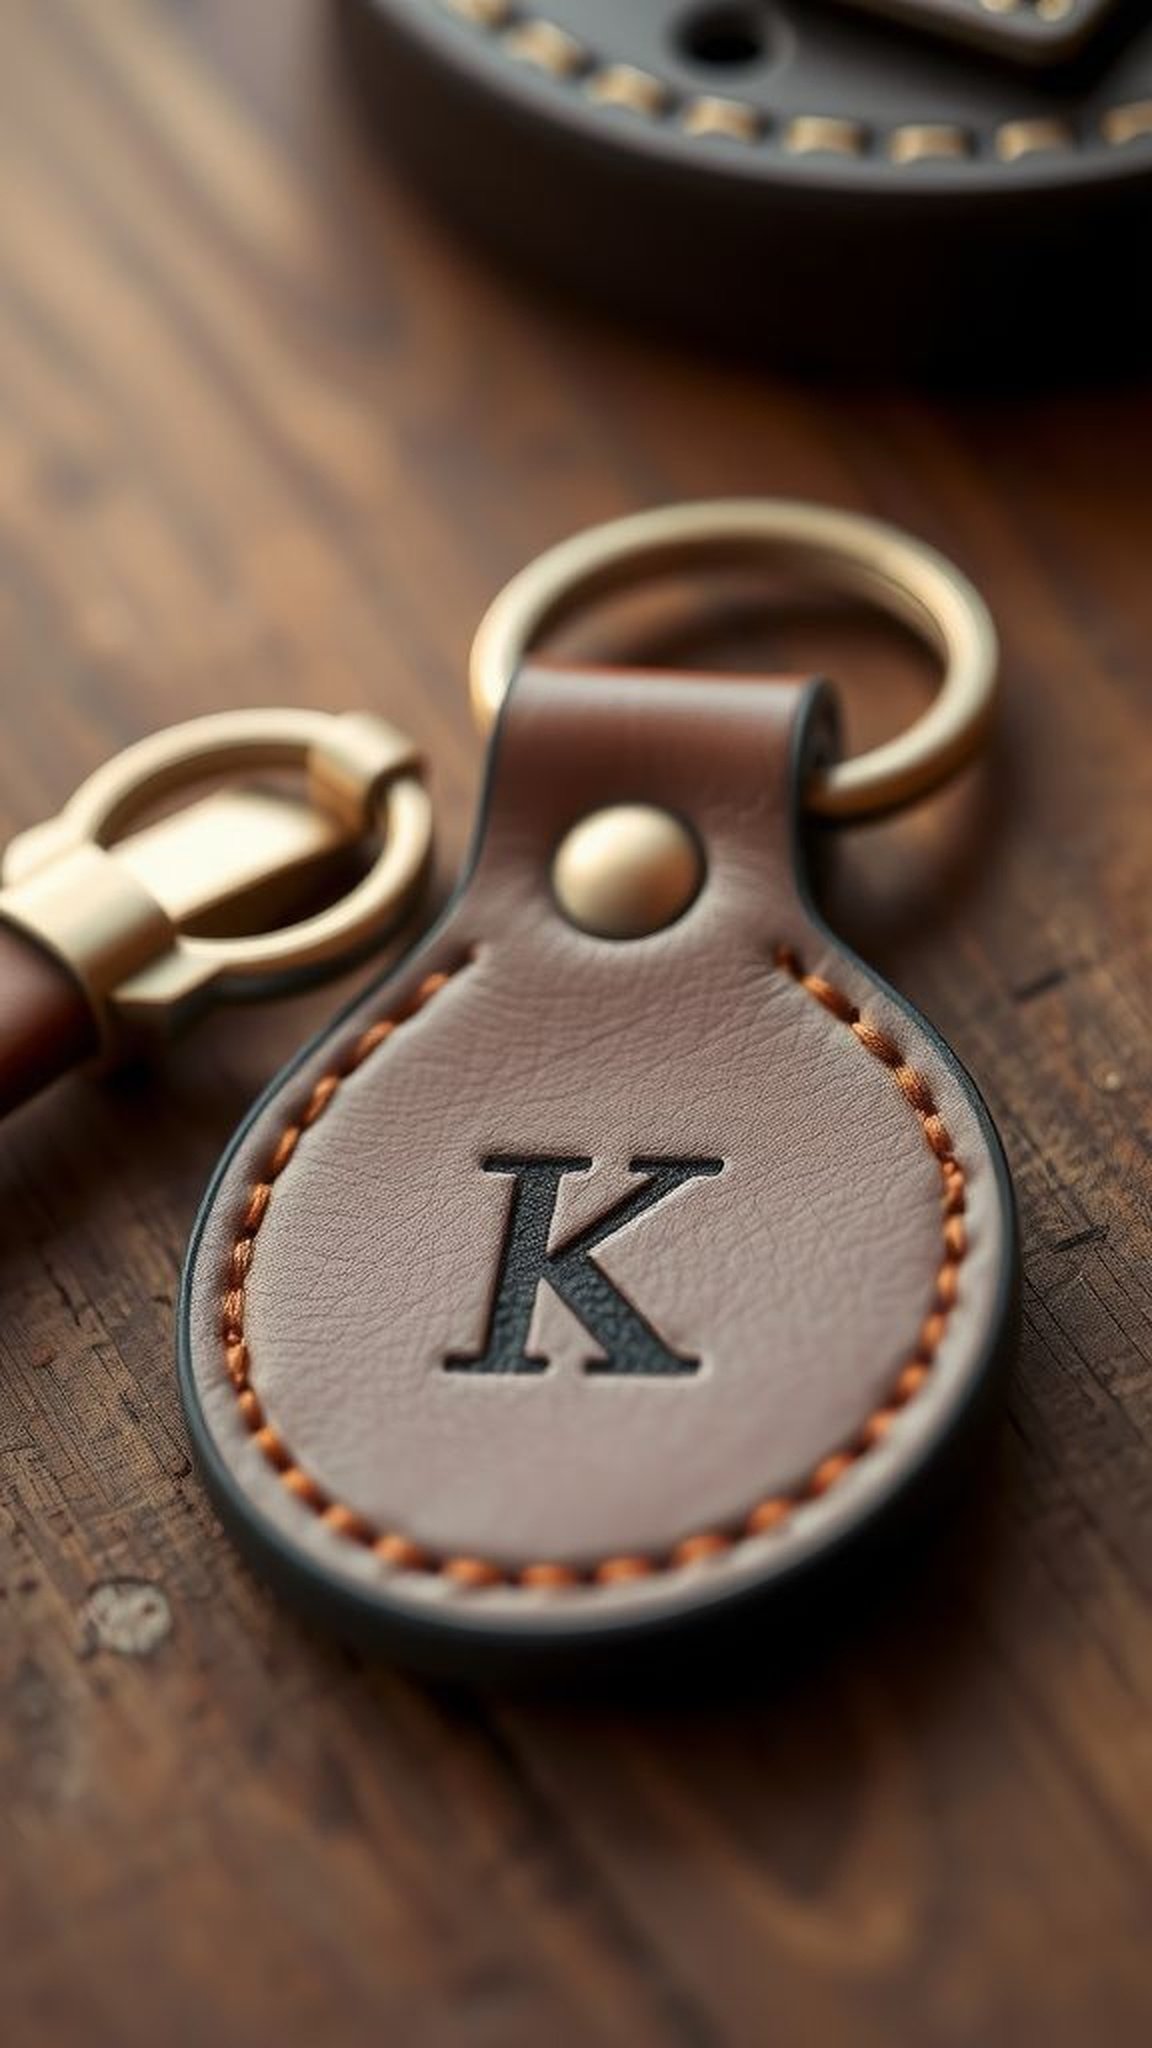
A small leather fob feels weighty in a pocket and quiet when it bumps against a keyring. One that lived on a drawer knob for a season developed a soft sheen where fingers touched it most, and the pressed initials had slightly darker edges that read like a fingerprint.
The leather carried a faint scent of tannin and old coin, and the metal ring added a cool counterpoint. Picking it up often brings the sound of jangling keys back into the memory, like a small ritual before heading out.
Steps
- Cut a strip of vegetable-tanned leather to a comfortable length for a key fob and round the ends with scissors.
- Stamp initials into the leather using an embossing tool or metal stamps, applying even pressure for clear impressions.
- Fold the leather loop over a metal keyring and fix it with a decorative rivet or snap for secure closure.
- Burnish the edges and rub a small amount of leather conditioner to bring out a gentle sheen and pliancy.
Hand-stitched fabric coupon booklet for favors
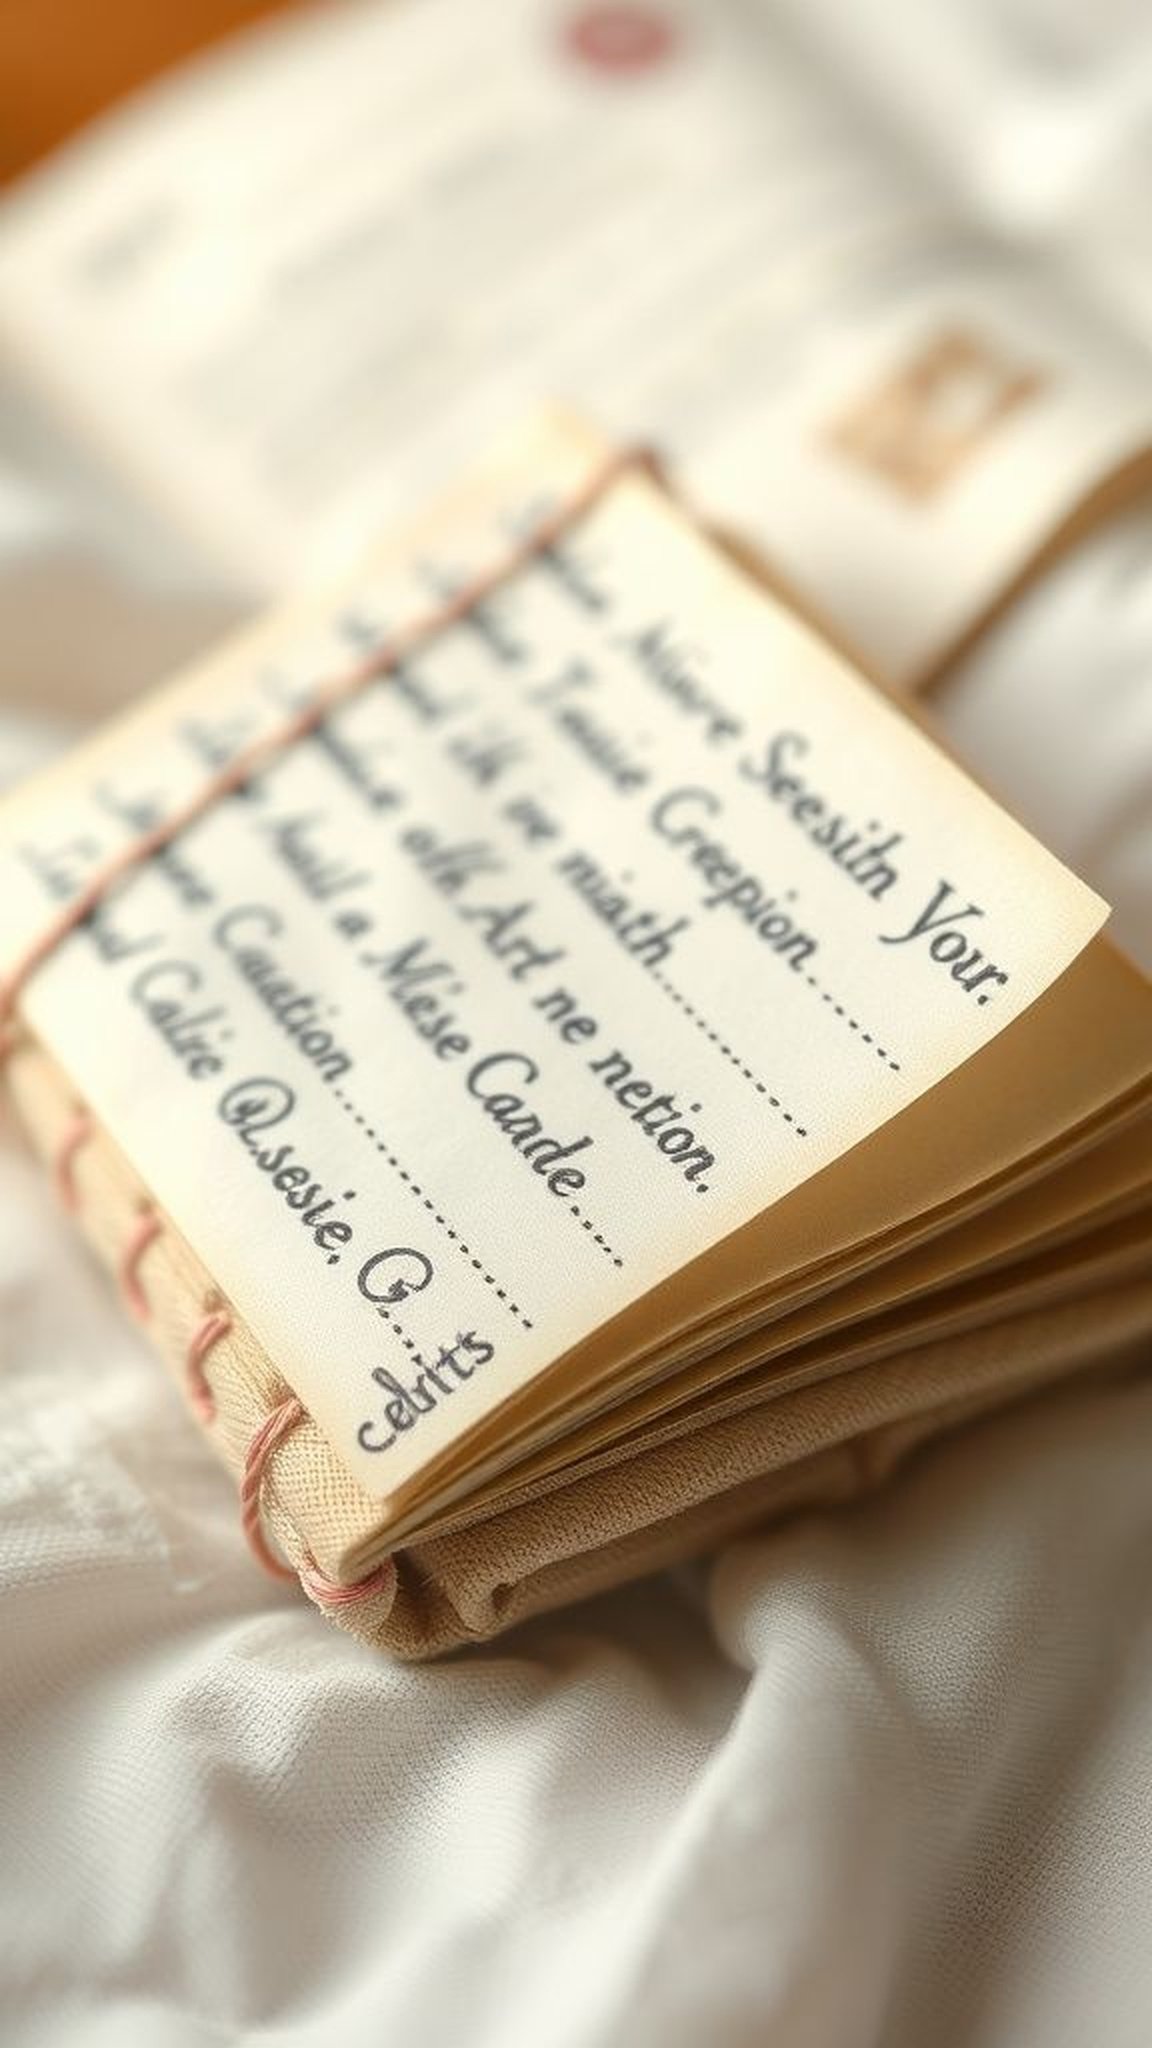
A tiny stitched booklet feels intimate in the hand, like a private promise folded into fabric. One I kept had textured paper coupons with faded ink and a cover made from an old shirt that smelled faintly of the person who wore it.
The stitching held like a small spine and the corners had been softened by repeated opening. Each ticket carried its own tone depending on the handwriting, some hurried and playful, others careful and looping.
Flipping through the pages always nudged a smile and a memory of soft afternoons.
Steps
- Cut matched pieces of cardstock or fabric to create the booklet pages and a slightly larger piece for the cover.
- Stack the pages neatly inside the cover and mark three equidistant needle points along the spine for stitching.
- Sew the booklet through the marked holes using a sturdy thread and a simple saddle stitch for durability.
- Personalize each page with handwritten notes or small drawings, then press the finished booklet under a weight to flatten seams.
Concrete desk pen holder with marbled pattern
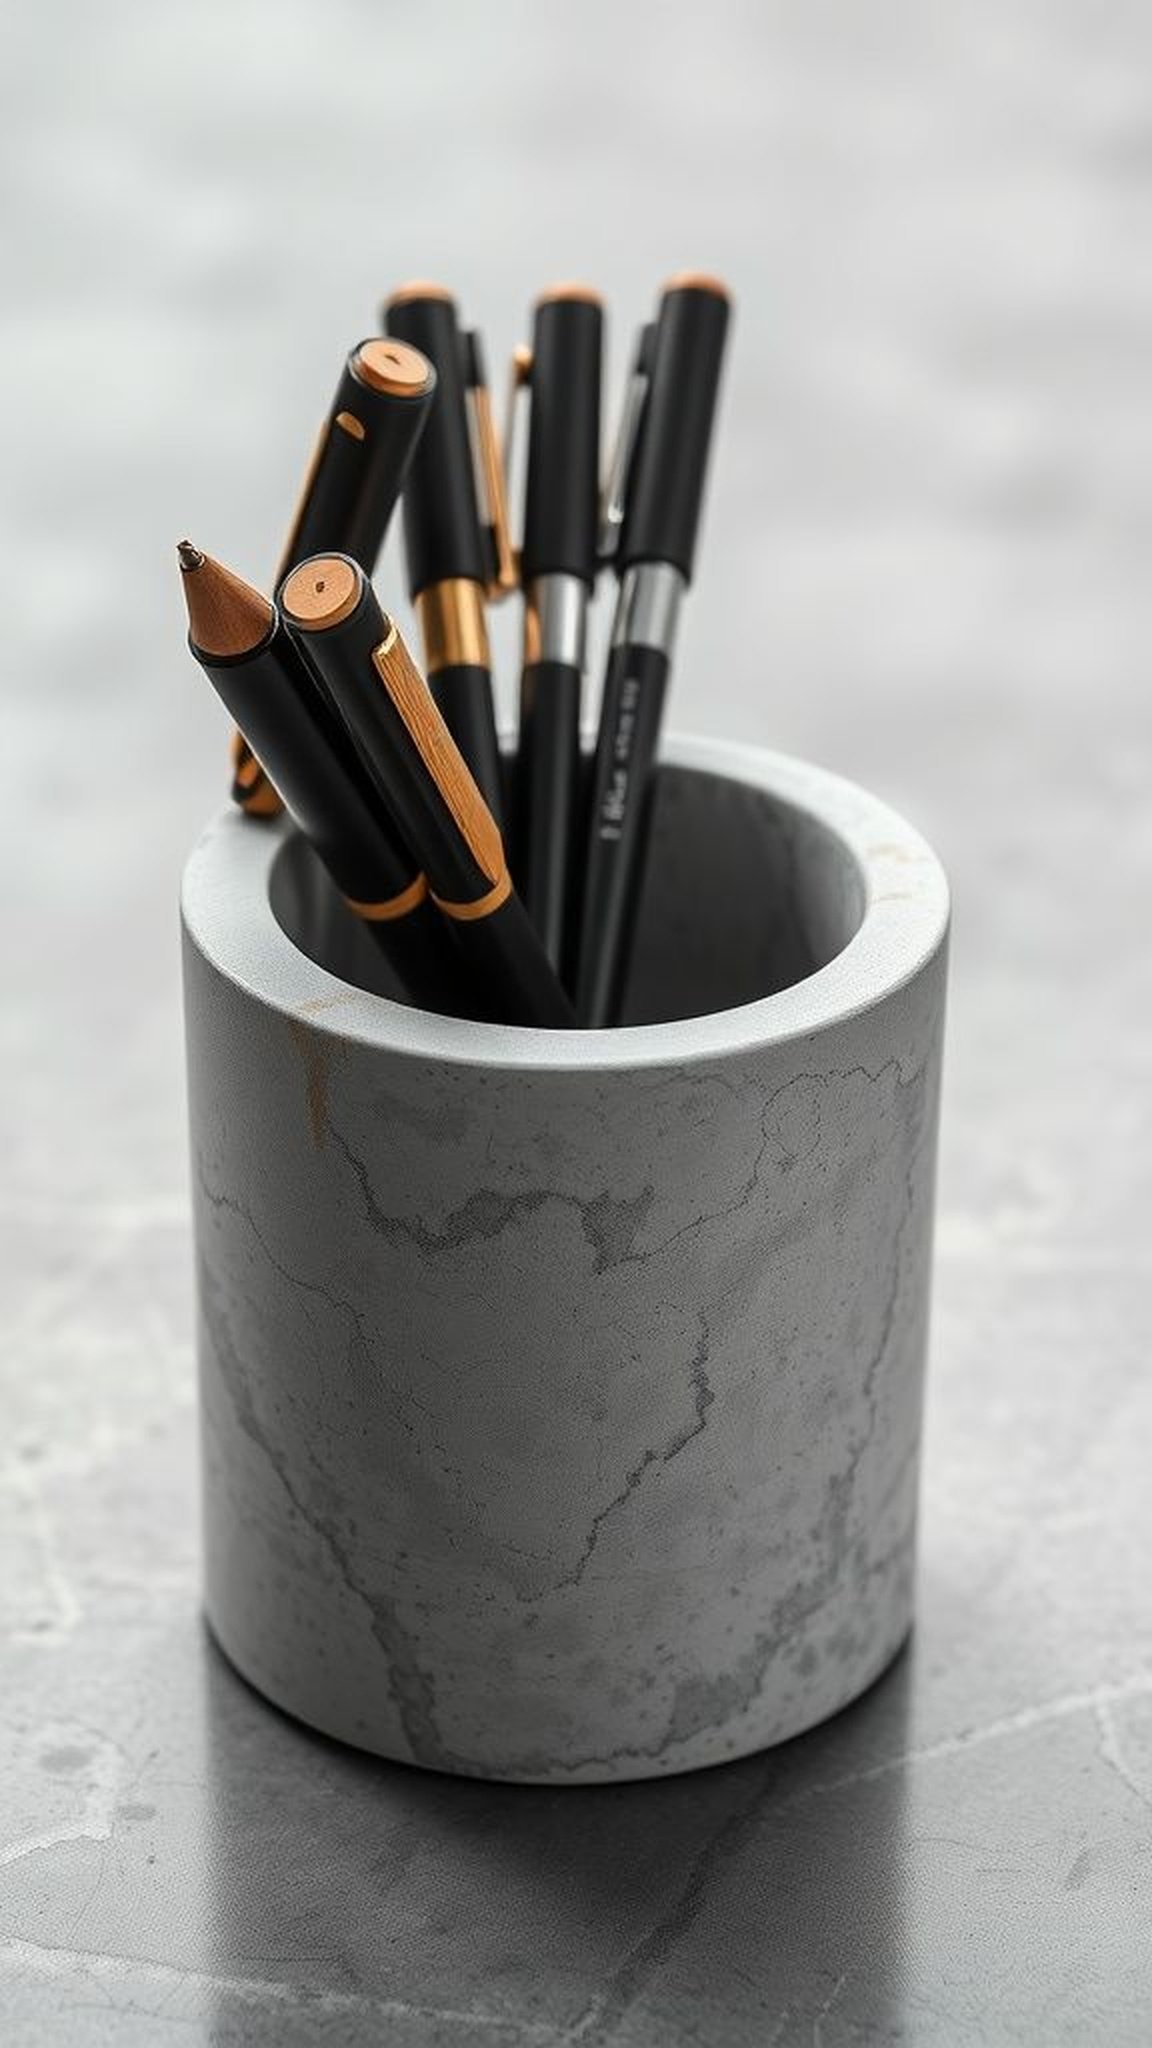
A concrete holder has a cool density that feels grounding on a cluttered desk. One casting developed faint air pockets and a soft gray that caught fingerprints, while a marbled swirl added motion to the surface.
The edges were slightly smoothed by time, and the holder gave pens a tidy home that made writing moments feel more deliberate. Tapping its side produced a muted, comforting sound, and the weight made it stubbornly resist accidental knocks.
Placing it beside a stack of receipts made the whole workspace feel more intentional.
Steps
- Mix a small batch of fine concrete to a pourable consistency, stirring slowly to reduce bubbles while keeping the mixture workable.
- Pour the concrete into a cylindrical mold, stirring in a contrasting pigment or swirling two shades to create a marbled effect.
- Insert a smaller removable tube in the center to form the pen cavity and allow the concrete to set until firm.
- Demold carefully after curing, sand any rough edges, and finish with a light sealant to protect the surface.
Personalized spice rub in apothecary jar
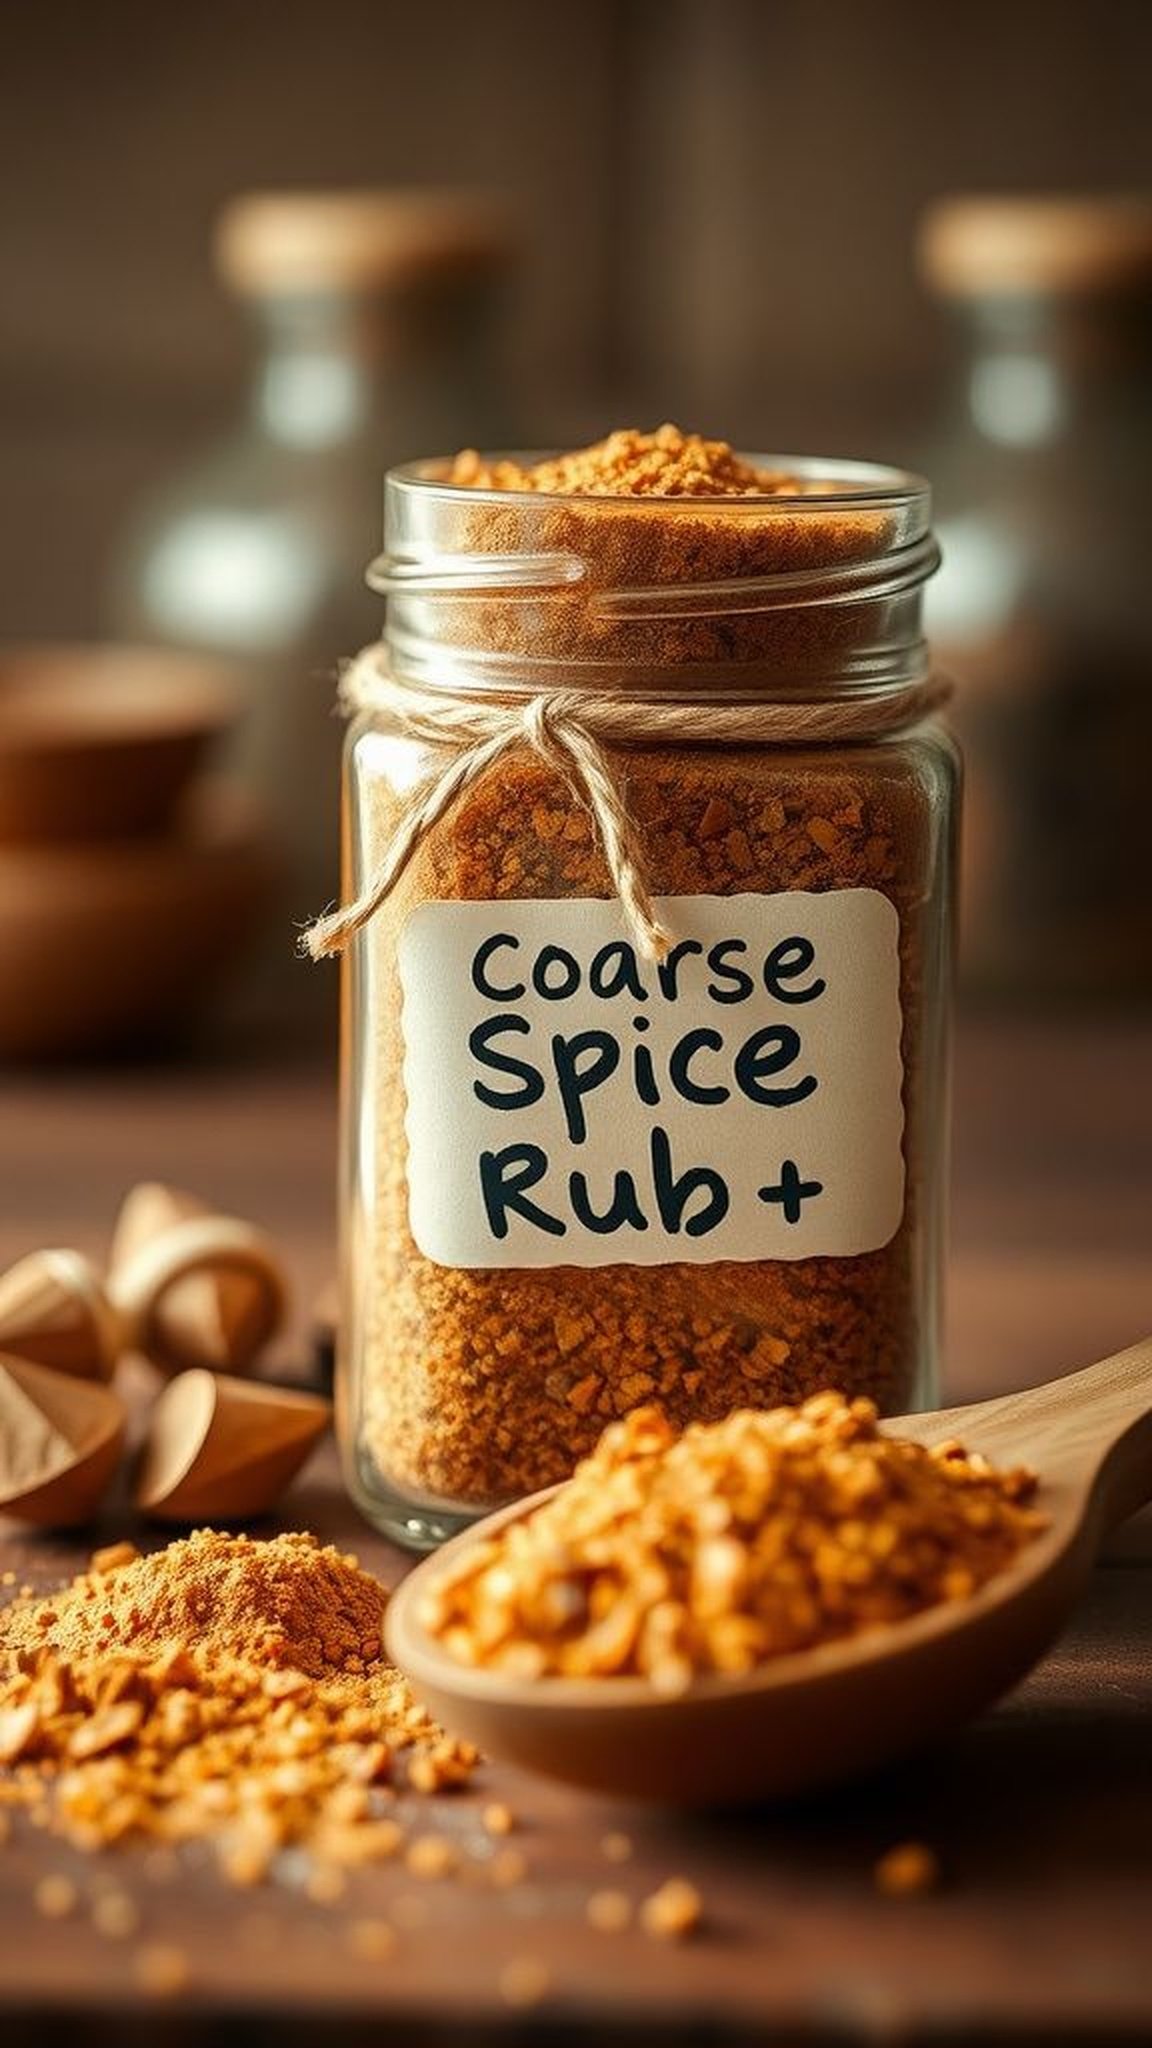
The jar opened to the warmth of toasted spices and a faint citrus lift that felt like a kitchen memory condensed. A small label with looping handwriting named the blend, and a twine bow around the neck gave it a rustic edge.
The scent drifted through the room when the lid was lifted, pulling up images of backyard smoke and bright, garlicky mornings. Watching someone sprinkle it over food made the textures of the meal look brighter, like a little aromatic punctuation on an everyday dinner.
Steps
- Toast chosen whole spices lightly in a dry pan until aromatic, then grind them to a coarse powder with a mortar and pestle.
- Mix the ground spices with salt, sugar, and dried herbs until the aroma feels balanced and lively.
- Spoon the blend into a clean apothecary jar, tapping to settle the mixture and leaving a small headspace.
- Label the jar with handwritten tag and seal the lid tightly for storage, keeping it in a cool, dark place.
Map-coasters marking meaningful routes
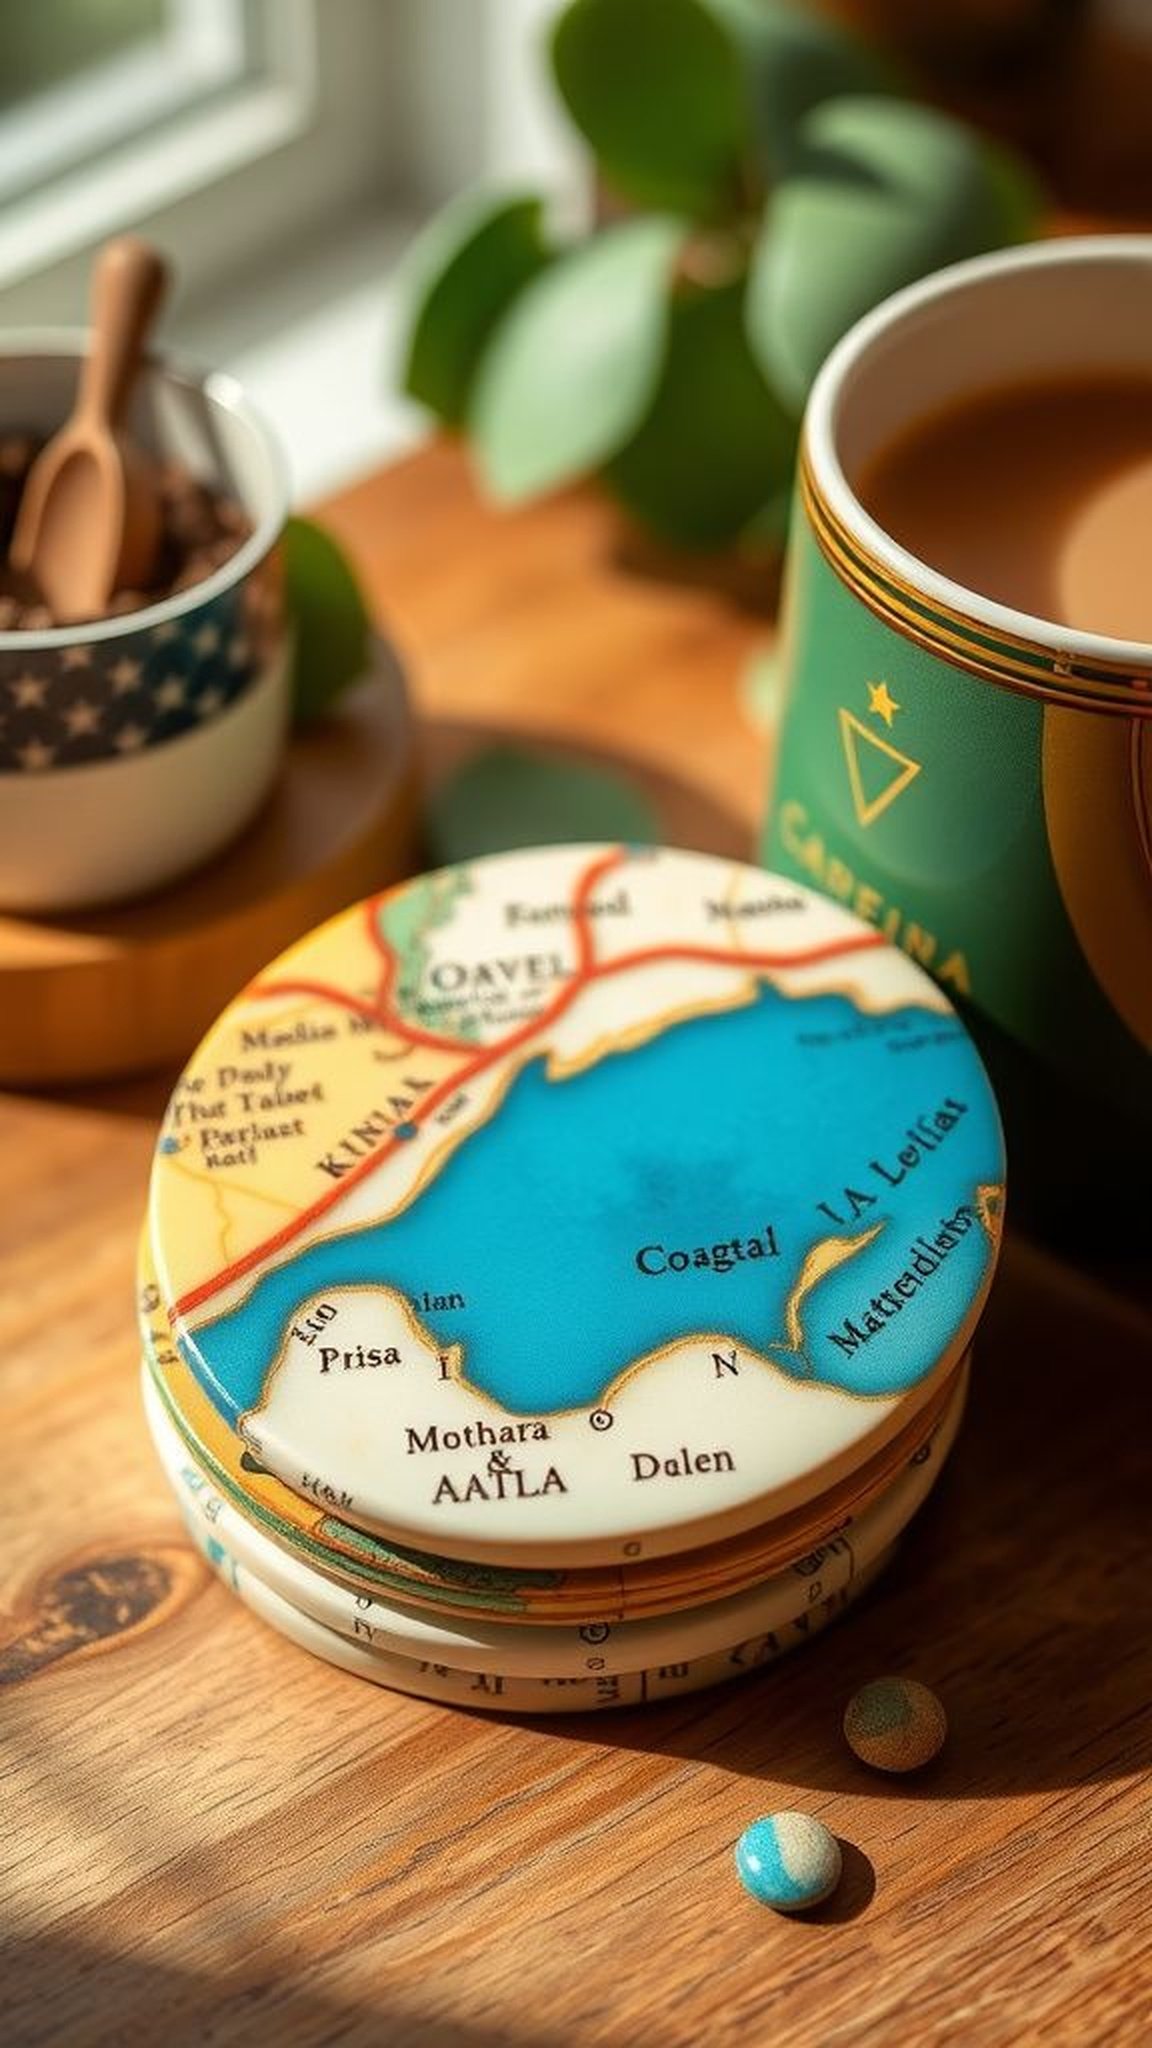
Paper maps felt worn at the folds and held little creases where thumbs had traced paths. Coasters made from map fragments captured the blue of rivers and the curled edges of a favorite coastline.
One set carried a highway I used to drive every weekend and another bore a vacation town with a single crescent beach. The resin surface mirrored light and kept the map safe, while the edges showed the layered paper beneath.
Sitting a mug on one of them always pulled up memories of a particular stretch of road.
Steps
- Cut map sections into coaster-sized squares or circles and arrange them on coaster blanks to find the most evocative fragments.
- Adhere the map pieces to the blanks with a thin layer of clear adhesive, smoothing to prevent bubbles or wrinkles.
- Pour a clear casting resin over each coaster, covering the surface evenly and allowing bubbles to rise before popping them.
- Cure the resin according to the product guidance, then sand edges lightly for a smooth finish and add protective pads underneath.
Embroidered handkerchief with a small motif
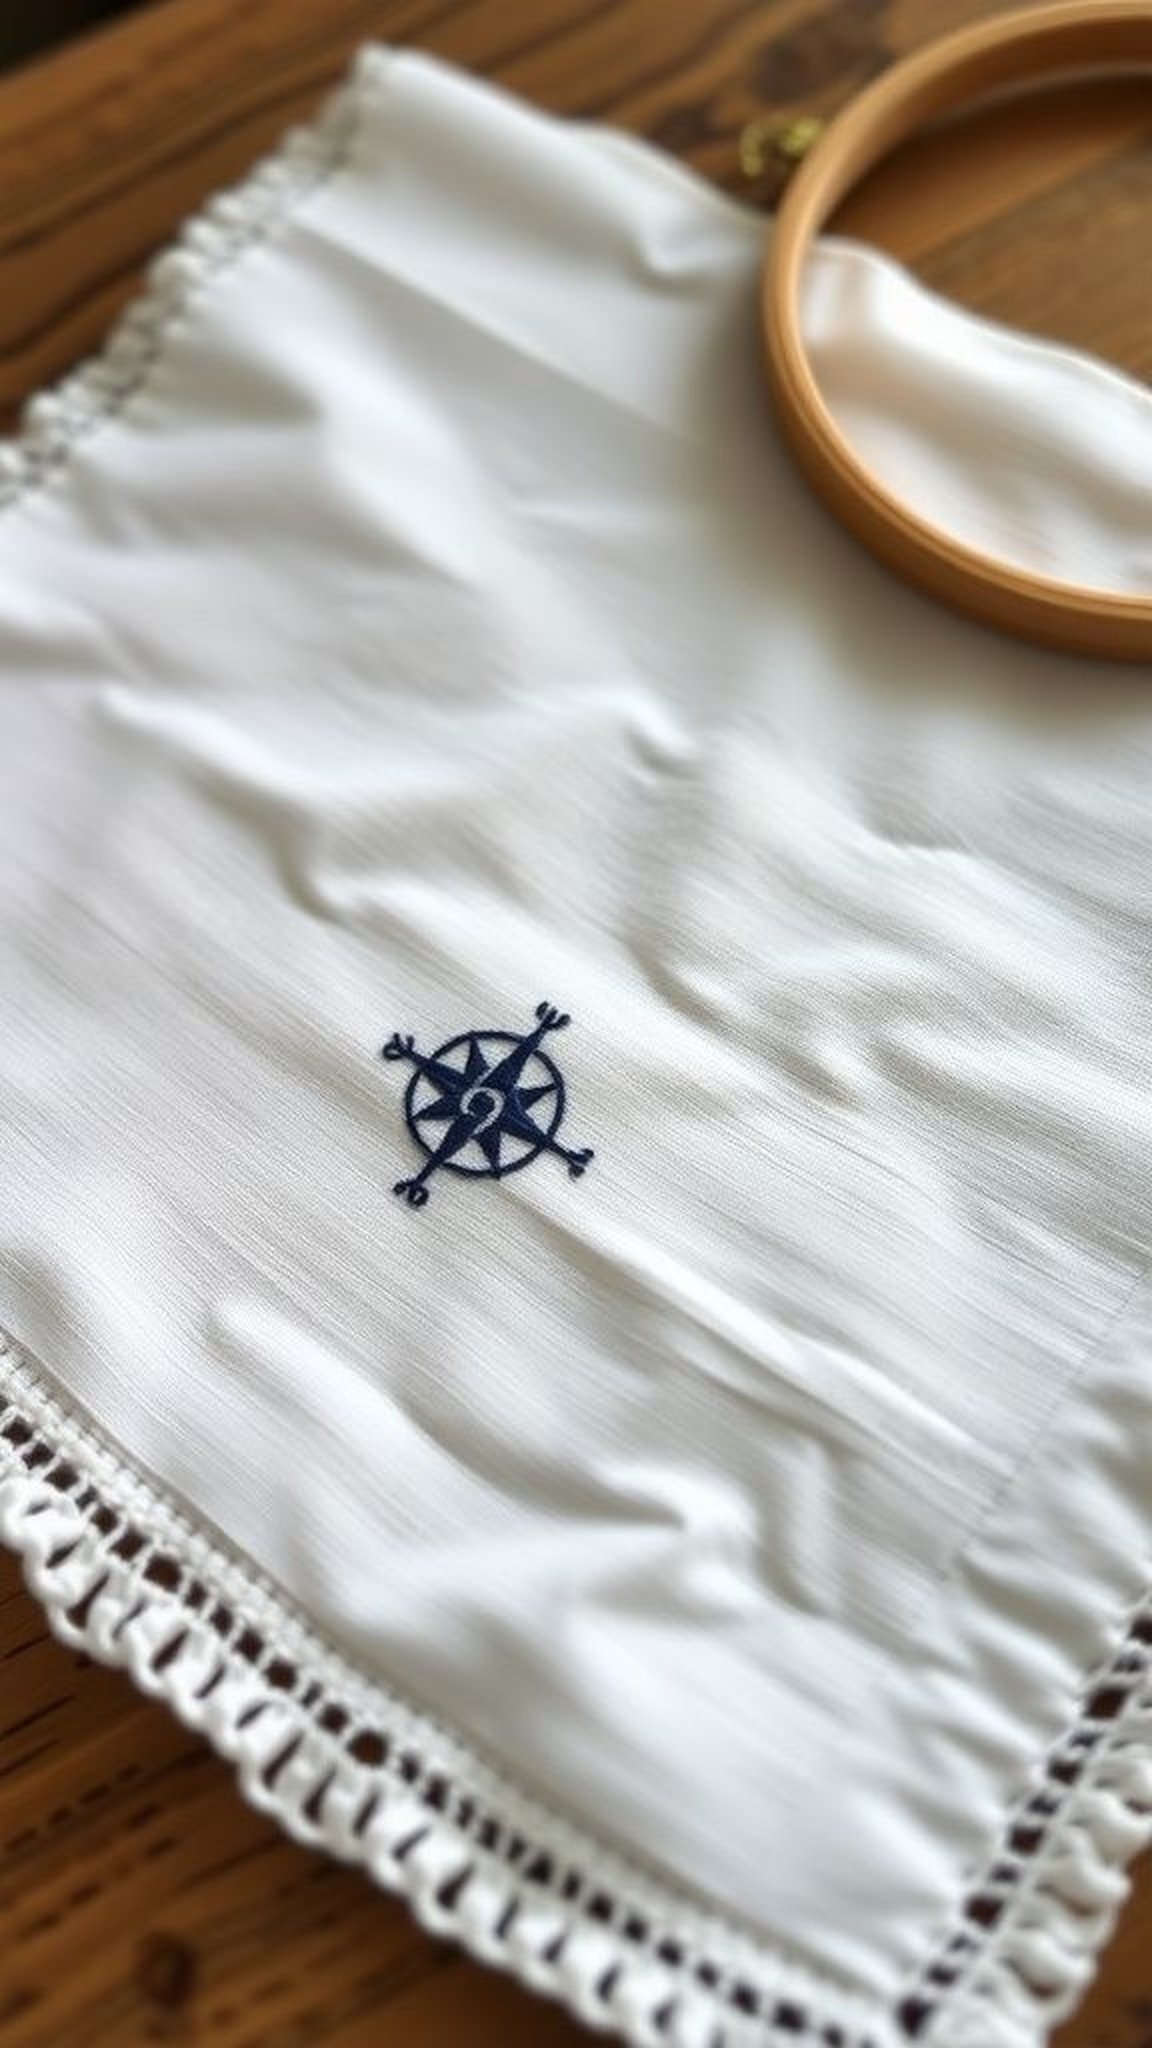
A delicate stitch on a handkerchief felt like a whisper of care, the thread catching the light against soft cotton. There was a pocket square with a tiny compass stitched in one corner that had been pressed into a drawer for years, its folds wearing in gentleness.
The small motif peeked out during moments that mattered, like quick goodbyes or nostalgic gestures. Running a fingertip over the embroidery revealed raised threads and a calm satisfaction, and the scent of linen from the drawer made the whole piece feel like a tiny ceremony.
Steps
- Choose a lightweight cotton handkerchief and transfer a small simple motif to one corner using a removable fabric pencil.
- Select embroidery floss in a restrained palette and secure the fabric in a hoop to keep the weave even.
- Stitch the motif using basic stitches such as backstitch and satin stitch for subtle texture and clarity.
- Press the finished handkerchief gently under a cloth to flatten stitches and store it in a scented drawer or envelope.
Memory jar filled with tiny note scrolls
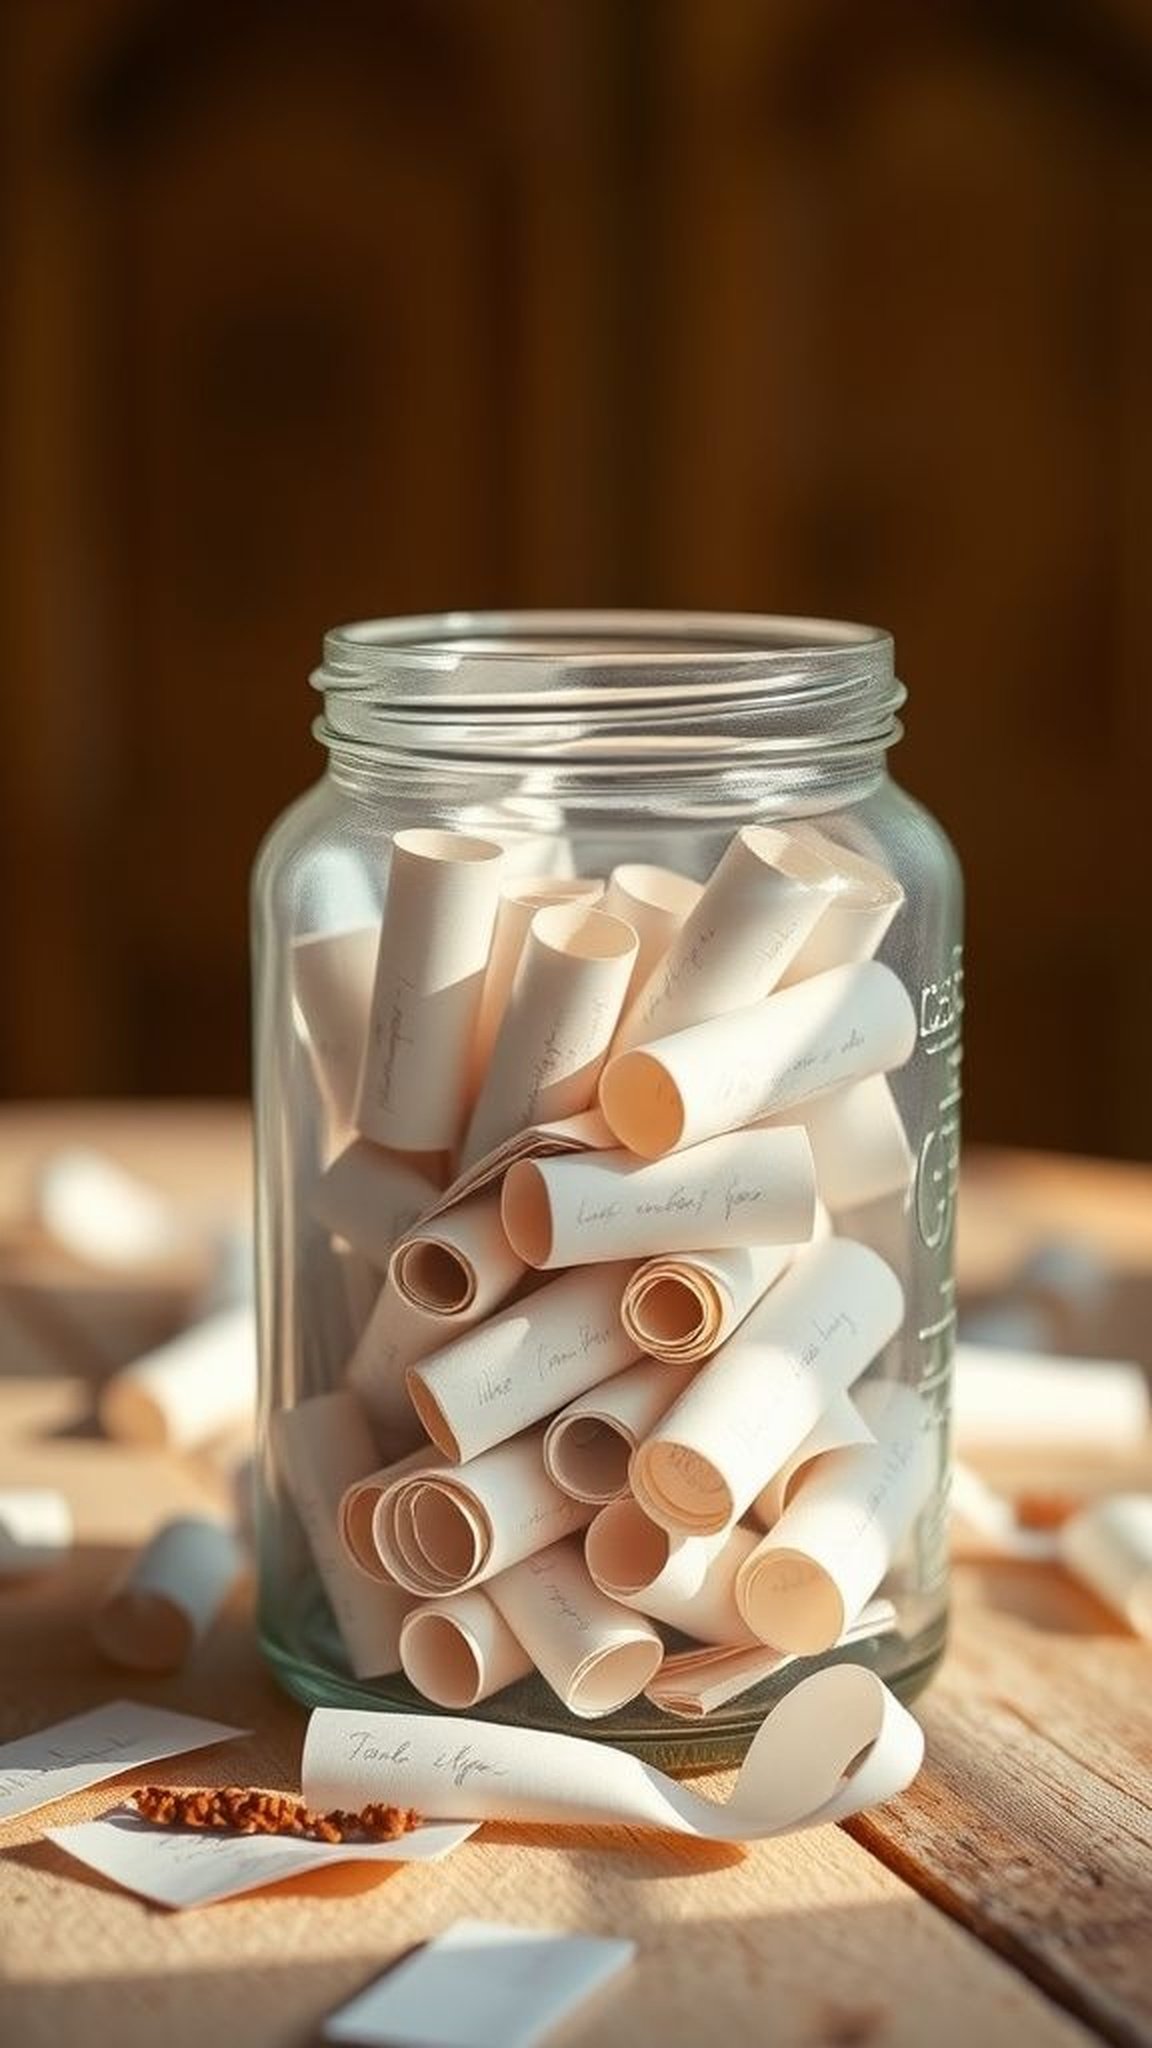
A jar that collects little strips of paper becomes a slow unfolding of voice and time. Each slip had a quick phrase, a laugh, or a single word scribbled in haste; the pile inside the glass had a pleasing rustle when shaken gently.
One jar lived on a mantle and caught light so notes glowed like miniature lanterns. Pulling out a slip sometimes brought a laugh that echoed back to a kitchen conversation or a late night.
The jar took up almost no space yet held a dense kind of closeness.
Steps
- Cut many small strips of paper and prepare a jar with a clean interior and a decorative lid.
- Invite family members to write brief memories, jokes, or one-line appreciations and fold each slip into a tight scroll.
- Place each folded note into the jar over time to build a layered collection of tiny moments.
- When desired, open the jar and read a few slips aloud, sharing the warmth of those captured phrases.
Stamped metal cuff with a short message

A slim metal cuff carries a little weight and a cool touch on the wrist, and a stamped message sits like a private line. The letters had slight irregularities from hand strikes, giving the band a character that felt human rather than factory-made.
One cuff warmed against skin and developed a faint patina where contact occurred, deepening both color and meaning. The sound of metal lightly tapping the table felt like punctuation when hands rested during conversation.
Wearing it seemed to make small, ordinary gestures feel intentional.
Steps
- Select a strip of soft metal such as aluminum or copper and shape it to a comfortable wrist form using a mandrel.
- Mark the location of a short phrase or initials lightly with a pencil before stamping to keep alignment.
- Use metal stamps and a hammer to imprint each character, checking spacing as the message takes form.
- Smooth any sharp edges and buff the cuff to a gentle sheen, allowing natural patina to develop over time.
Upcycled shirt turned into a pocket pillow

Turning a beloved shirt into a tiny pillow kept the fabric’s stories close and tactile. The cotton carried faint traces of wear and a scent that felt like afternoons, and the pocket on the front became a small shelter for notes or a passed coin.
The pillow had a cozy, cradling weight and the seams showed a slight puckering from stitching, which only added to its charm. Placing it on a chair or shelf made the space feel stitched to memory, a soft reminder of habits and laughter that had settled into the fabric.
Steps
- Cut sections from a favorite shirt so the most loved patterns and the pocket remain visible on the pillow front.
- Sew the front and back pieces together along three sides, leaving an opening for stuffing.
- Fill the pillow with soft batting until it reaches a comfortable plumpness and then sew the final seam closed.
- Hand-press the finished pillow to flatten seams gently and let the fabric relax into its new shape.
Rustic wooden phone stand from offcuts
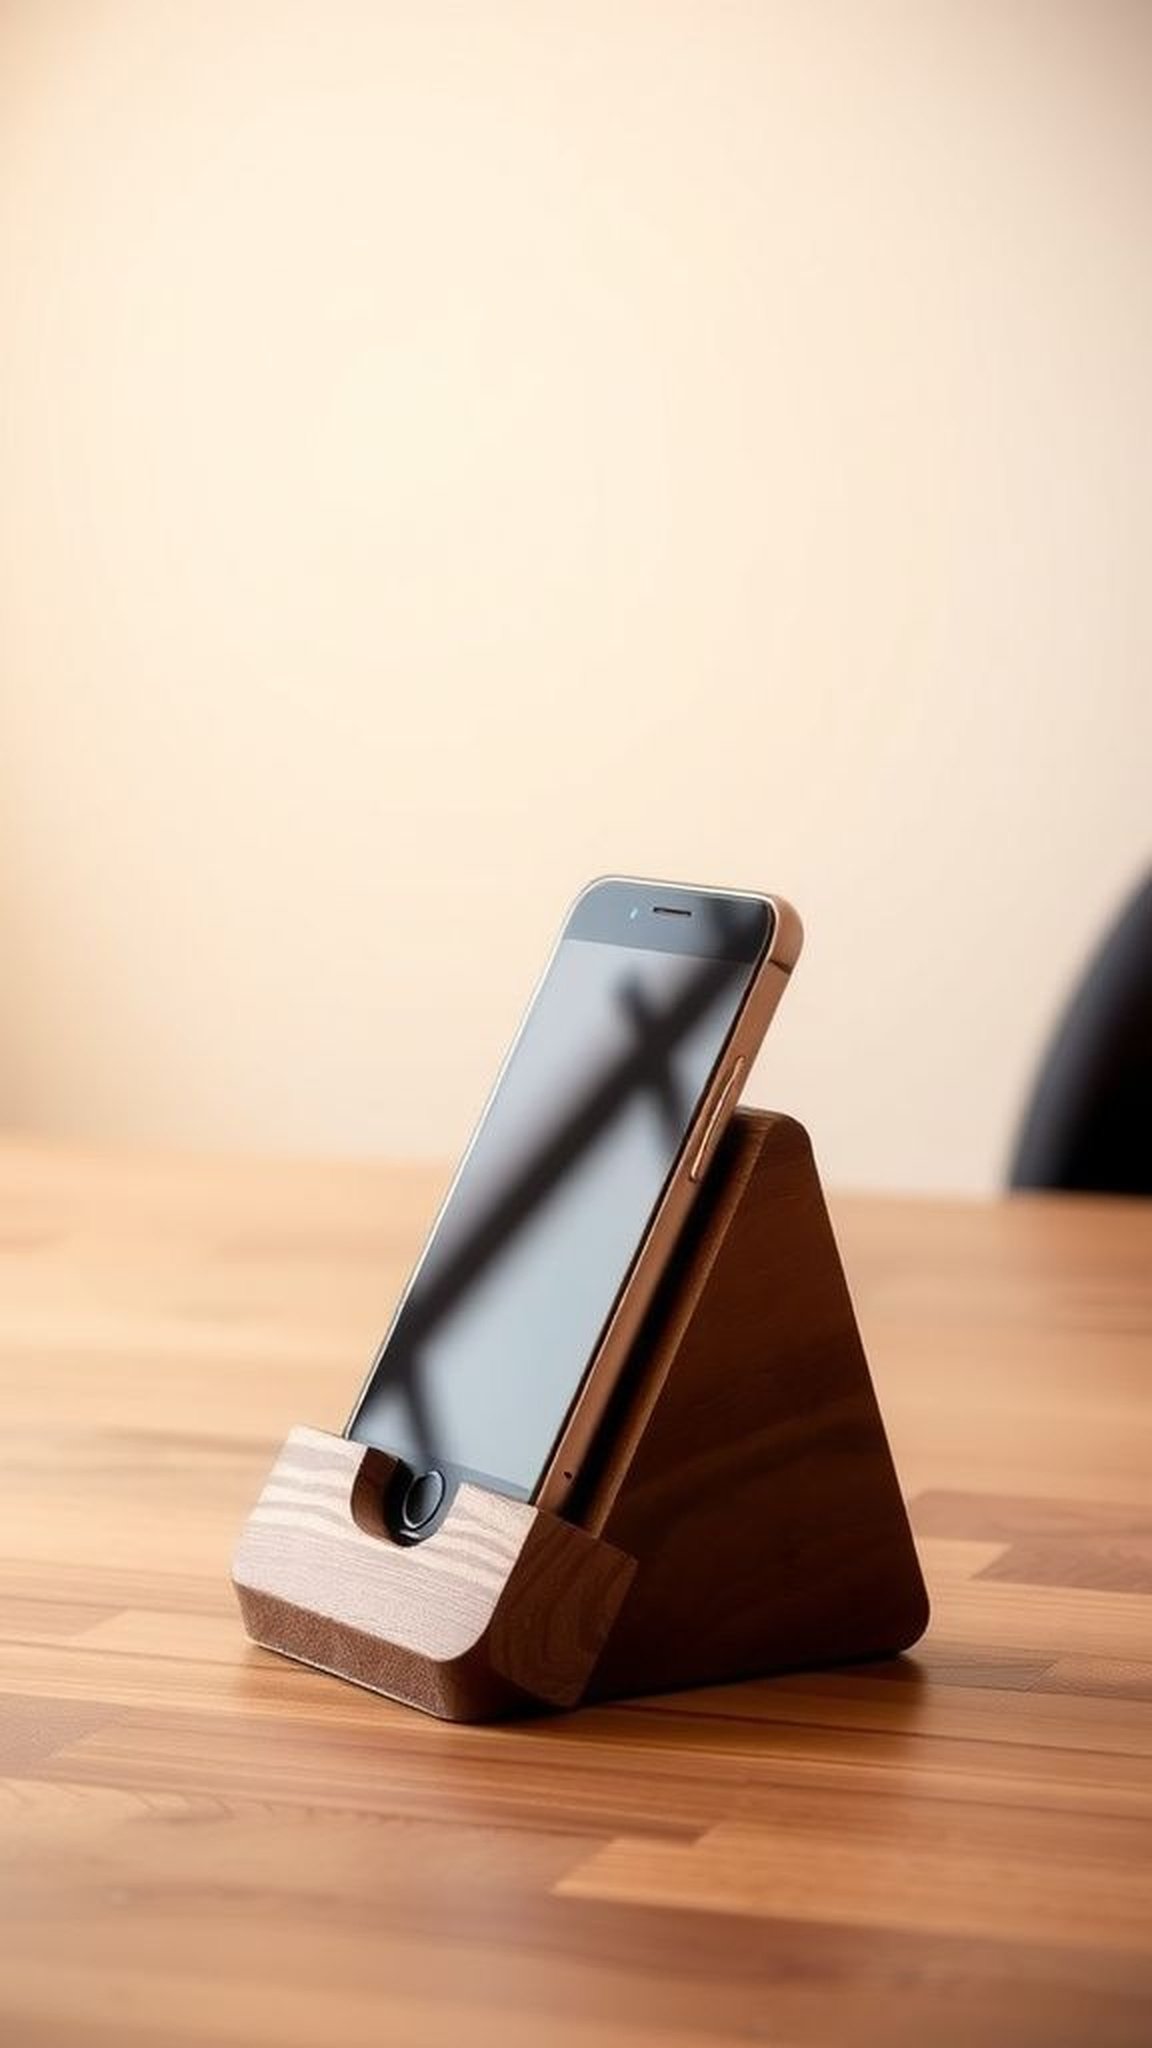
A small wooden stand feels satisfying when a phone fits into it like a found object. The offcut used had rough sawn edges that softened with handling and a knot near the base that looked like a smiling eye.
The grain redirected the gaze and the warm amber of finishing oil made colors pop. Placing it beside a mug turned the morning routine into a little composition, and the stand’s slight tilt made viewing messages feel comfortable.
The tactile groove where the device sat developed a faint sheen from repeated contact.
Steps
- Select a compact wooden offcut and mark an angled groove sized to hold a phone securely at a comfortable viewing tilt.
- Cut or carve the groove carefully, smoothing the surface to remove splinters and to make the device sit snugly.
- Sand the entire piece gently to reveal the grain and apply a natural oil or wax to enhance color and protect the wood.
- Let the finish cure, then test the stand with different devices to ensure a stable fit and pleasing angle.
Hand-painted ceramic mug with a subtle motif
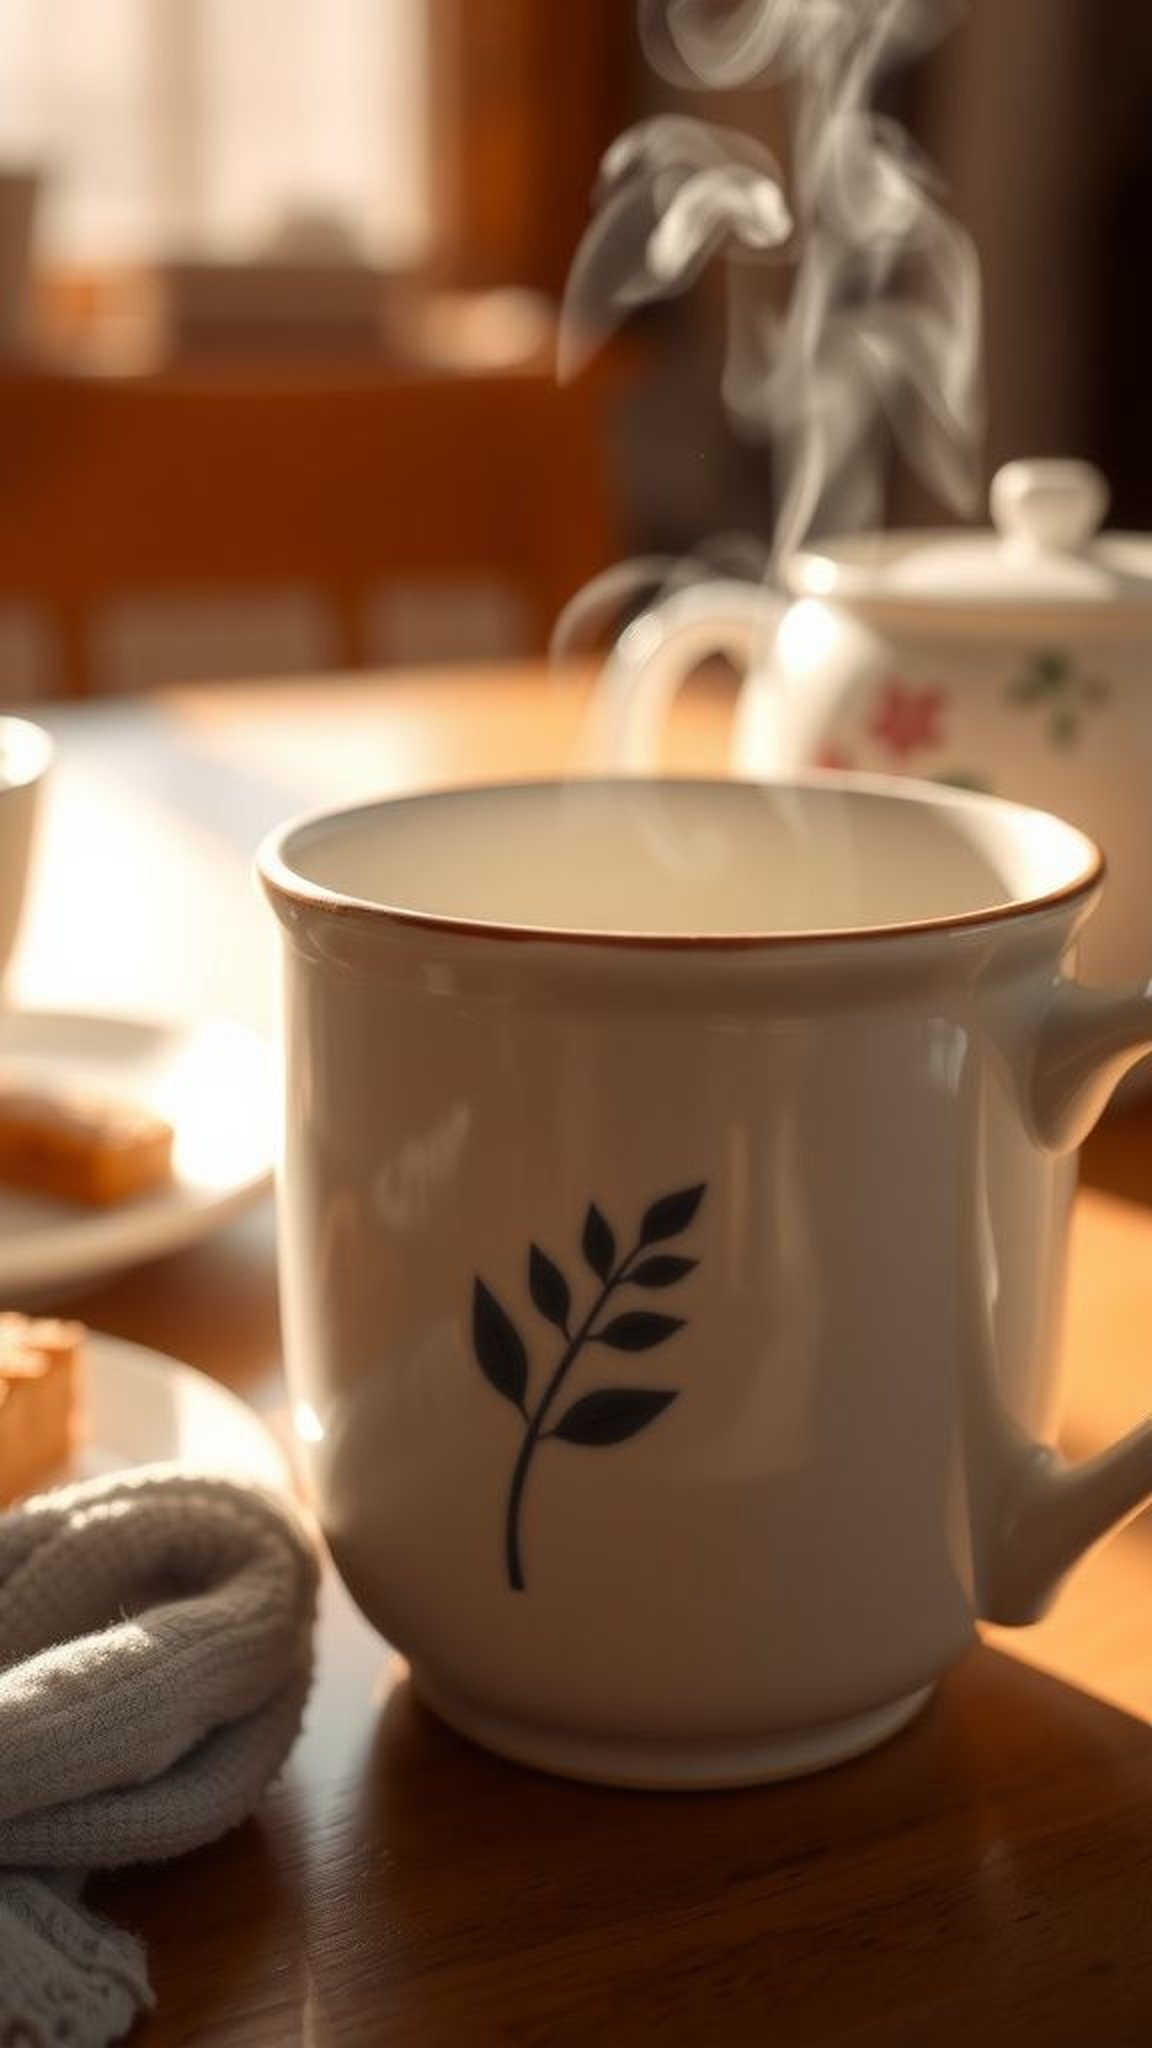
A hand-painted mug carries brushstrokes that read like a small landscape, each stroke slightly different and alive. The glaze had tiny fluctuations where brush met clay, and a thumb-worn spot on the handle showed that it had already been favored.
Pouring a drink into it released steam that caught the painted edge and softened colors; the first sip felt quieter, like an inside joke with warmth. The mug’s weight and the coolness of the glaze before the drink tempered the moment, making ordinary mornings feel a little more considered.
Steps
- Start with a plain ceramic mug and sketch a small motif lightly with a pencil as a guide for painting.
- Apply ceramic-safe paints in thin layers, allowing each pass to dry so the brushwork retains definition.
- After painting, fire or cure the mug according to the paint manufacturer’s instructions to set the design.
- Wash gently before first use and enjoy the mug as part of a quiet ritual.
Bespoke tool roll with labeled pockets
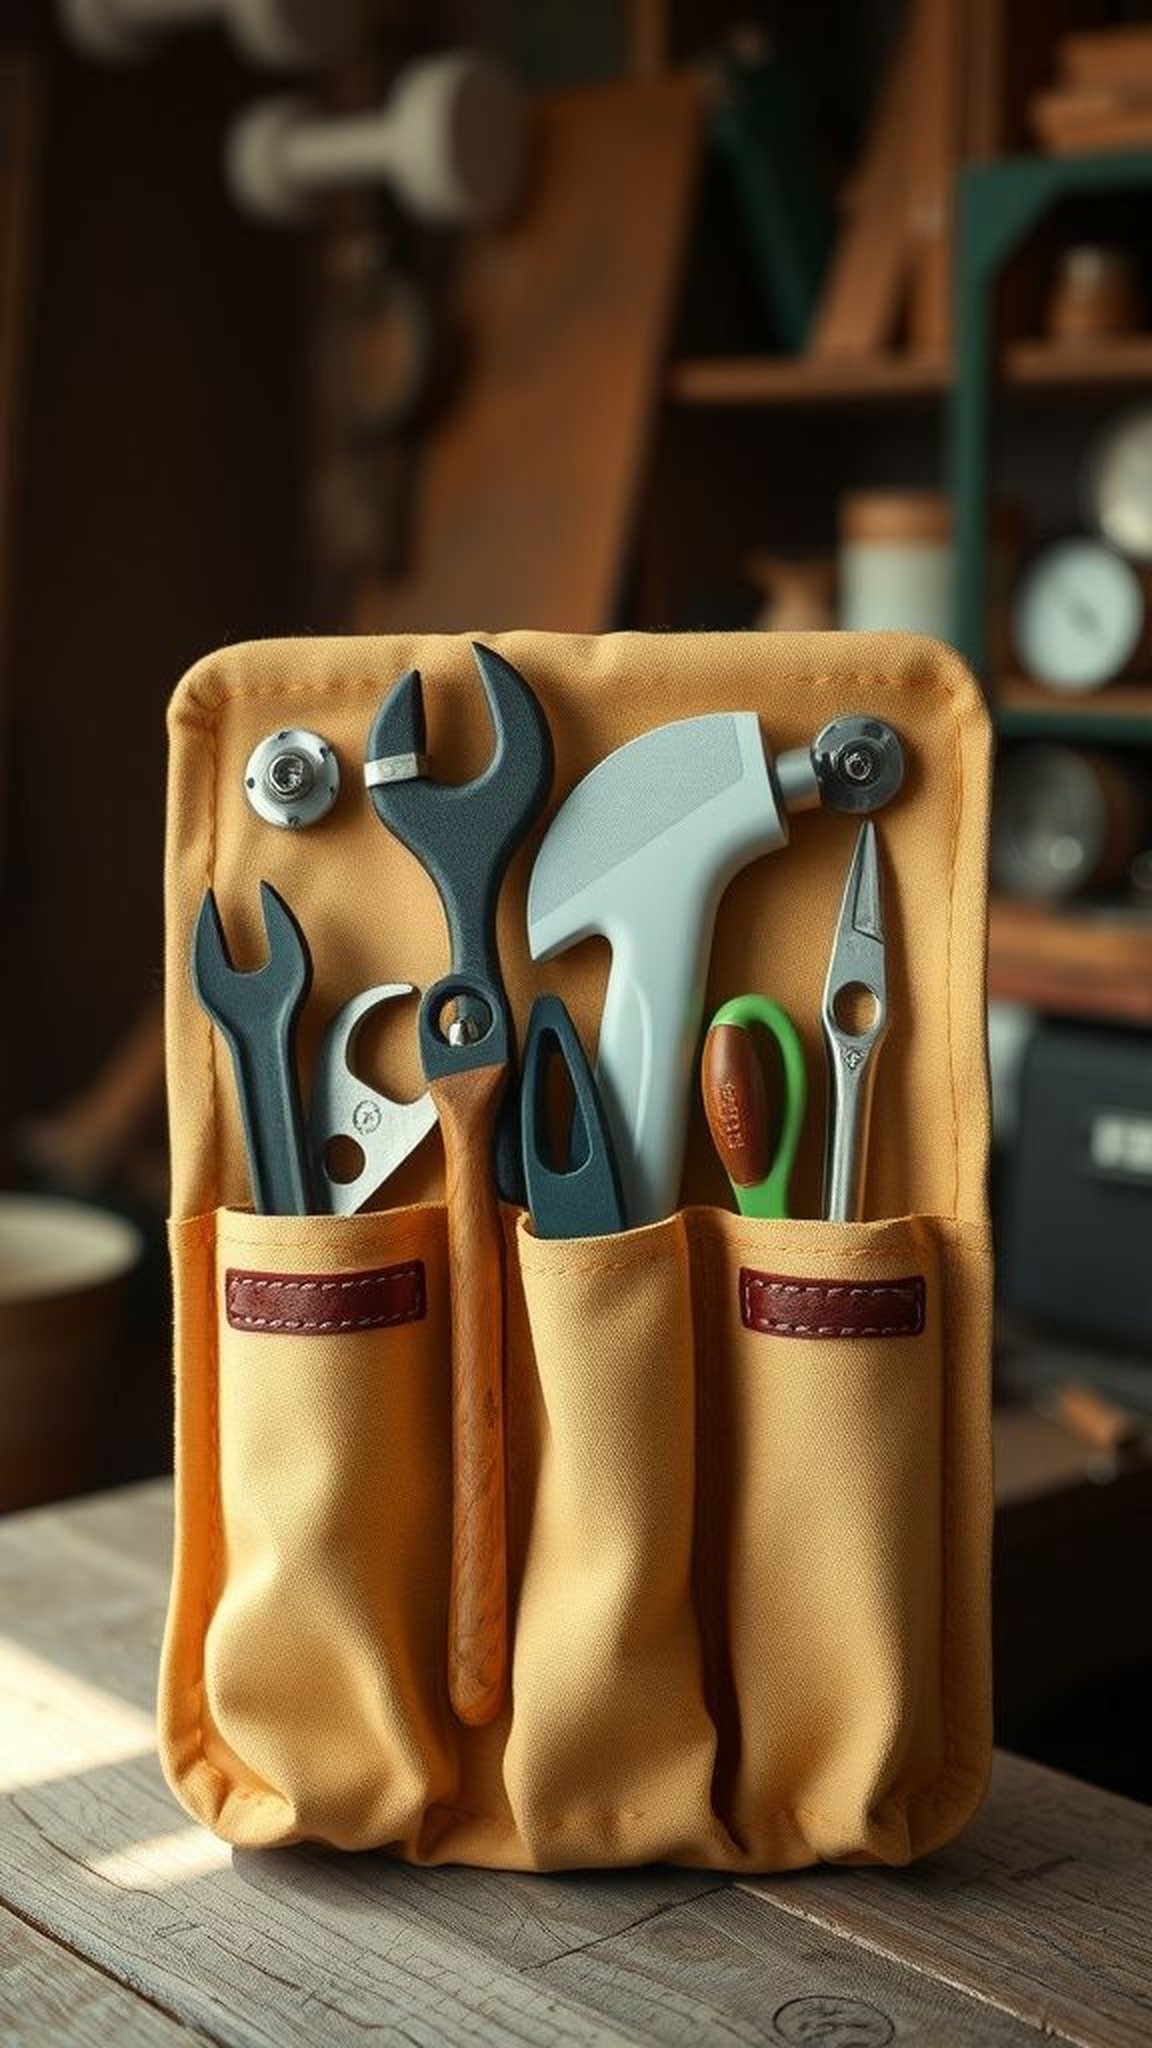
A fabric roll with snug pockets felt like a compact promise of order, each slot holding a tool that belonged to weekend rituals. The canvas carried faint grease marks from use and the labeled tabs showed hand-stitched letters that softened over time.
Rolling it up produced a soft click of metal and cloth, and unrolling felt like opening a small treasury. The weight of a favorite wrench in its place was reassuring, and the whole roll fit easily into a bag for car repairs or small projects that arrive unexpectedly.
Steps
- Cut a rectangle of durable canvas and sew pocket divisions to fit the preferred assortment of hand tools.
- Add small labels above or on each pocket to identify contents, stitching them on securely for long-term wear.
- Create a flap at the top to protect tools when the roll is closed, then hem edges for reinforcement.
- Attach a tie or strap to keep the roll compact when stored or transported.
Repurposed tie turned into padded camera strap
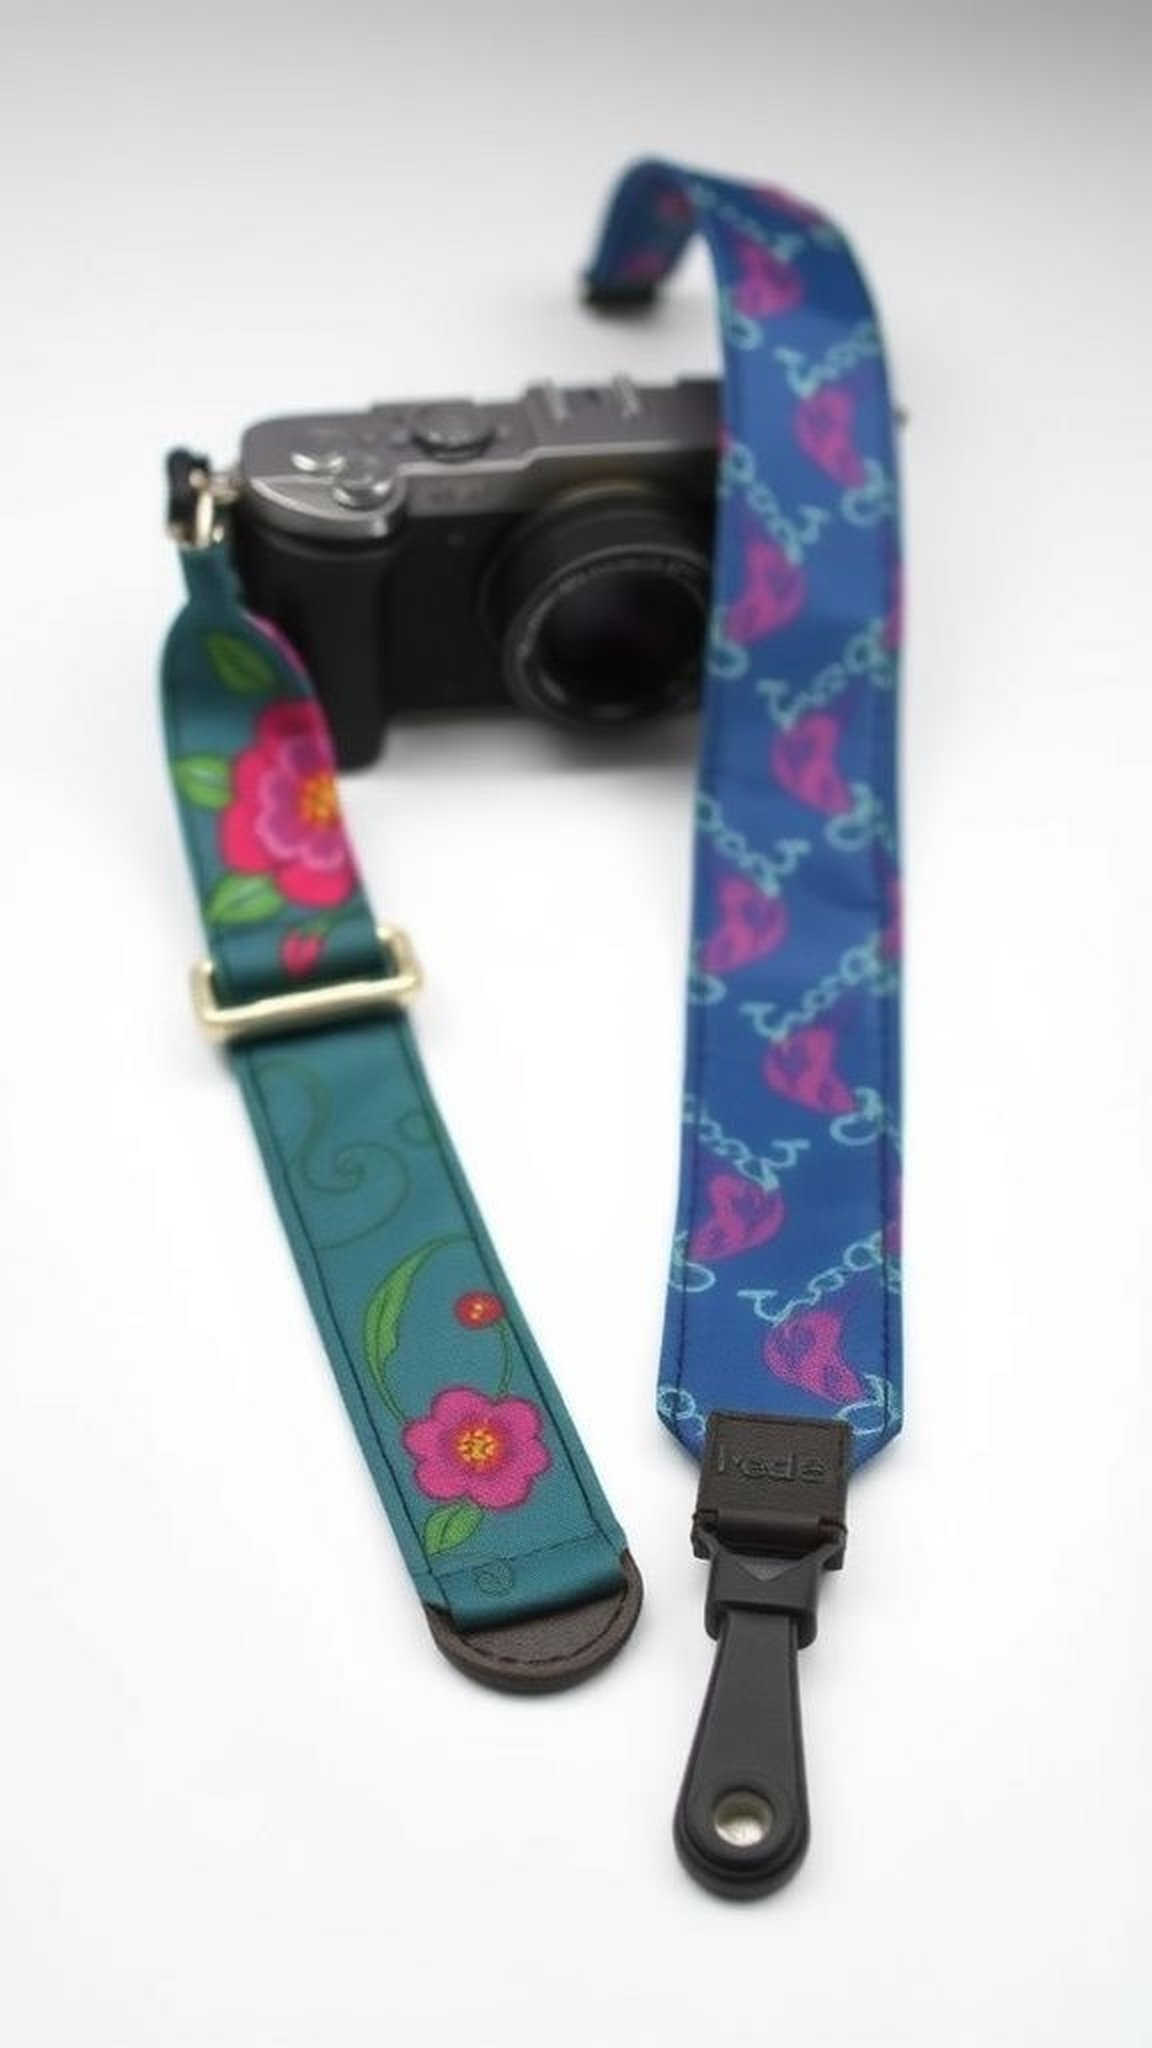
A silk tie repurposed into a camera strap carried color and sheen in a way that felt playful and practical. The padding under the silk made the shoulder feel cushioned and the tie’s pattern peeked out with each movement.
One strap softened along the edges where a bag had brushed it, and the clasp clicked with a small, confident sound when attached. Wearing it introduced a bit of personality to a camera that otherwise felt utilitarian, and the strap’s gentle fold at the shoulder left an impression of care and invented comfort.
Steps
- Remove the lining from a gently patterned tie and cut it to the desired strap length, keeping the silk panel intact.
- Add a padded inner strip and stitch the silk around it to form a comfortable shoulder area.
- Attach adjustable hardware and connectors at the ends to fit camera fittings securely.
- Test the strap for comfort and balance with the camera, adjusting length as needed before regular use.
Mini shadow box of keepsake items
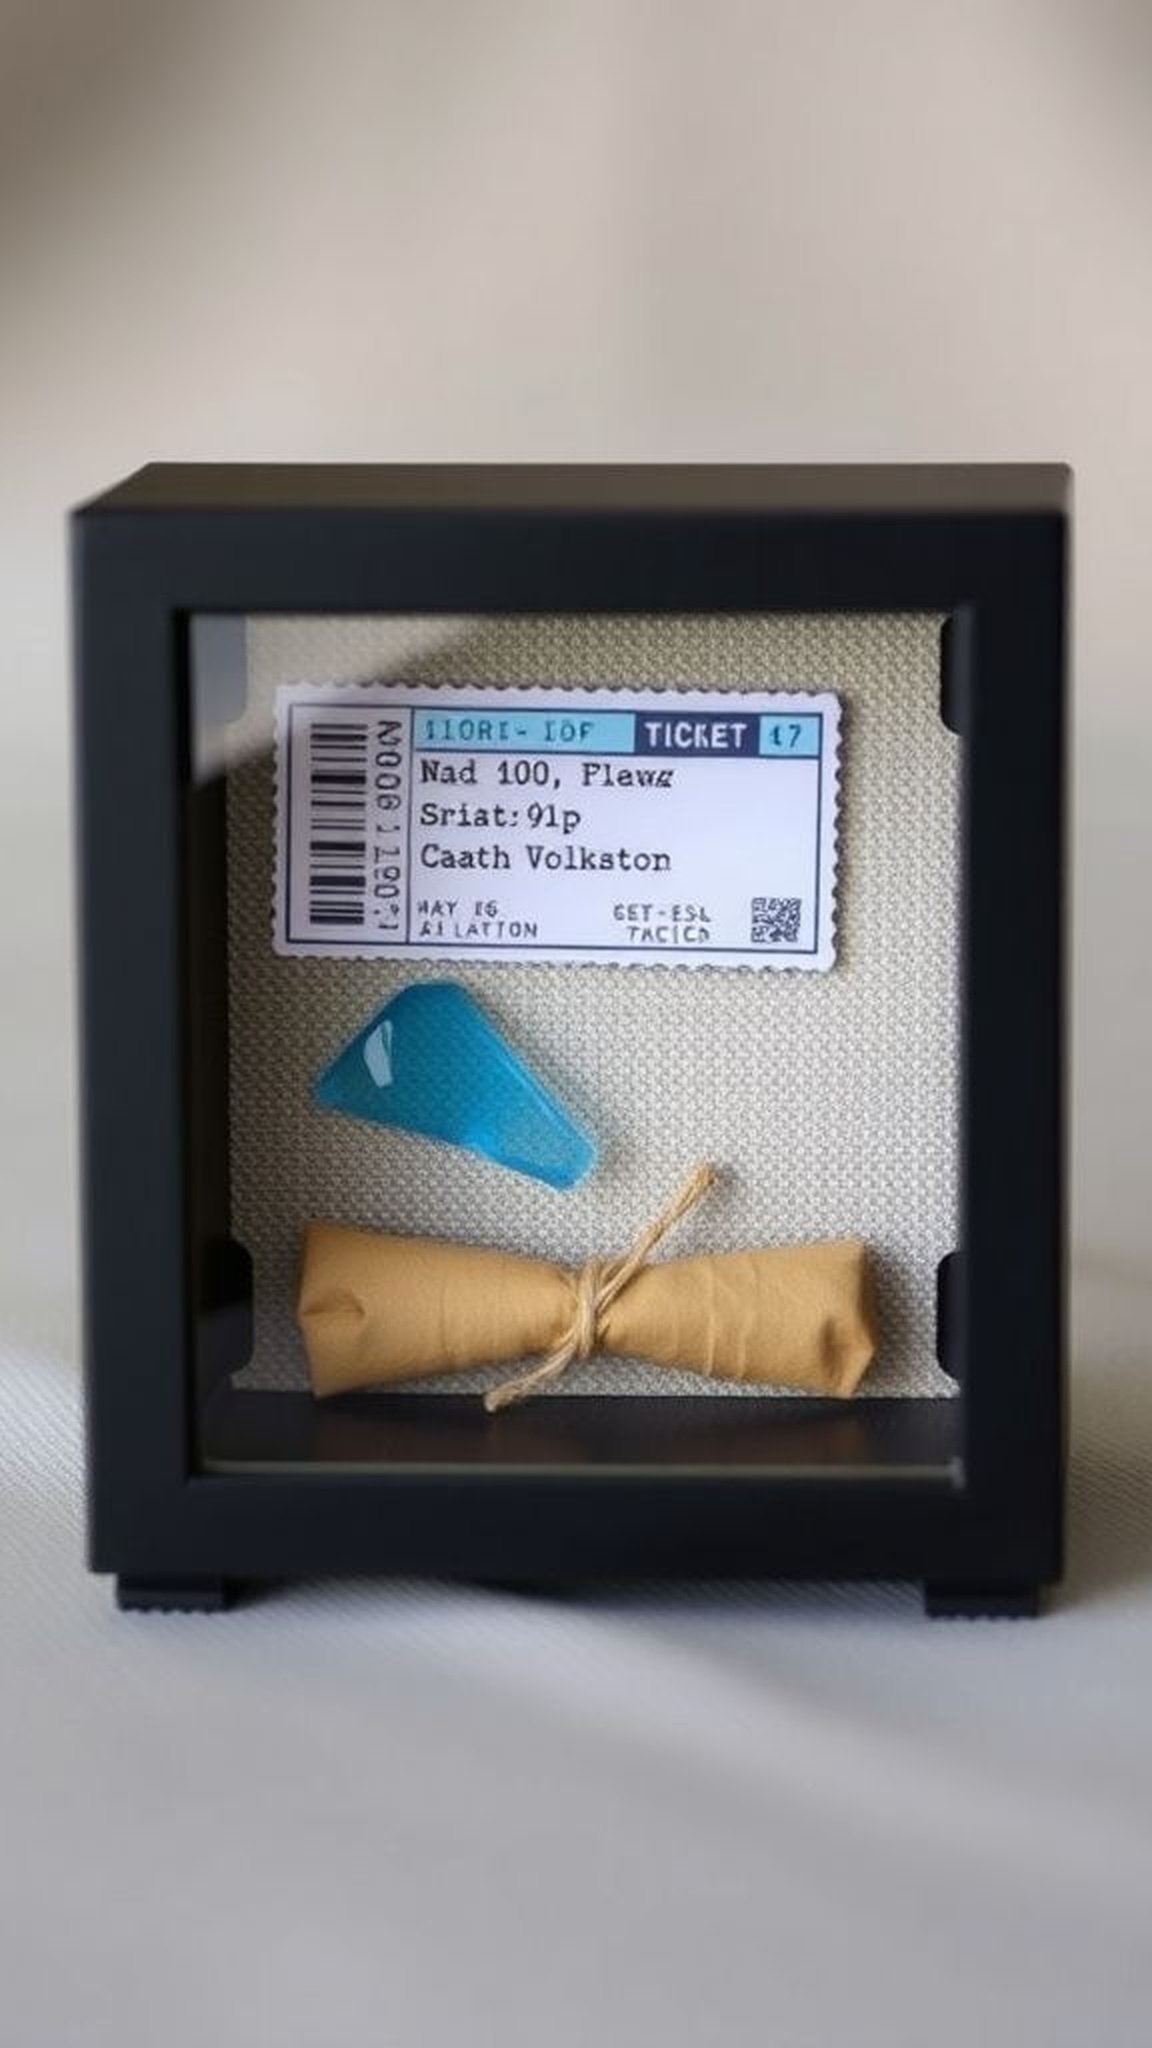
A shadow box collects small things in a single gaze, turning tiny objects into a layered narrative. The box I once opened held a ticket stub, a chip of blue glass, and a lock of hair wrapped in tissue; each item sat with a space that felt respectful.
The glass front created a little theatre effect, and the backing fabric added color that made the artifacts pop. Dust motes moved slowly inside when the light hit, and the whole arrangement felt like a quiet archive of an ordinary but cherished season of life.
Steps
- Choose a shallow box frame and plan the arrangement of small keepsakes on a backing board, balancing color and texture.
- Secure each item gently to the backing using archival corners, pins, or small mounts to preserve condition.
- Place the backing into the shadow box and seal the frame, ensuring a snug fit to prevent shifting.
- Hang the shadow box or set it on a shelf where light will accent the details without direct exposure.
Hand-carved wooden spoon set with character

Wooden spoons carry the warm aroma of cooking and the memory of stirring. A hand-carved set showed small tool marks that read like fingerprints and a gently darkening patina where hands had held them.
The bowls were slightly uneven in a charming way and the handles fit fingers like old friends. When they rested in a pot, the soft wood made a hollow sound that felt companionable.
Over time the grain smoothed and the edges rounded, leaving a feeling that these utensils had softened with use and care.
Steps
- Select hardwood blanks with pleasing grain and sketch spoon outlines for bowl and handle shapes.
- Carve the rough shape of each spoon with carving tools, refining the bowl and handle contours gradually.
- Sand the surfaces progressively to a smooth finish and round the edges for comfortable use.
- Rub the spoons with a food-safe oil to deepen the grain and protect the wood from moisture.
Personal playlist jar with handwritten titles

A jar full of tiny song titles felt like a quaint mixtape for hands, each slip promising a melody or a lyric line. The slips had different handwriting styles, some rushed in the dark of the car and others written slowly over tea.
Pulling one out suggested a mood and sometimes brought back the exact beat of a remembered evening. The jar caught echoes of shared playlists and long drives, and placing it in reach during a quiet afternoon invited small, unexpected listening sessions that felt indulgently private.
Steps
- Write favorite tracks or short playlist prompts on small slips of paper, varying handwriting for a casual feel.
- Fold each slip lightly and place them into a clean jar with a tight lid or a decorative opening.
- Pull a slip at random when a listening mood arises and play the chosen track to match the moment.
- Add new slips over time so the jar grows with fresh musical moments and memories.
Pressed flower bookmark with resin sheen
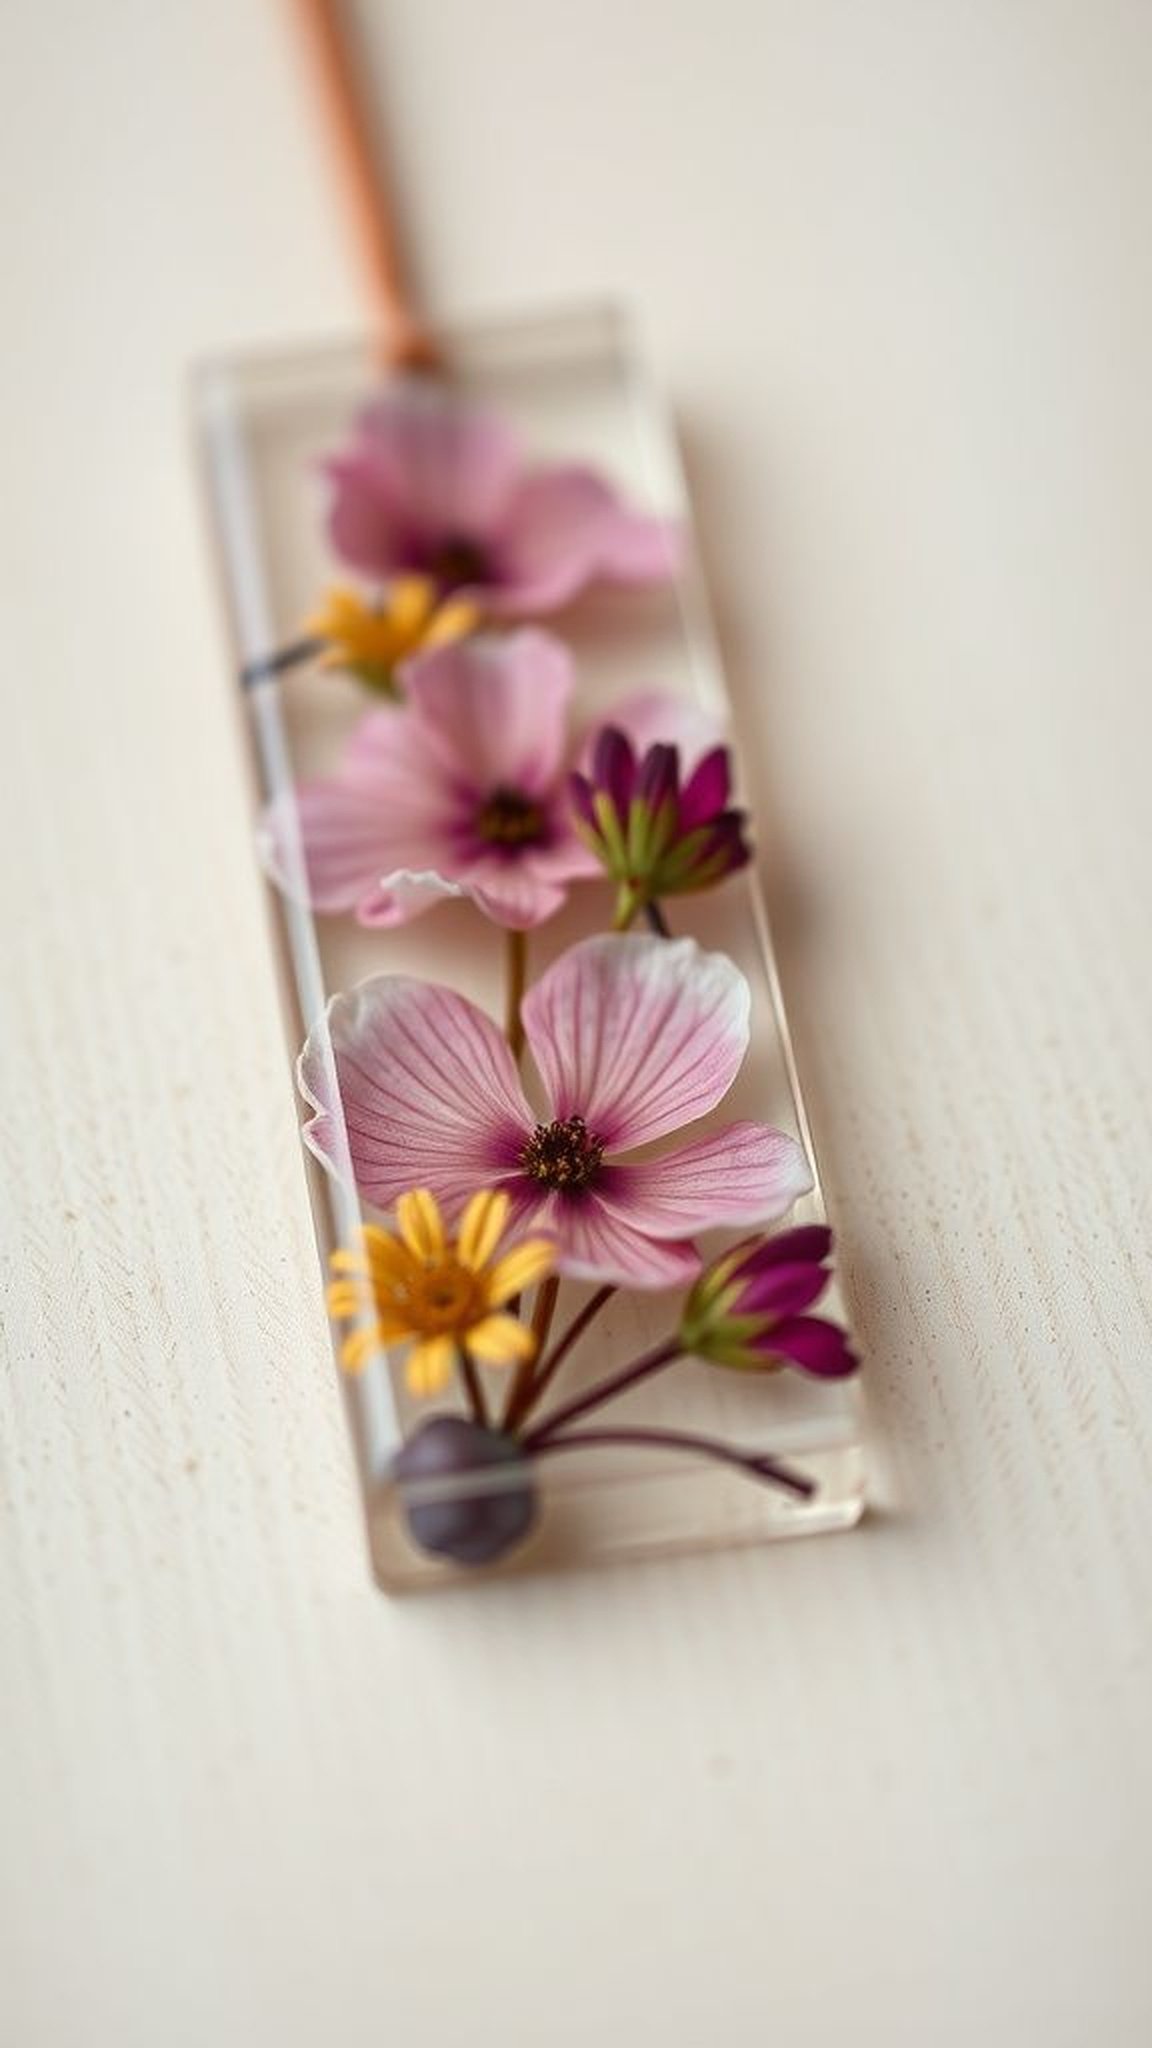
A pressed bloom trapped between layers of resin felt like a quiet, fragrant pause. The petals retained a fragile translucence and the edges of the resin caught the light like a small window.
One bookmark carried a tiny lavender sprig that still hinted at scent, and slipping it between pages felt like tucking a moment into a book. The smooth surface sat cool against the fingers, and the delicate veins of the flowers read like tiny rivers when held up to the light.
It made reading feel slowed in a pleasant way.
Steps
- Press chosen flowers flat between absorbent paper until fully dry and free of moisture.
- Place the pressed blooms onto a bookmark blank and pour a thin layer of clear resin to encapsulate them.
- Add a second resin layer once the first has cured to build depth and protect the flowers.
- Sand and polish the edges for a smooth finish and add a ribbon tassel if desired.
Vintage button cufflinks from old shirts
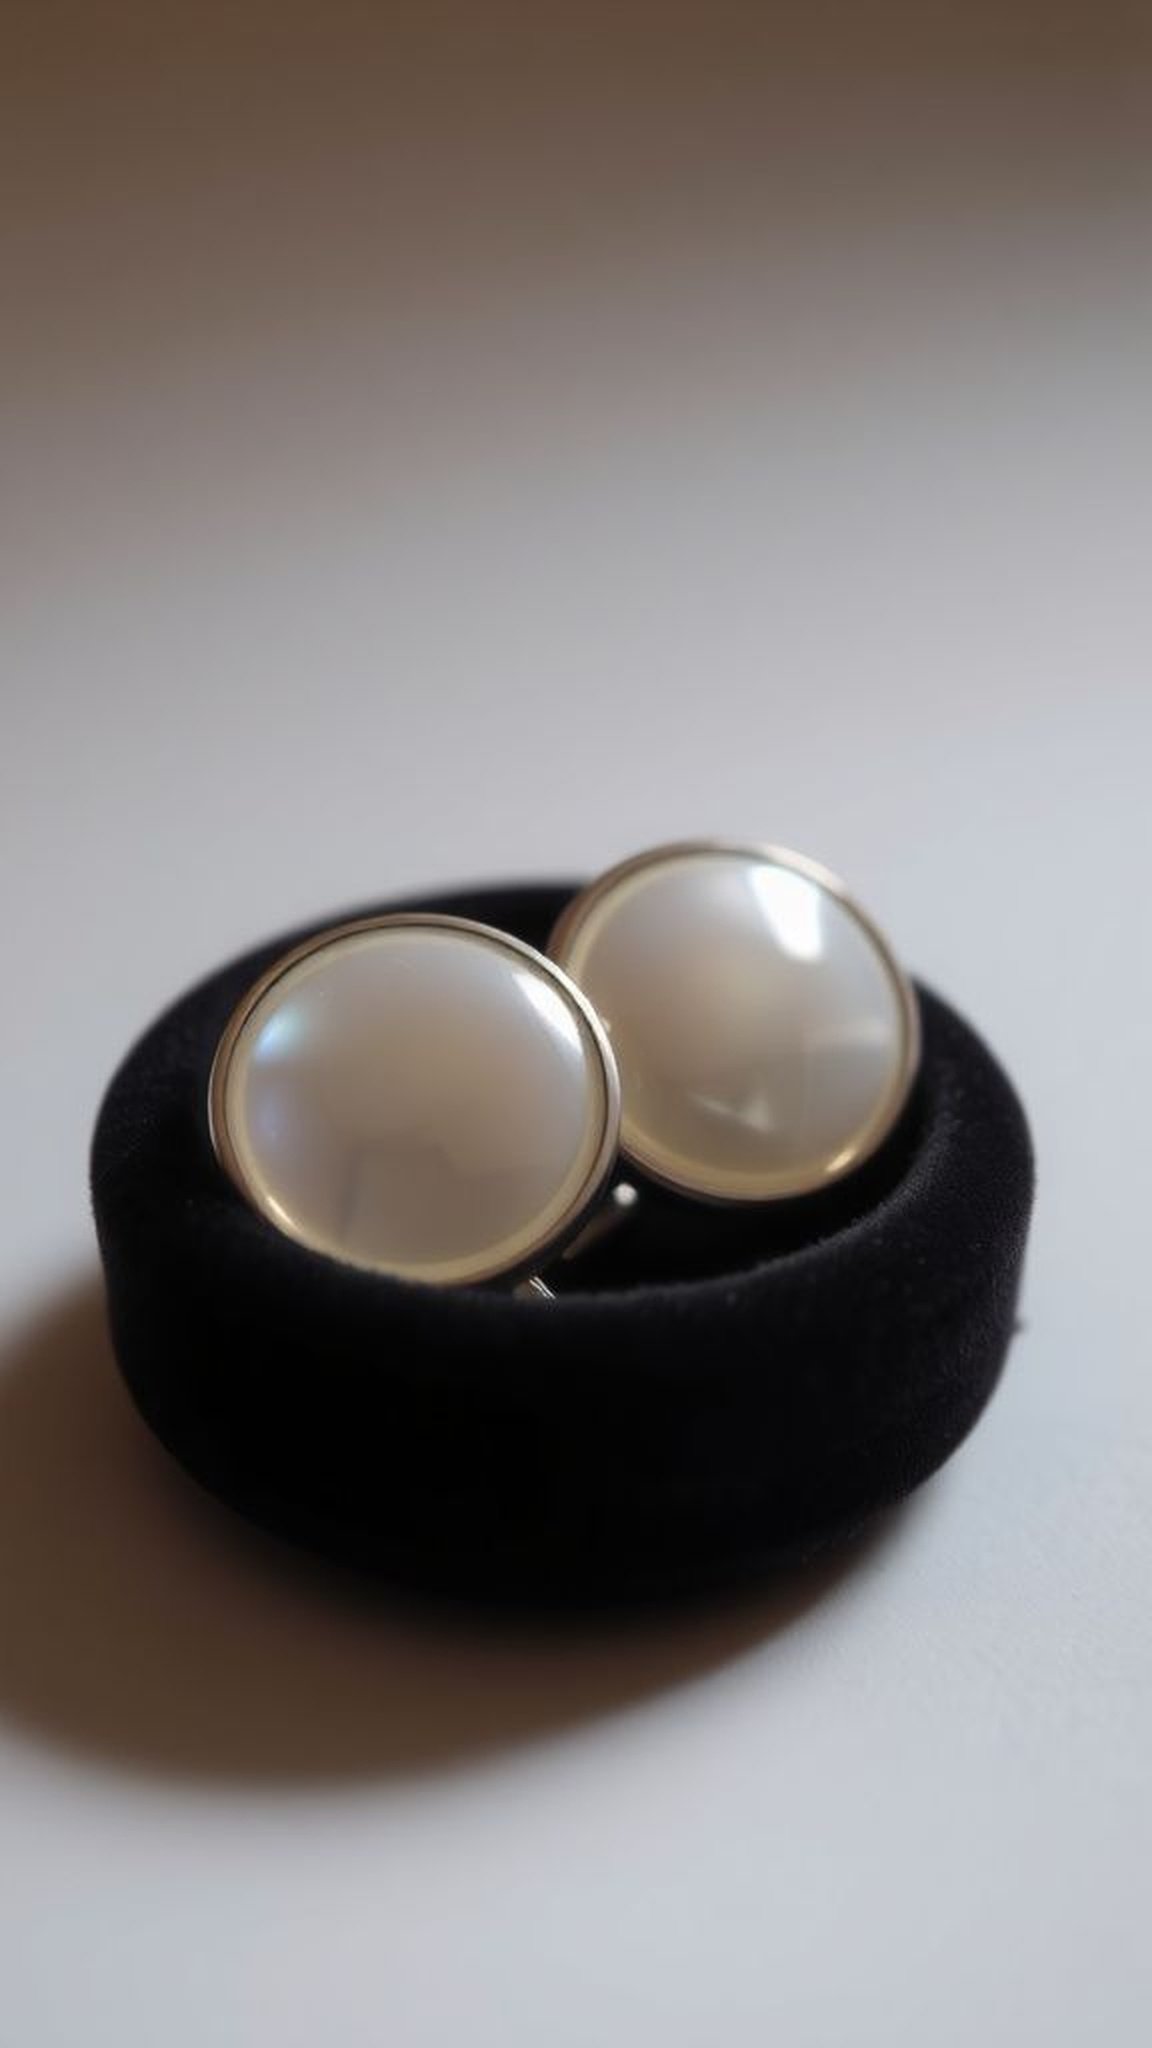
Buttons turned into cufflinks carry the haptic memory of shirts and places worn. Tiny rims showed faint tarnish and threads cupped around the shanks, each button reflecting a different era of clothing.
One pair had a mother-of-pearl sheen that changed with angle, creating small flashes like catching sunlight on water. The weight on a cuff felt modest and composed, and fastening them felt like a private nod to the past.
They sat in a small dish and looked like little islands of texture waiting to be reunited with collars.
Steps
- Select matching vintage buttons and clean them gently to reveal original luster without removing patina.
- Attach cufflink findings to the back of each button using a short shank and a strong adhesive suitable for metal and fabric.
- Press the assembly firmly and allow it to cure undisturbed for the adhesive’s recommended time.
- Polish the finished cufflinks lightly and present them in a small box lined with soft fabric.
DIY beer tasting flight with chalk labels

A small flight board invites slow sipping and quiet comparison, each glass catching light and color differently. The wood carried faint rings where previous glasses had rested and the chalk labels offered room for notes written in a hurried hand.
Lifting a tiny glass revealed aromas that shifted as the temperature rose, and the subtle clink of tasting spoons felt ceremonial. The board gathered friends around a table and made a short evening feel intentional, with each sip marking a small conversation turn.
Steps
- Choose a compact wooden board and mark evenly spaced recesses or indentations to hold tasting glasses securely.
- Sand the surface and add a chalkboard paint strip or small chalk labels beneath each recess for notes.
- Finish the board with a food-safe oil to protect the wood and highlight the grain.
- Arrange small tasting glasses on the board and write brief tasting notes on the chalk labels as desired.