
Mother’s Day Brunch Tablescape DIY Ideas are such a cozy way to show care without fuss. I love how small handmade touches—fresh flowers, painted jars, and handwritten place cards—turn a simple table into a warm scene that invites lingering conversation.
These Mother’s Day Brunch Tablescape DIY Ideas work well on a sunny kitchen island, a shaded patio, or a dining table with lots of natural light.
I tend to favor soft colors, mixed textures, and edible accents that guests can snack on. Below are 21 approachable projects that mix easy crafting with pretty styling, plus quick notes on materials, colors, and where each idea shines.
Fresh Florals and Mason Jar Charm
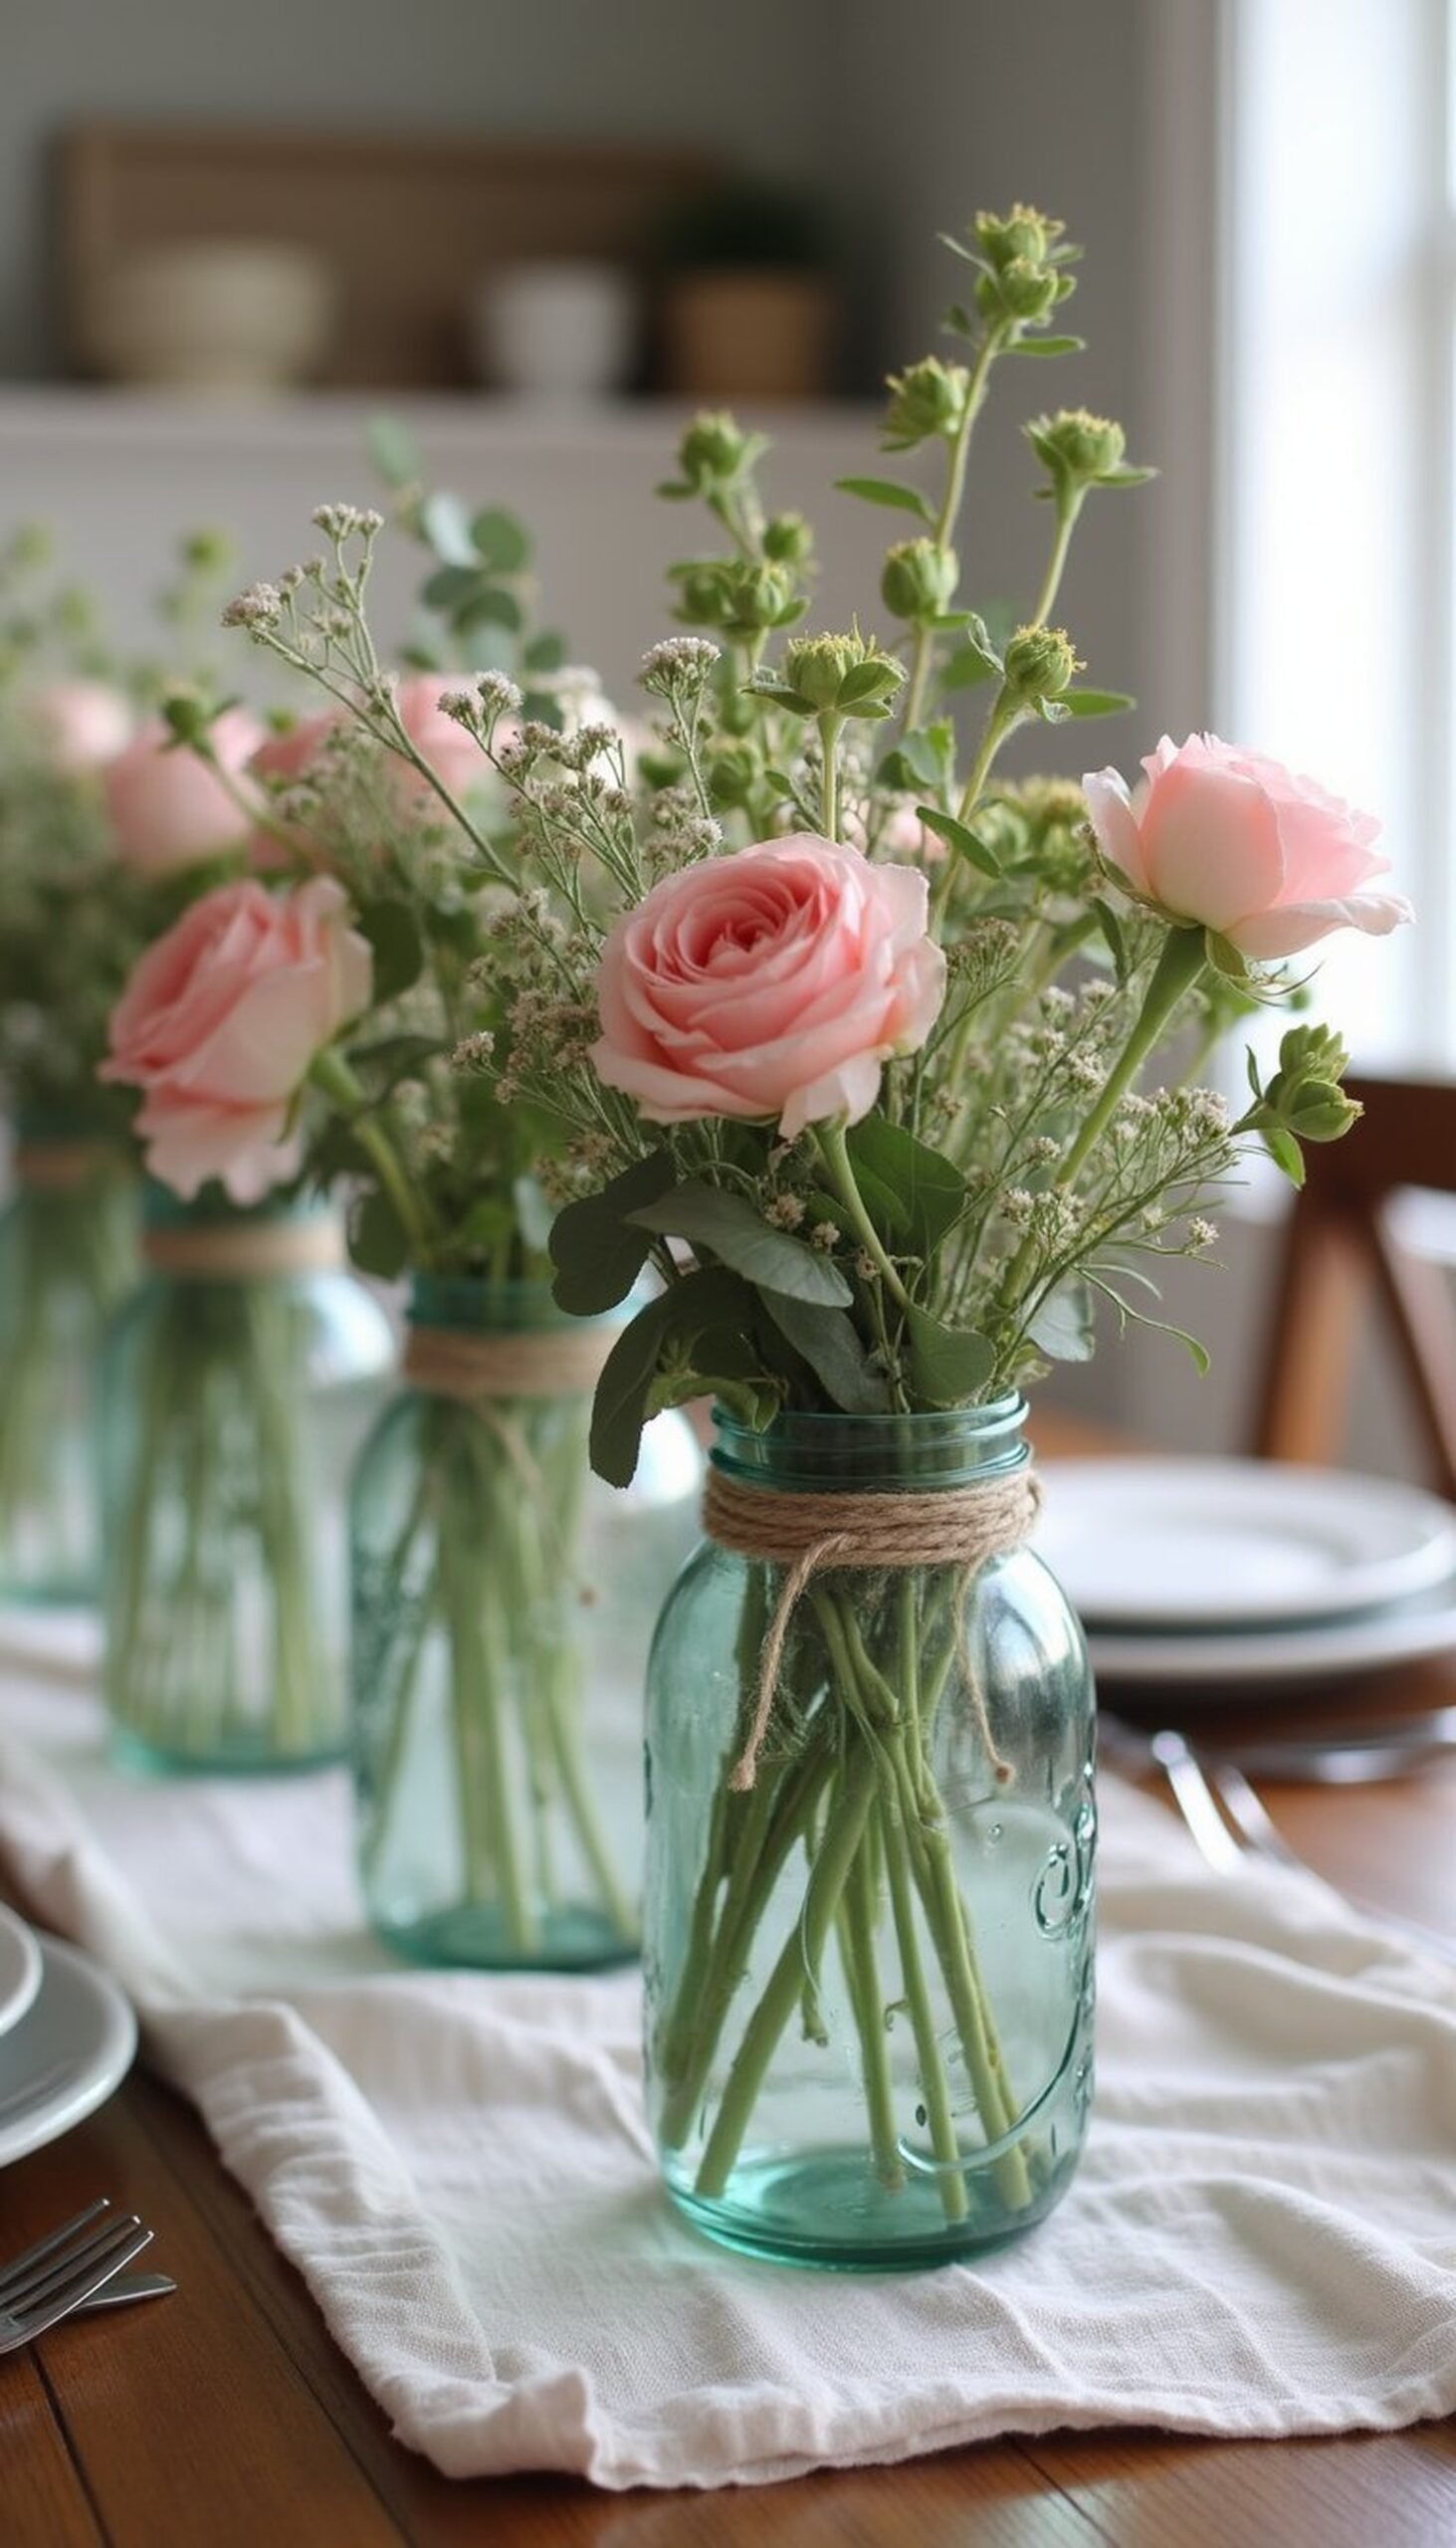
Fill mismatched mason jars with a loose mix of garden roses, ranunculus, and sprigs of eucalyptus for a relaxed, romantic feel. Use jars in varying heights and tie thin twine or silk ribbon around the neck for texture. Stick with a soft palette—blush, cream, and sage—to keep things light. The glass catches candlelight beautifully, and the stems peek through the water for a cottage-y touch. I often set a trio down the center of a farmhouse table to add color without blocking conversation.
Styling Tips
- Cluster jars in odd numbers for a natural grouping.
- Trim stems to create staggered heights and visual interest.
- Add a few votive candles between jars for soft glow.
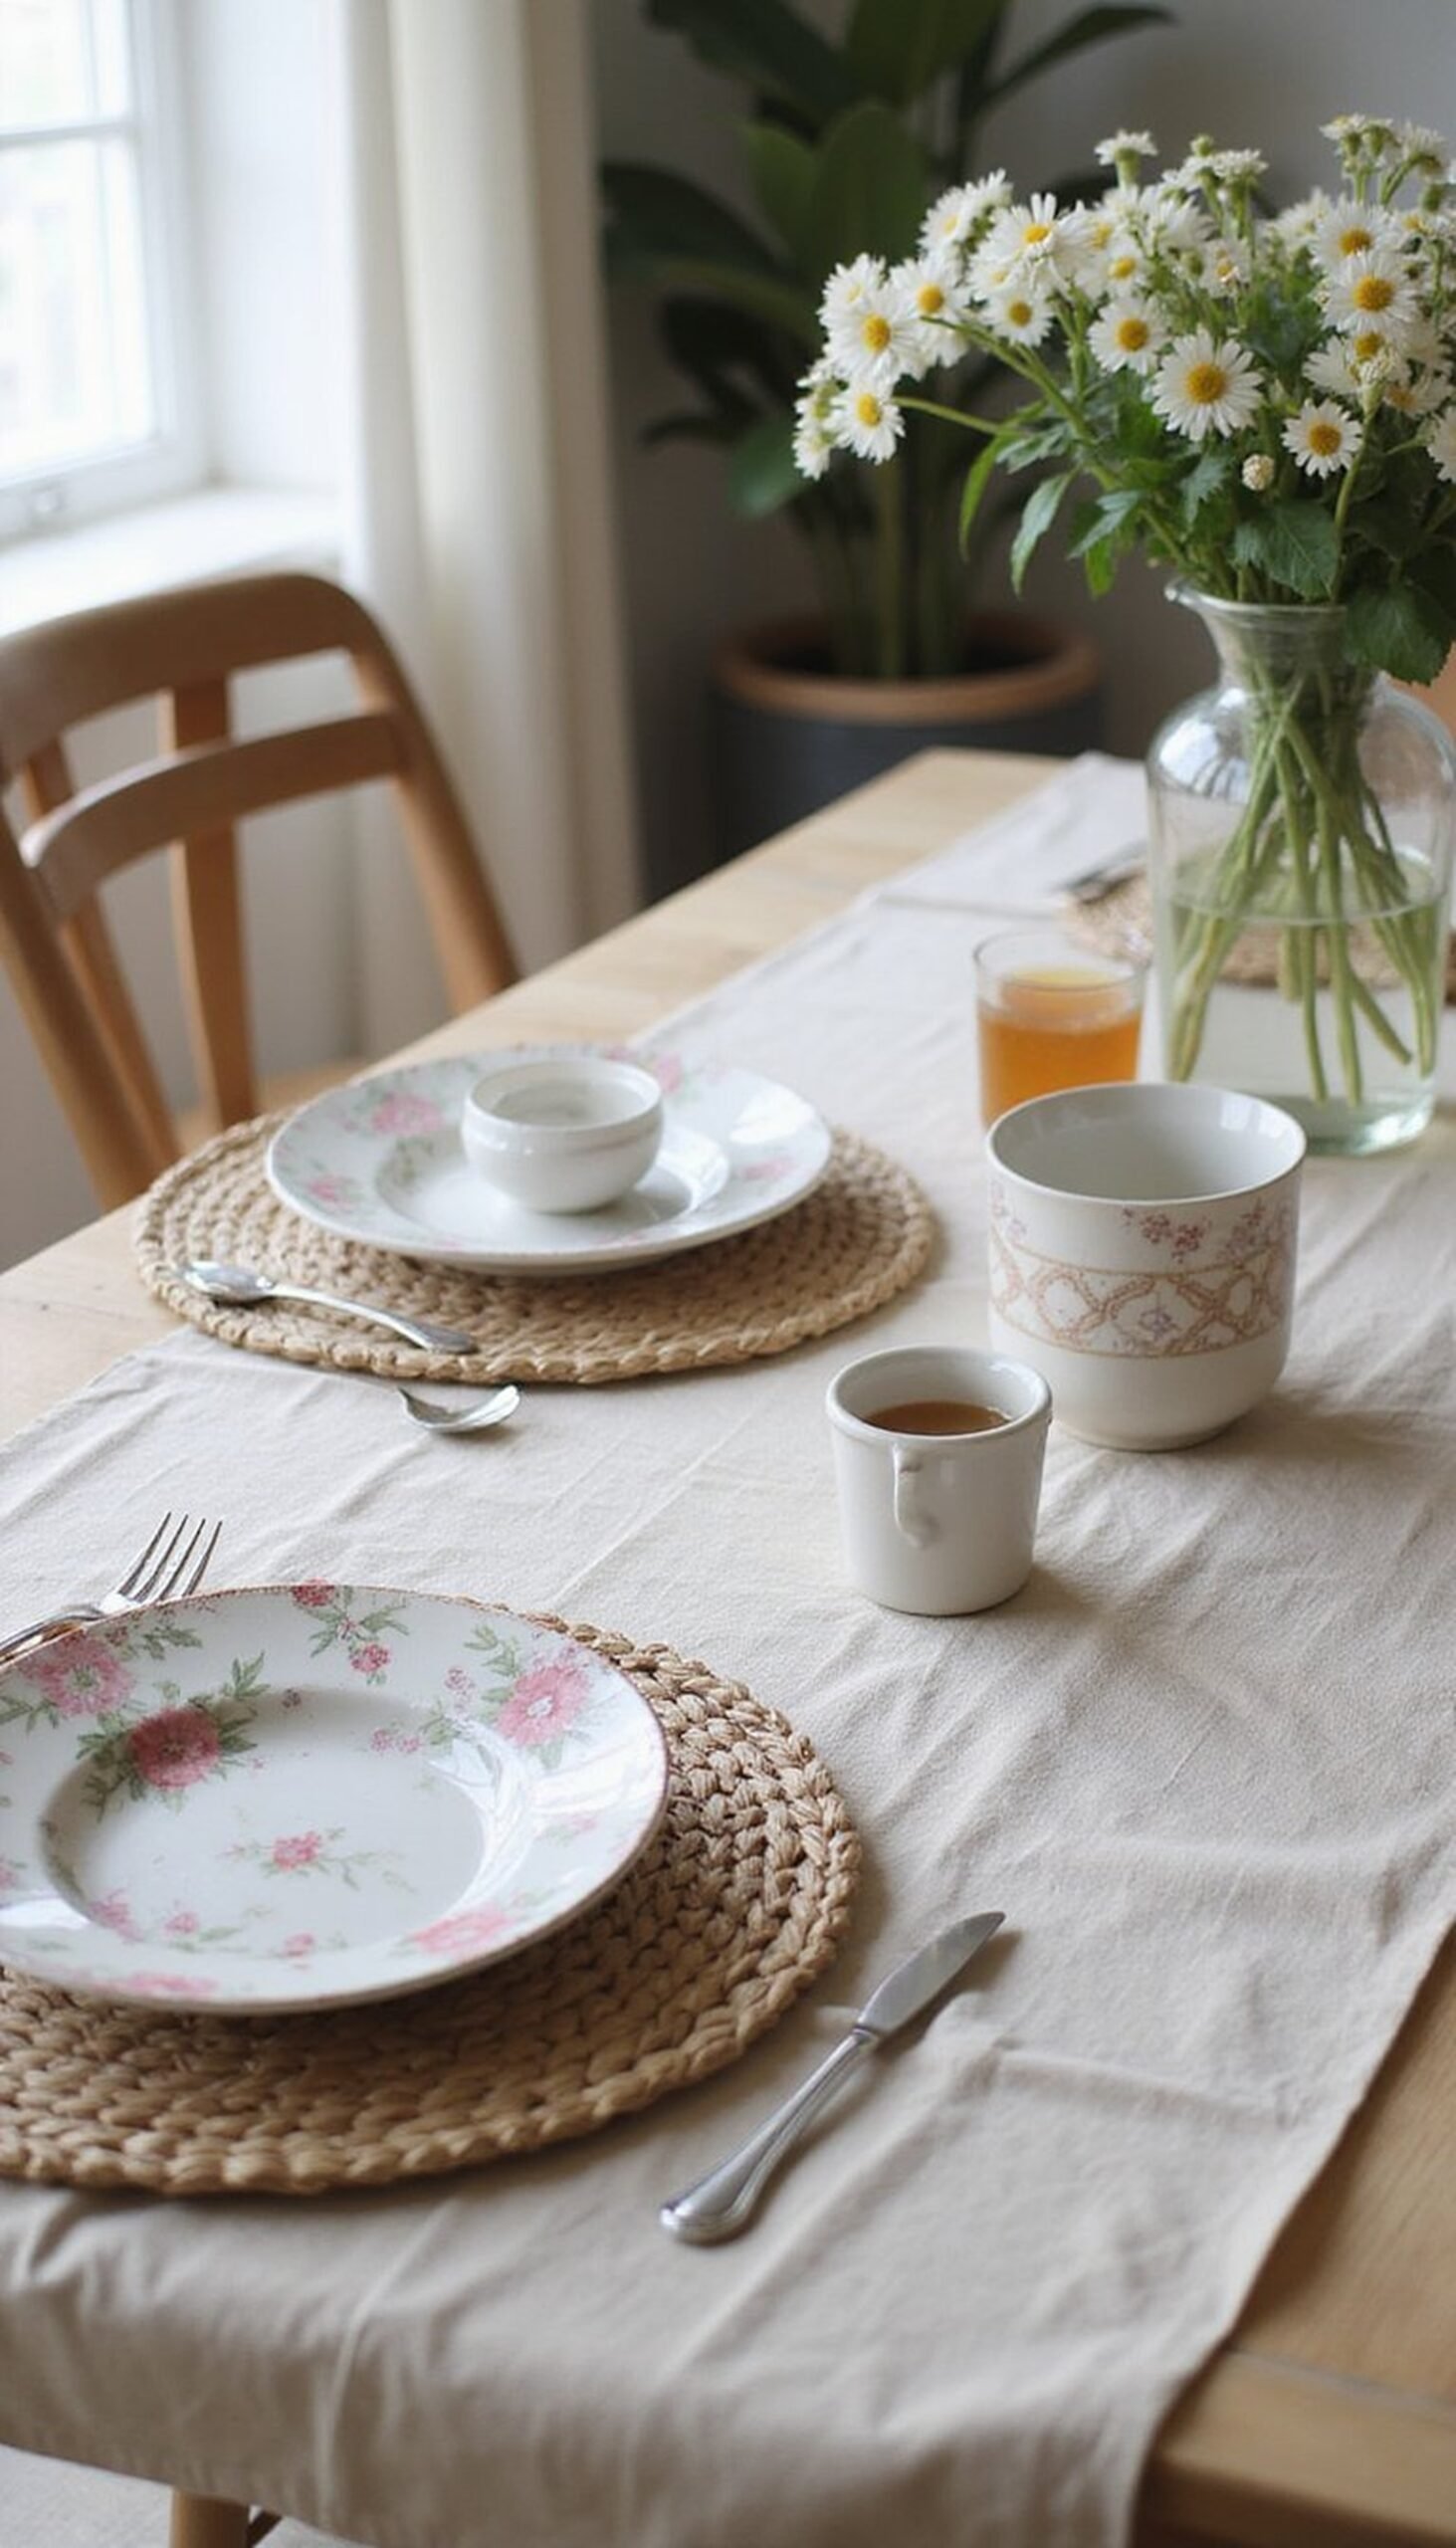
Pastel Plate Stack with Linen Napkins
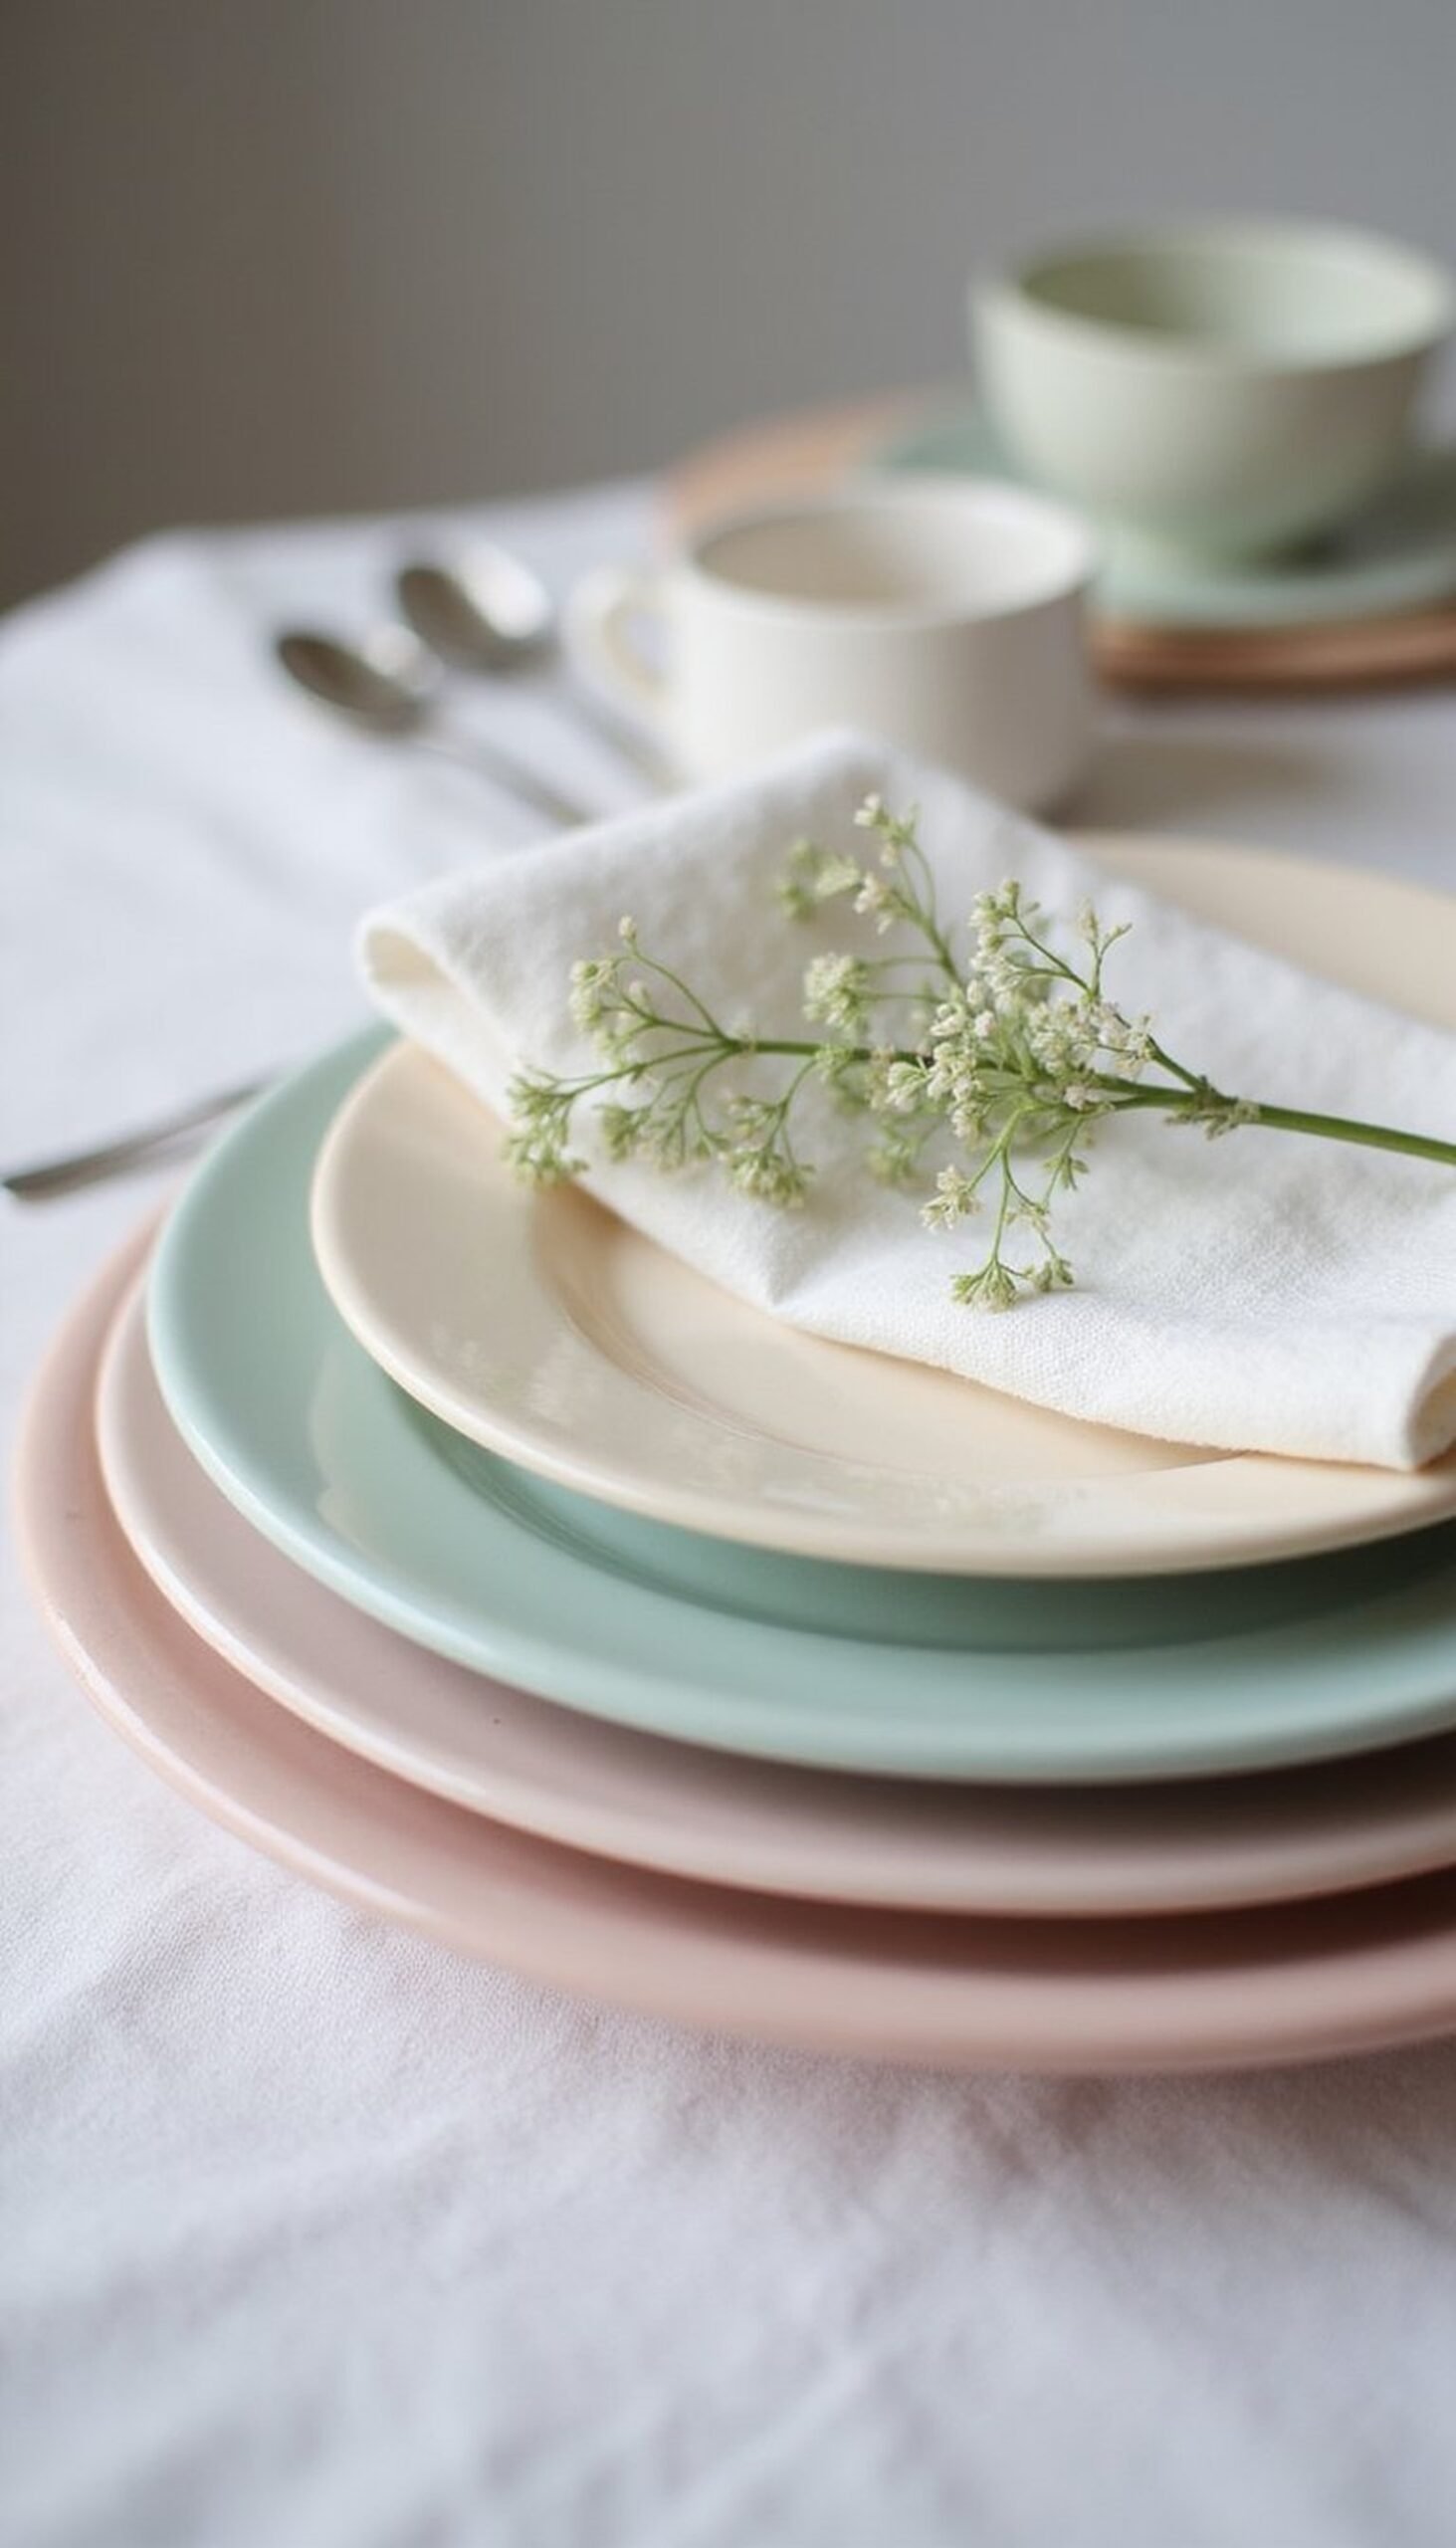
Create a soft layered look by stacking pastel ceramic plates—mix a sentry dinner plate with a smaller salad plate and a textured dessert plate. Fold a linen napkin in a loose rectangle and slip it between layers, or drape it across the top plate with a sprig of baby’s breath tucked in. Keep the color story to two or three pastels plus warm white for cohesion. The tactile linen and slight glaze variations on the ceramics add subtle depth that feels thoughtful without being fussy.
Styling Tips
- Choose plates with matte and glazed finishes for contrast.
- Match napkin tones to one of the plate colors for harmony.
- Anchor each stack with a small place card or floral sprig.
Mini Herb Centerpieces: edible and fragrant
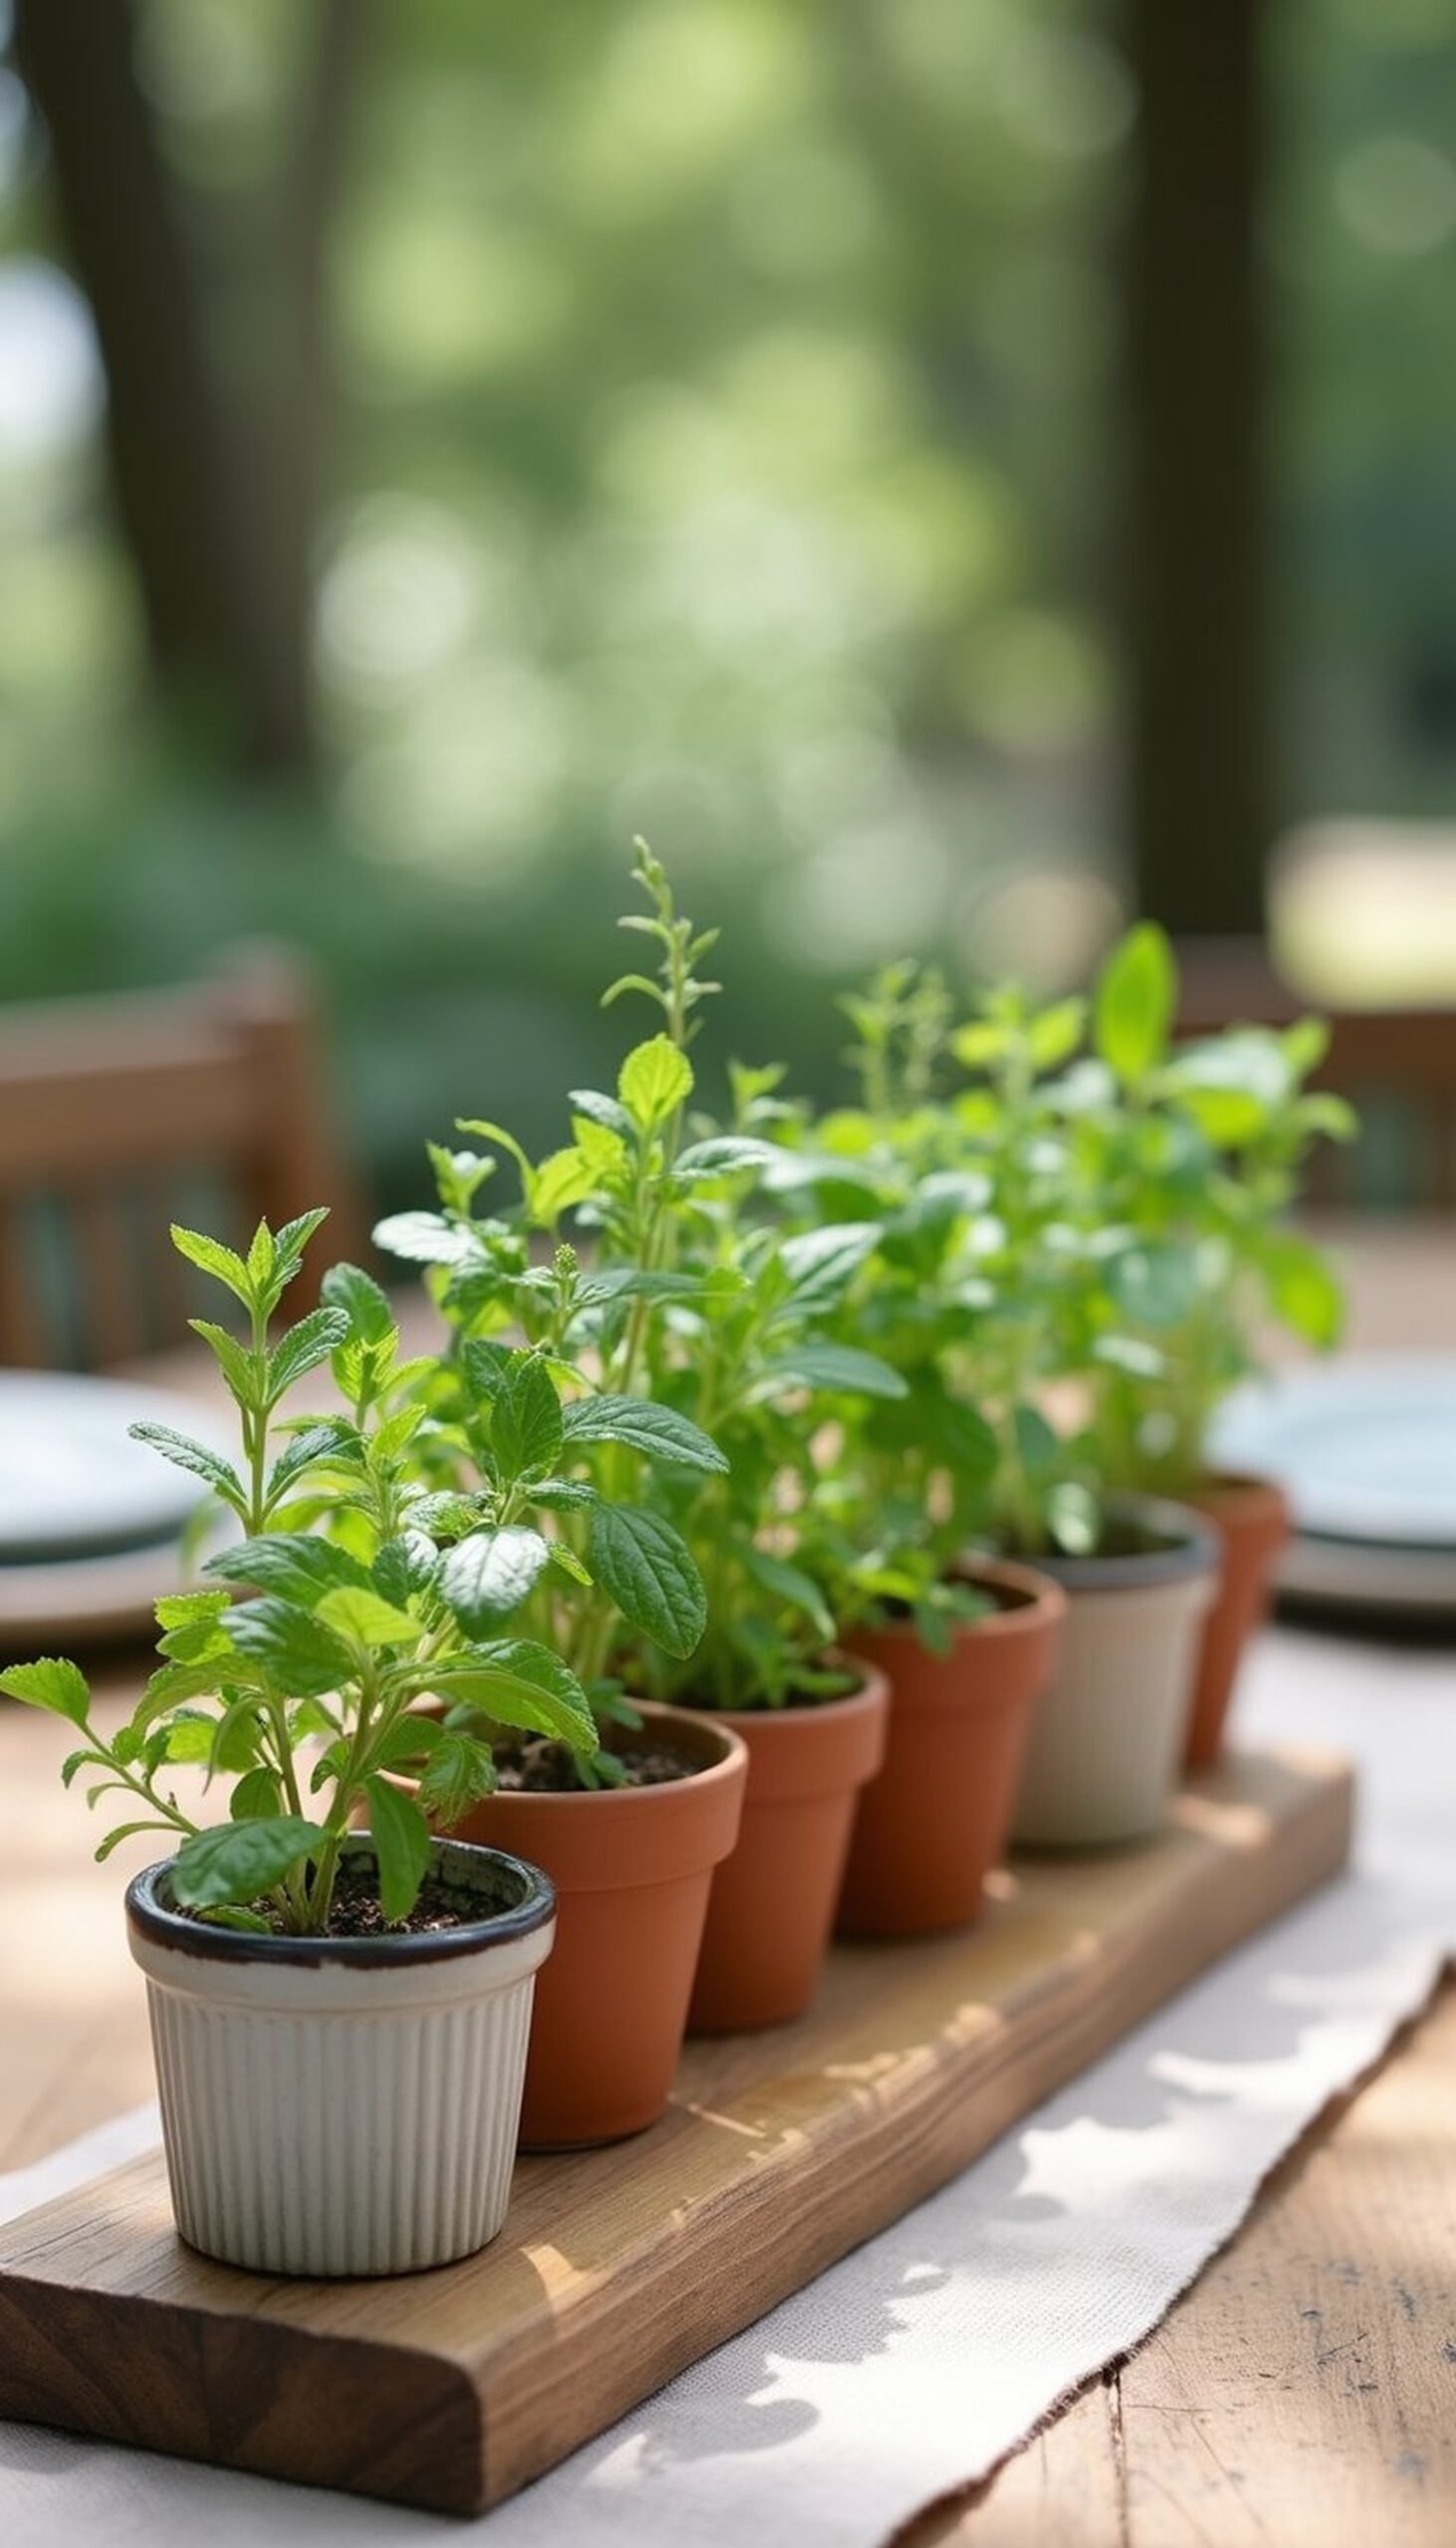
Line up small terracotta pots of fresh herbs—mint, thyme, and basil—on a narrow wooden board as a fragrant centerpiece. The green leaves add a lively punch against a neutral runner and guests can snip a bit for their tea or salad. Mix clay, glazed, and painted pots to introduce texture, and sprinkle a few loose herbs around to feel intentionally casual. This idea works especially well for early brunches on a sunny patio where the scent of herbs blends with morning air.
Styling Tips
- Place taller herbs at the center and lower varieties toward the ends.
- Label each pot with tiny chalk tags for charm.
- Use a reclaimed wood board to bring warmth and contrast.
A Tea-Set Corner for Cozy Chat
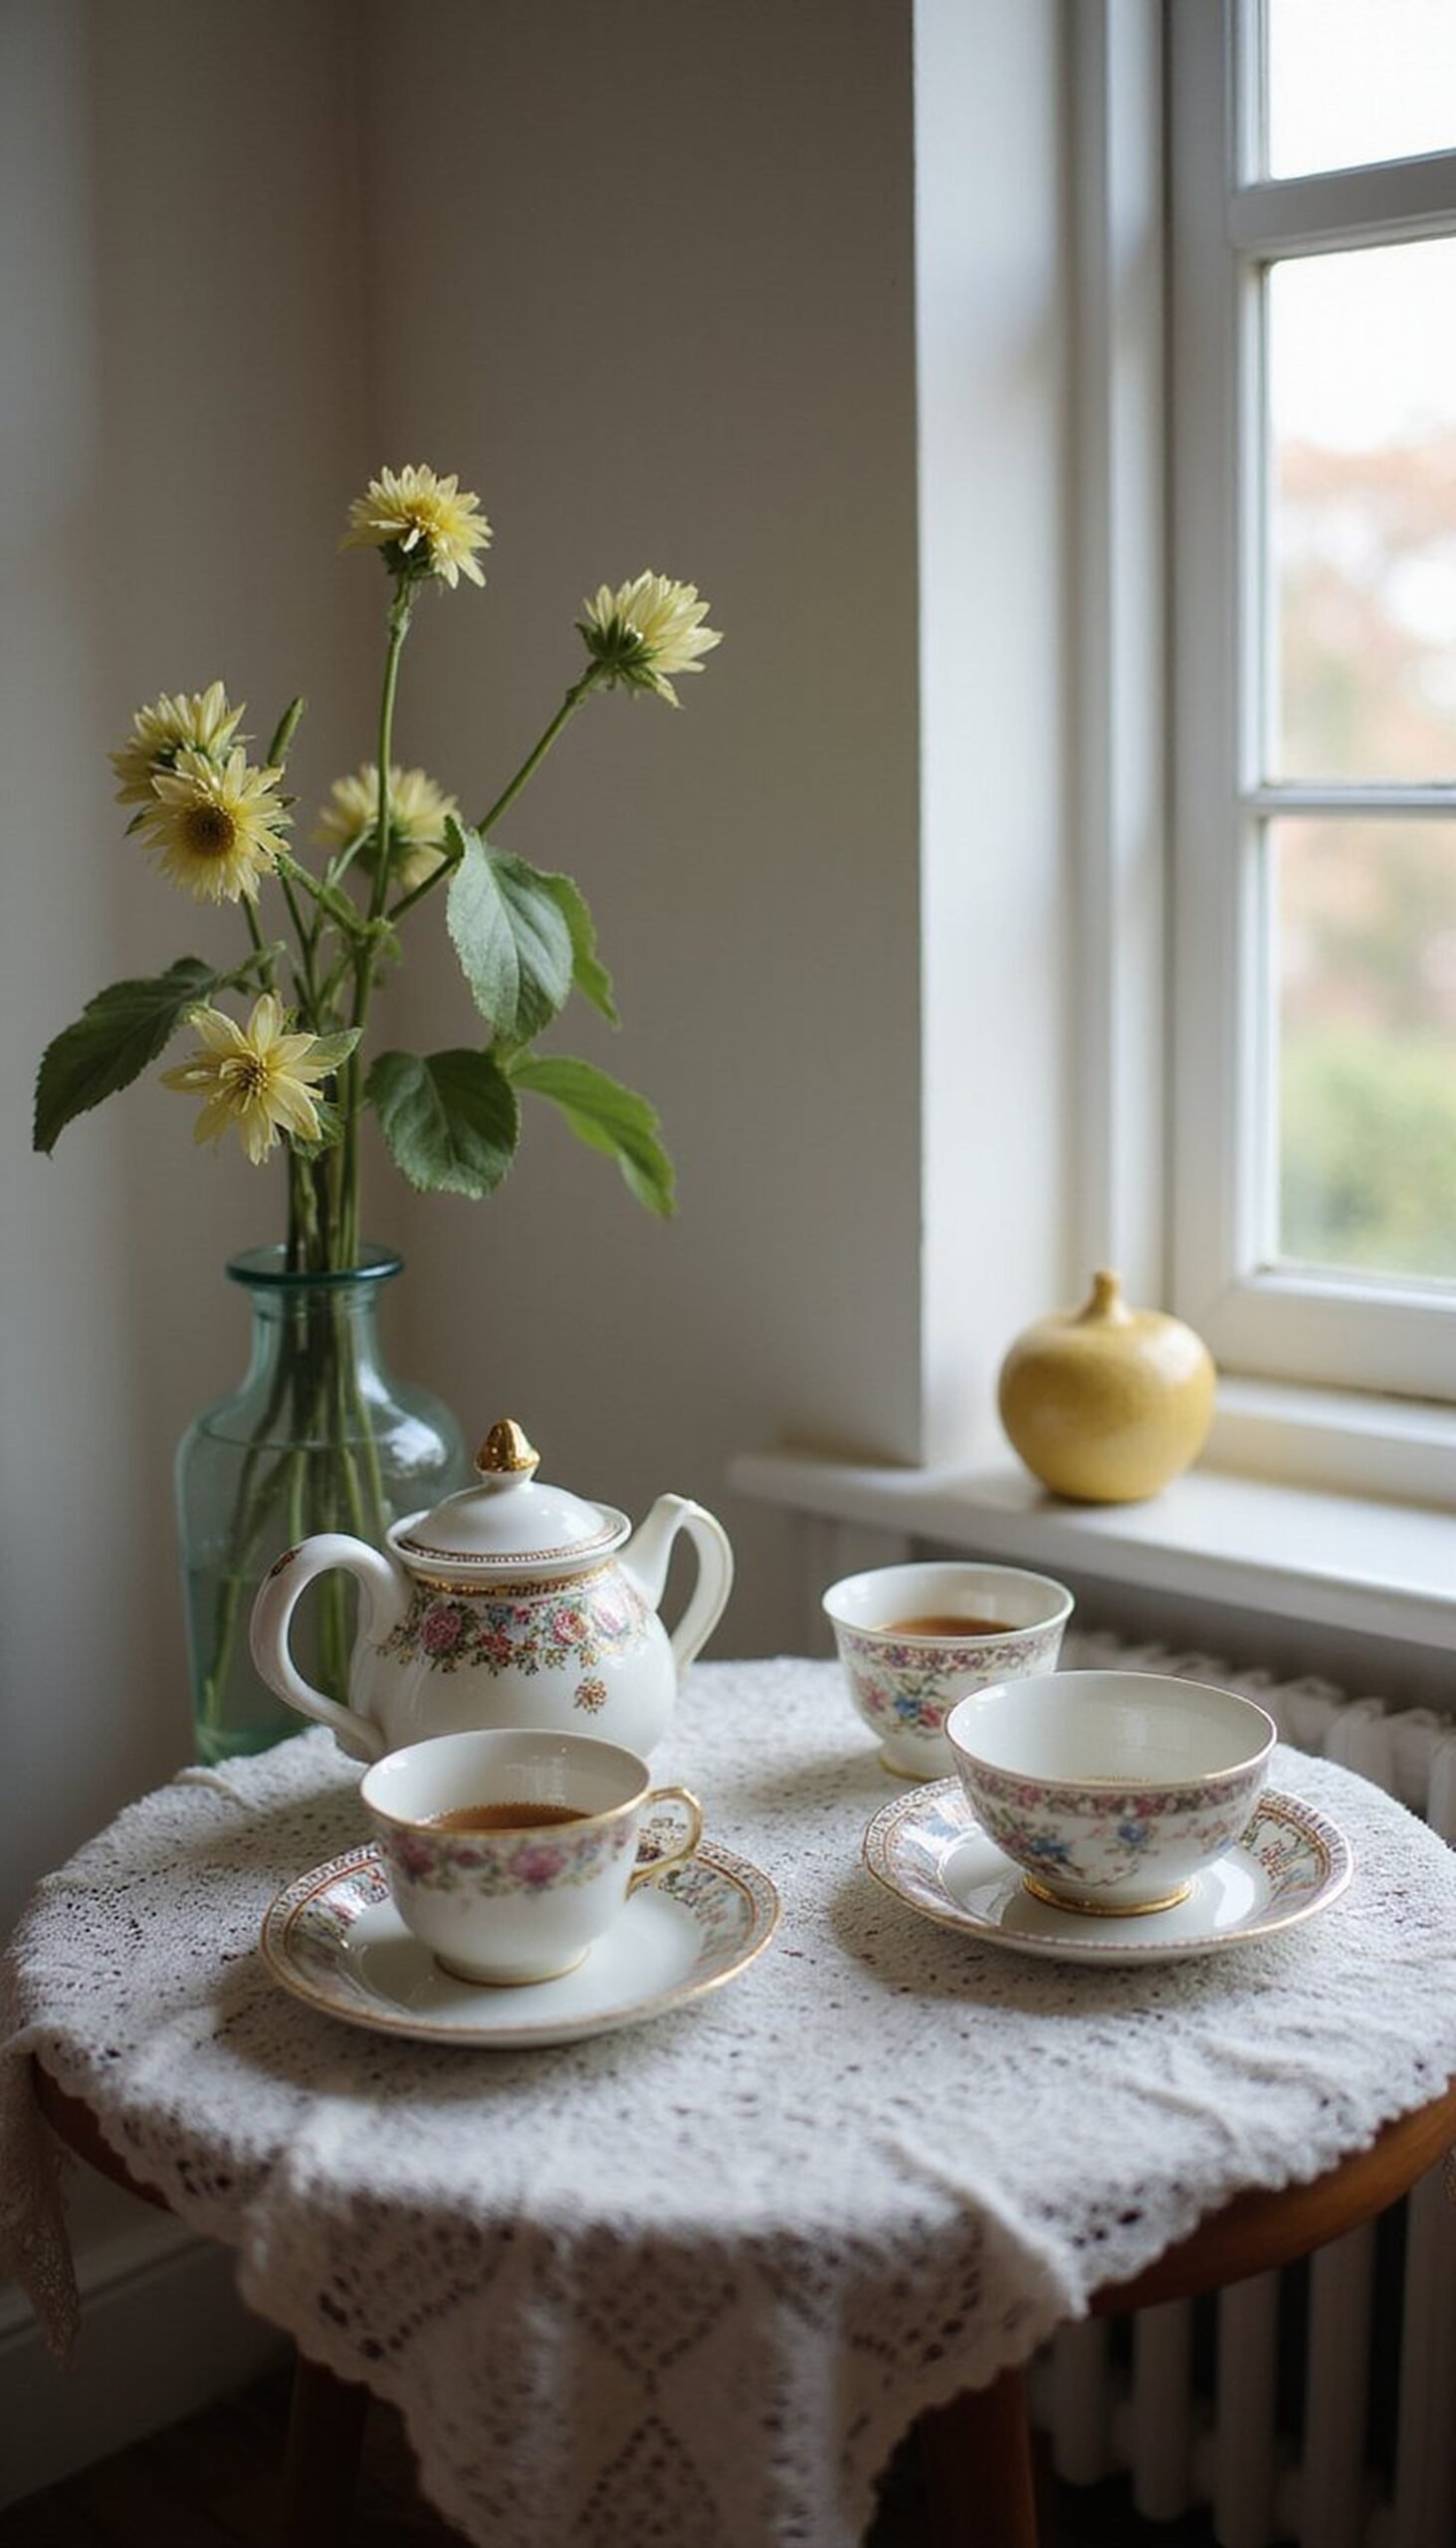
Dedicate a small side table to a vintage tea set: a patterned teapot, mixed teacups, a small milk pitcher, and a plate of scones. Use a lace doily or soft linen cloth as a base and add a small vase of single-stem flowers. The warm porcelain textures and delicate patterns bring an old-fashioned charm that invites slow conversation. I like setting this near a window where light makes the glaze glimmer; it turns a practical serving station into a lovely vignette guests keep returning to.
Styling Tips
- Include a small tray to corral loose tea bags and spoons.
- Arrange cups in a staggered pattern for visual flow.
- Add a tiny jar of jam and butter for easy serving.
Vintage Silver Cutlery Wrapped in Twine

Wrap mismatched vintage silverware in a strip of linen or cheesecloth and tie it with natural twine for old-world charm. Tuck a tiny herb sprig or a small bloom under the knot for an extra friendly touch. The slightly worn patina of the cutlery pairs beautifully with crisp linens and white plates, creating a lived-in elegance. I always think these little packaged sets are an easy way to add personality while keeping place settings orderly, especially when serving a casual family-style brunch.
Styling Tips
- Group utensils in sets of three for each guest.
- Use thin twine to keep the look delicate and airy.
- Match the herb sprig to the menu (mint for desserts, rosemary for savory).
Citrus Place Cards with Watercolor Wash
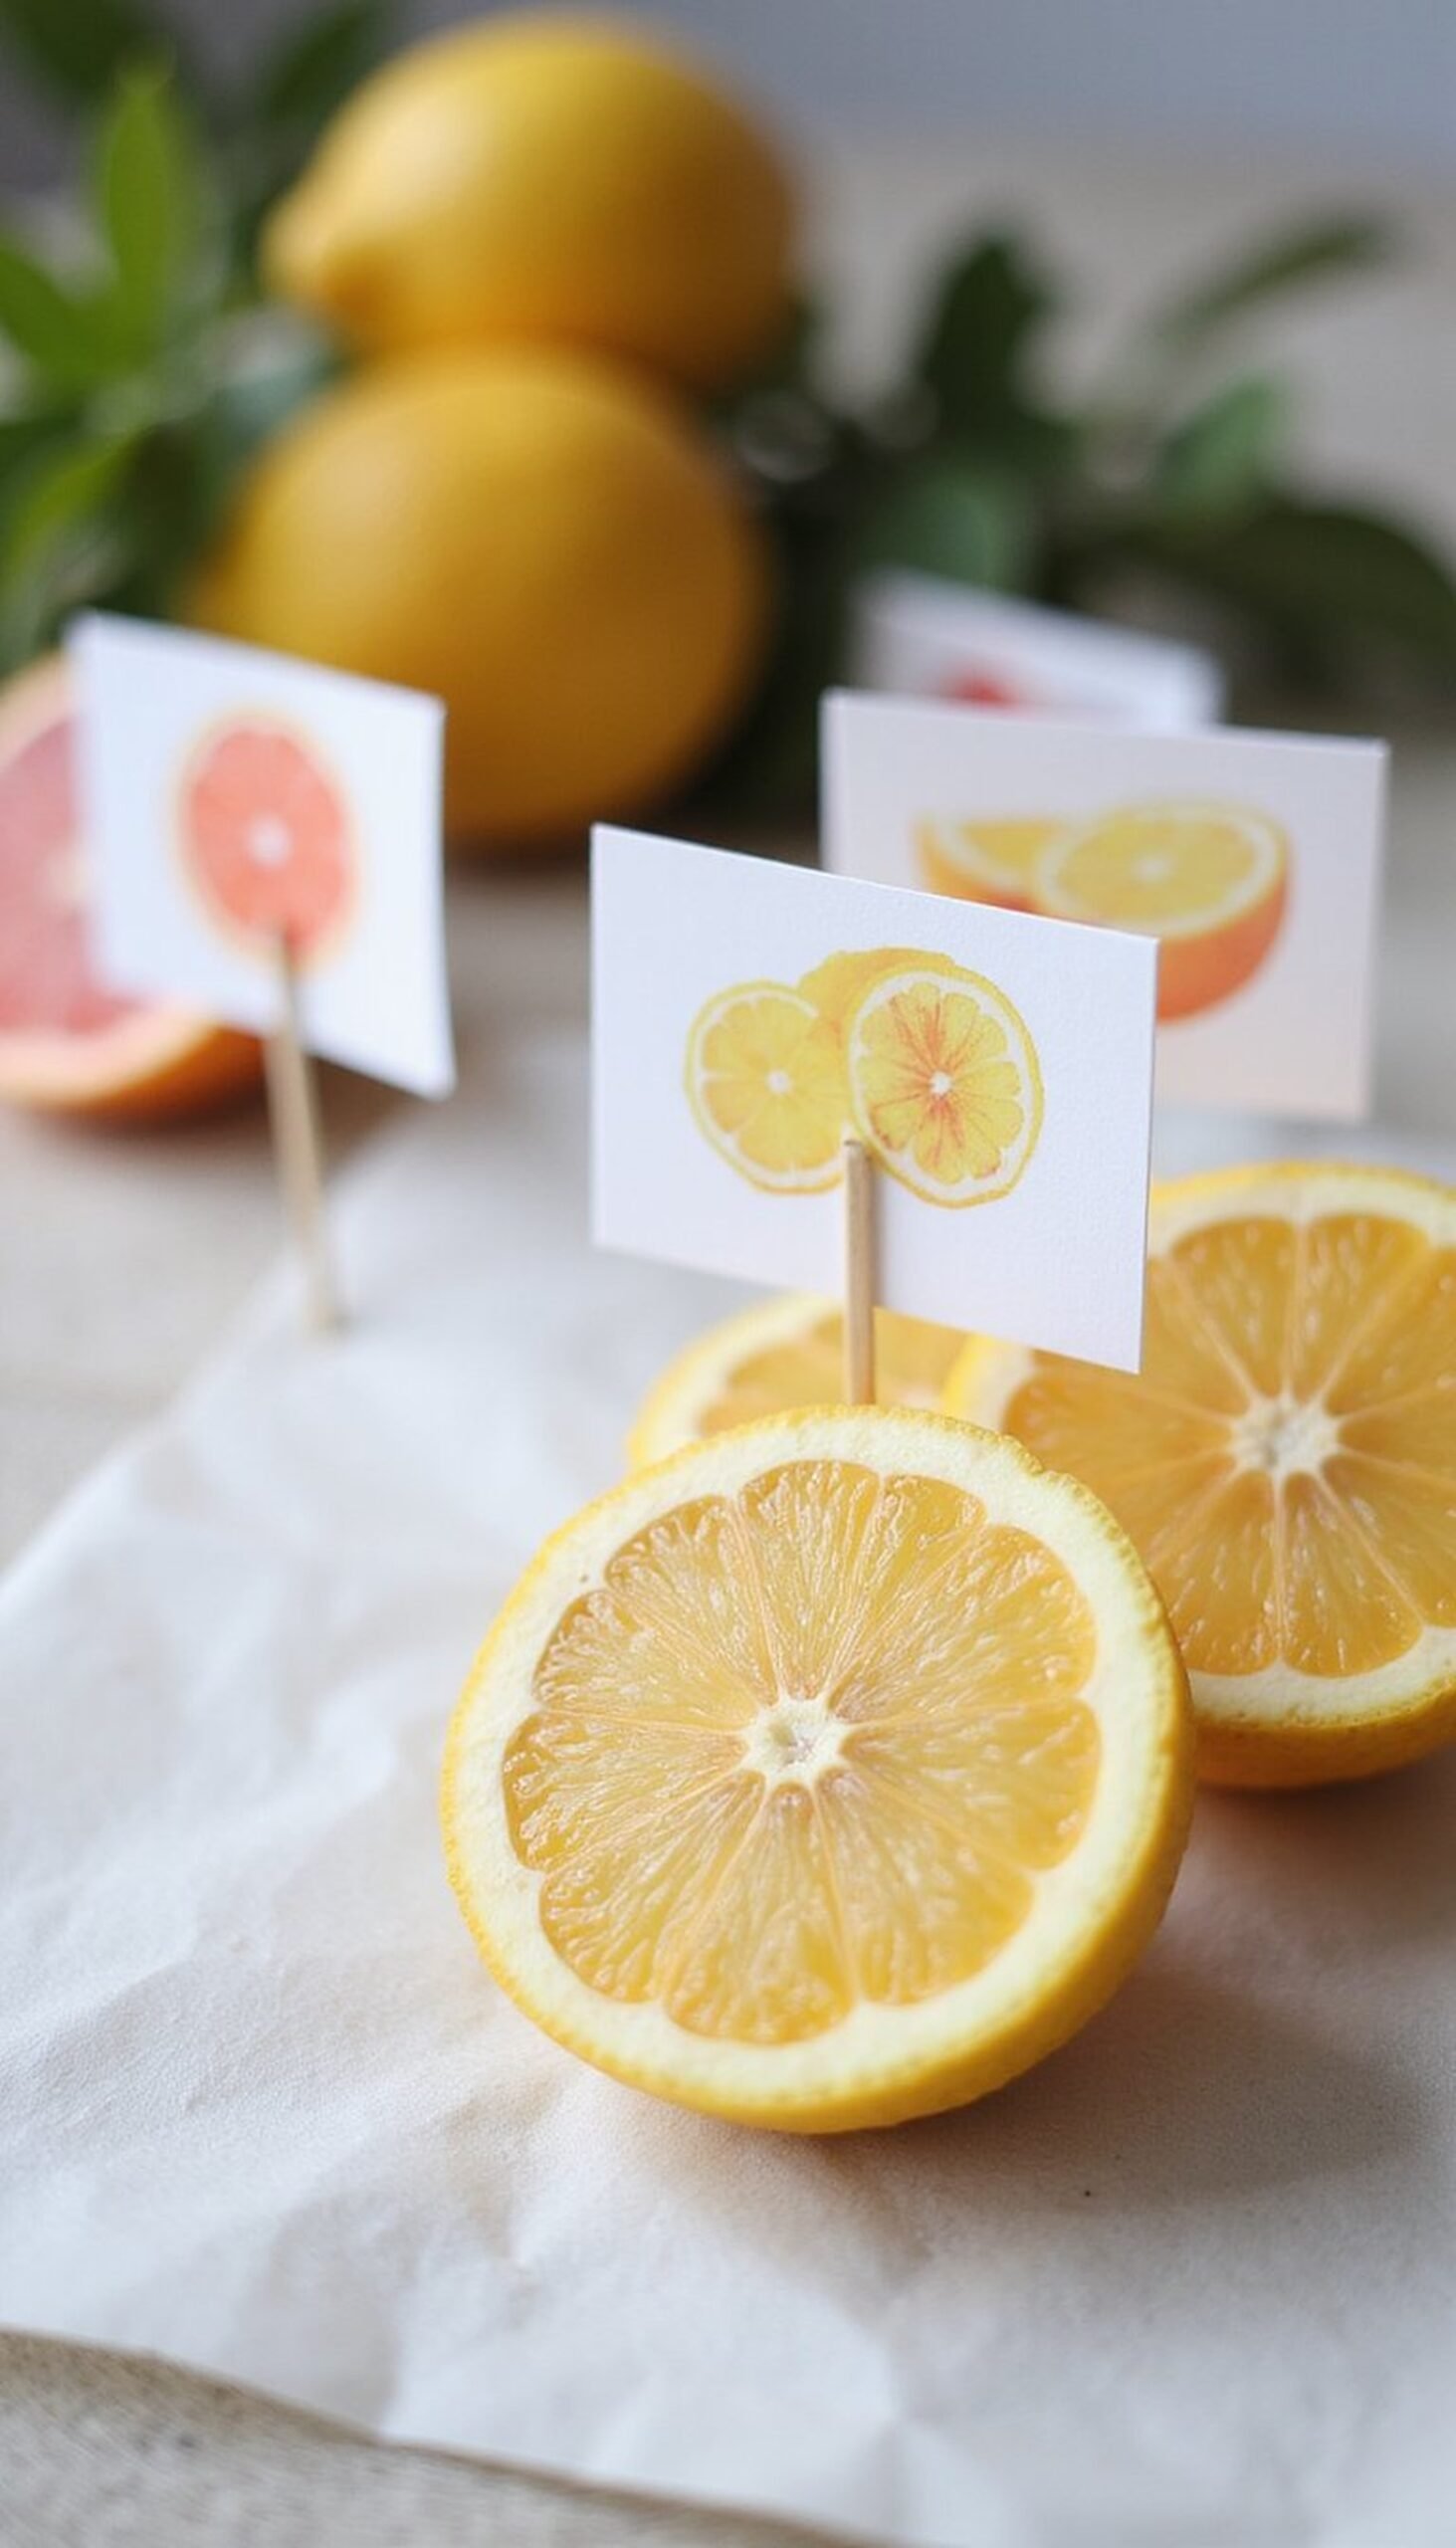
Paint small circles of watercolor in lemon and grapefruit tones on heavy paper, then write guest names in ink and prop them on thin wooden toothpicks stuck into citrus halves. The scent of fresh citrus perks up the table and the bright hues add cheer without overwhelming softer linens. These handmade place cards double as a little palate cleanser between courses. I love the unexpected freshness they bring to a neutral tablescape, and they smell delightful when squeezed into iced tea later.
Styling Tips
- Use heavyweight paper to avoid soaking through the watercolor.
- Match ink color to the palette—dark charcoal works well.
- Place cards close to plates so guests spot them easily.
Rattan Chargers paired with Soft Glassware

Layer rattan chargers under white plates to add warmth and an organic texture to each place setting. Pair them with simple, slightly rounded glassware—light-catching and soft against the woven base. This combo blends coastal and cottage vibes and goes well with both pastel and neutral palettes. I often add a small linen napkin folded across the plate to keep the look breezy. The natural fibers balance polished ceramics and make the whole table feel inviting and relaxed for a slow weekend brunch.
Styling Tips
- Keep plate rims simple so the charger stands out.
- Use clear glass with subtle curves for a soft look.
- Add a matching placemat under the charger for layered texture.
Mixed-Metal Candle Cluster for Warm Glow
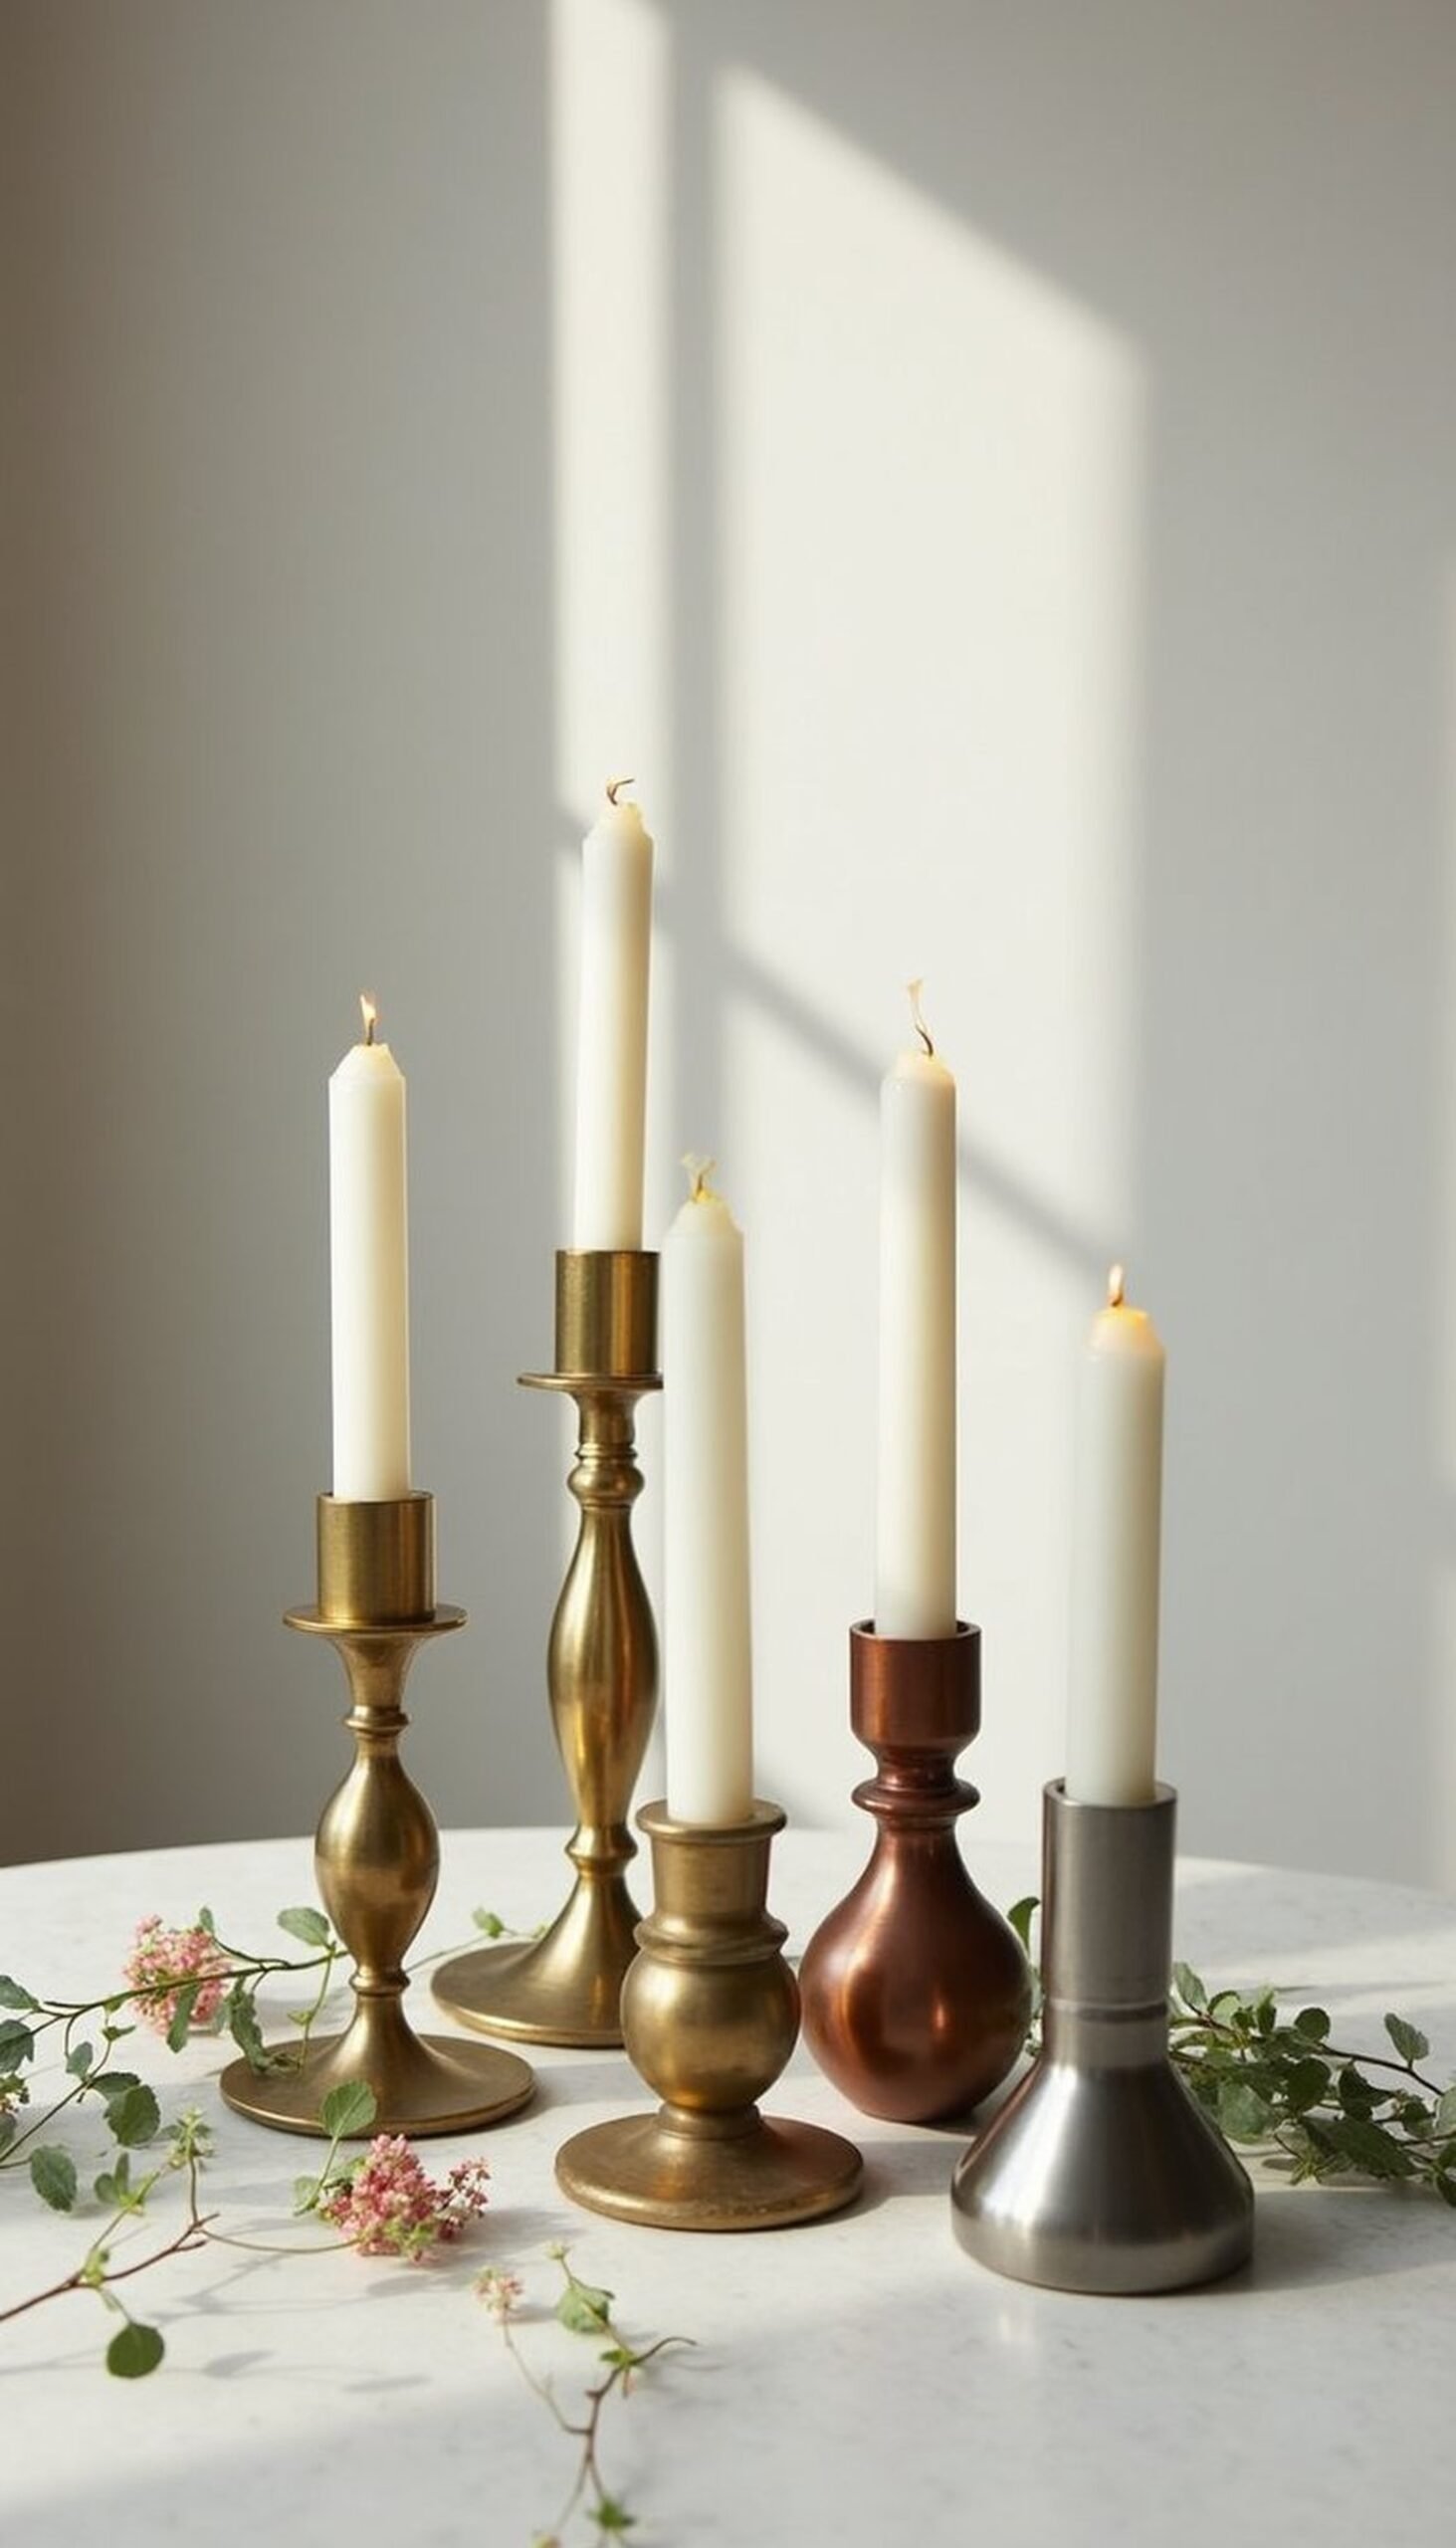
Create a low cluster of brass, copper, and pewter candlesticks down the table’s center. Use various heights and a mix of taper and short pillar candles for a collected look. The different metals catch light in complementary ways and pair nicely with warm wood or cream tablecloths. I like scattering a few loose blooms and eucalyptus around the base to soften the metallic edges. When the candles are lit, the table takes on a cozy mood that carries guests through conversation and coffee.
Styling Tips
- Balance metal tones across the cluster so one doesn’t dominate.
- Trim candle wicks to avoid smoke and keep flames steady.
- Place heatproof coasters under taller candlesticks for protection.
Sweet Treat Pedestal with Handwritten Tags
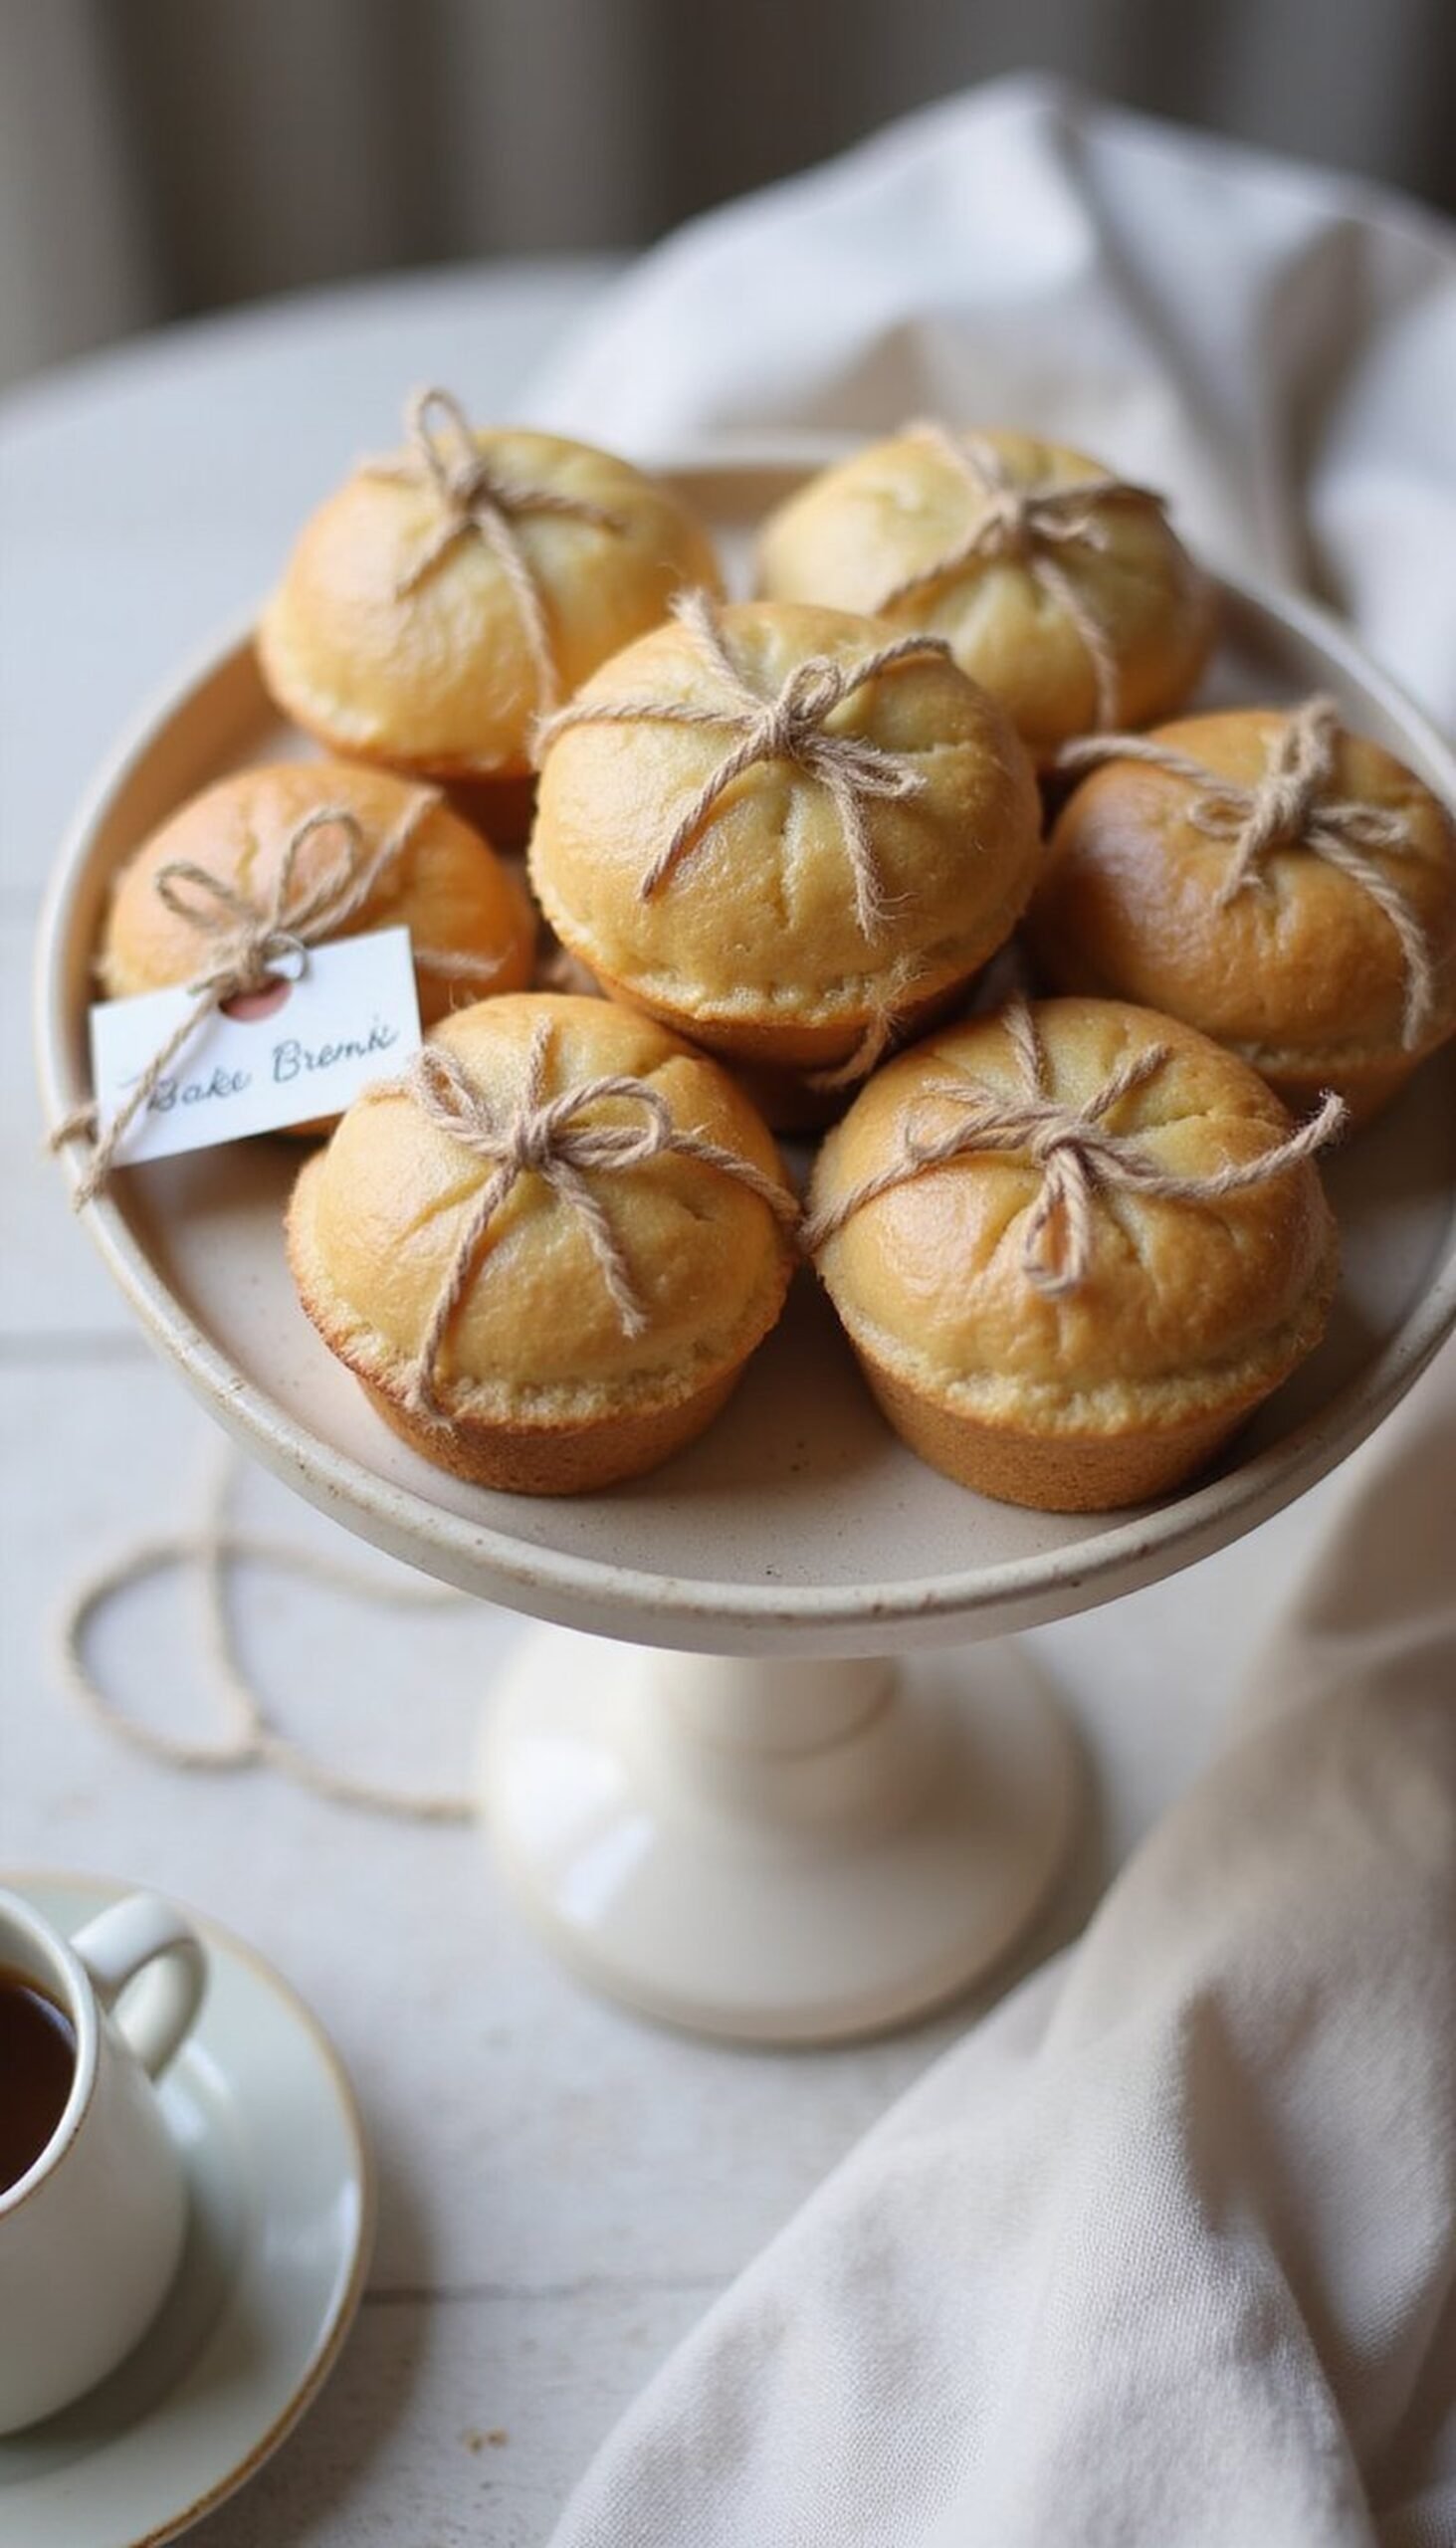
Use a simple cake stand for mini pastries or scones and attach tiny handwritten tags with names or flavor notes using baker’s twine. The height created by the pedestal draws the eye and gives the table more layers without requiring extra space. Choose pastries with golden tones—lemon bars, blueberry scones—to play off neutral table linens and pale florals. I like to tuck a small sprig of herbs beneath the stand for contrast; it feels homey and encourages guests to help themselves.
Styling Tips
- Use different heights of pedestals to create a small dessert tableau.
- Write tags in a relaxed hand for a personal feel.
- Keep pastries bite-sized for easy sampling between courses.
Garden to Table Centerpiece on Reclaimed Board

Arrange seasonal produce—pears, small radishes, figs—on a long reclaimed board interspersed with small vases of wildflowers. The mix of glossy fruit skin and matte flowers pairs well with raw wood and linen textures. This edible centerpiece feels casual and abundant, perfect for a family-style spread where dishes are passed around. I remember my grandmother setting similar boards with leftover veggies from the porch garden; it always felt generous and easy to nibble from between courses.
Styling Tips
- Combine shiny fruits with matte greens for contrast.
- Use small bud vases to keep sightlines open.
- Add a few sprigs of herbs for scent and color.
Monogrammed Linen Napkins for a Personal Touch
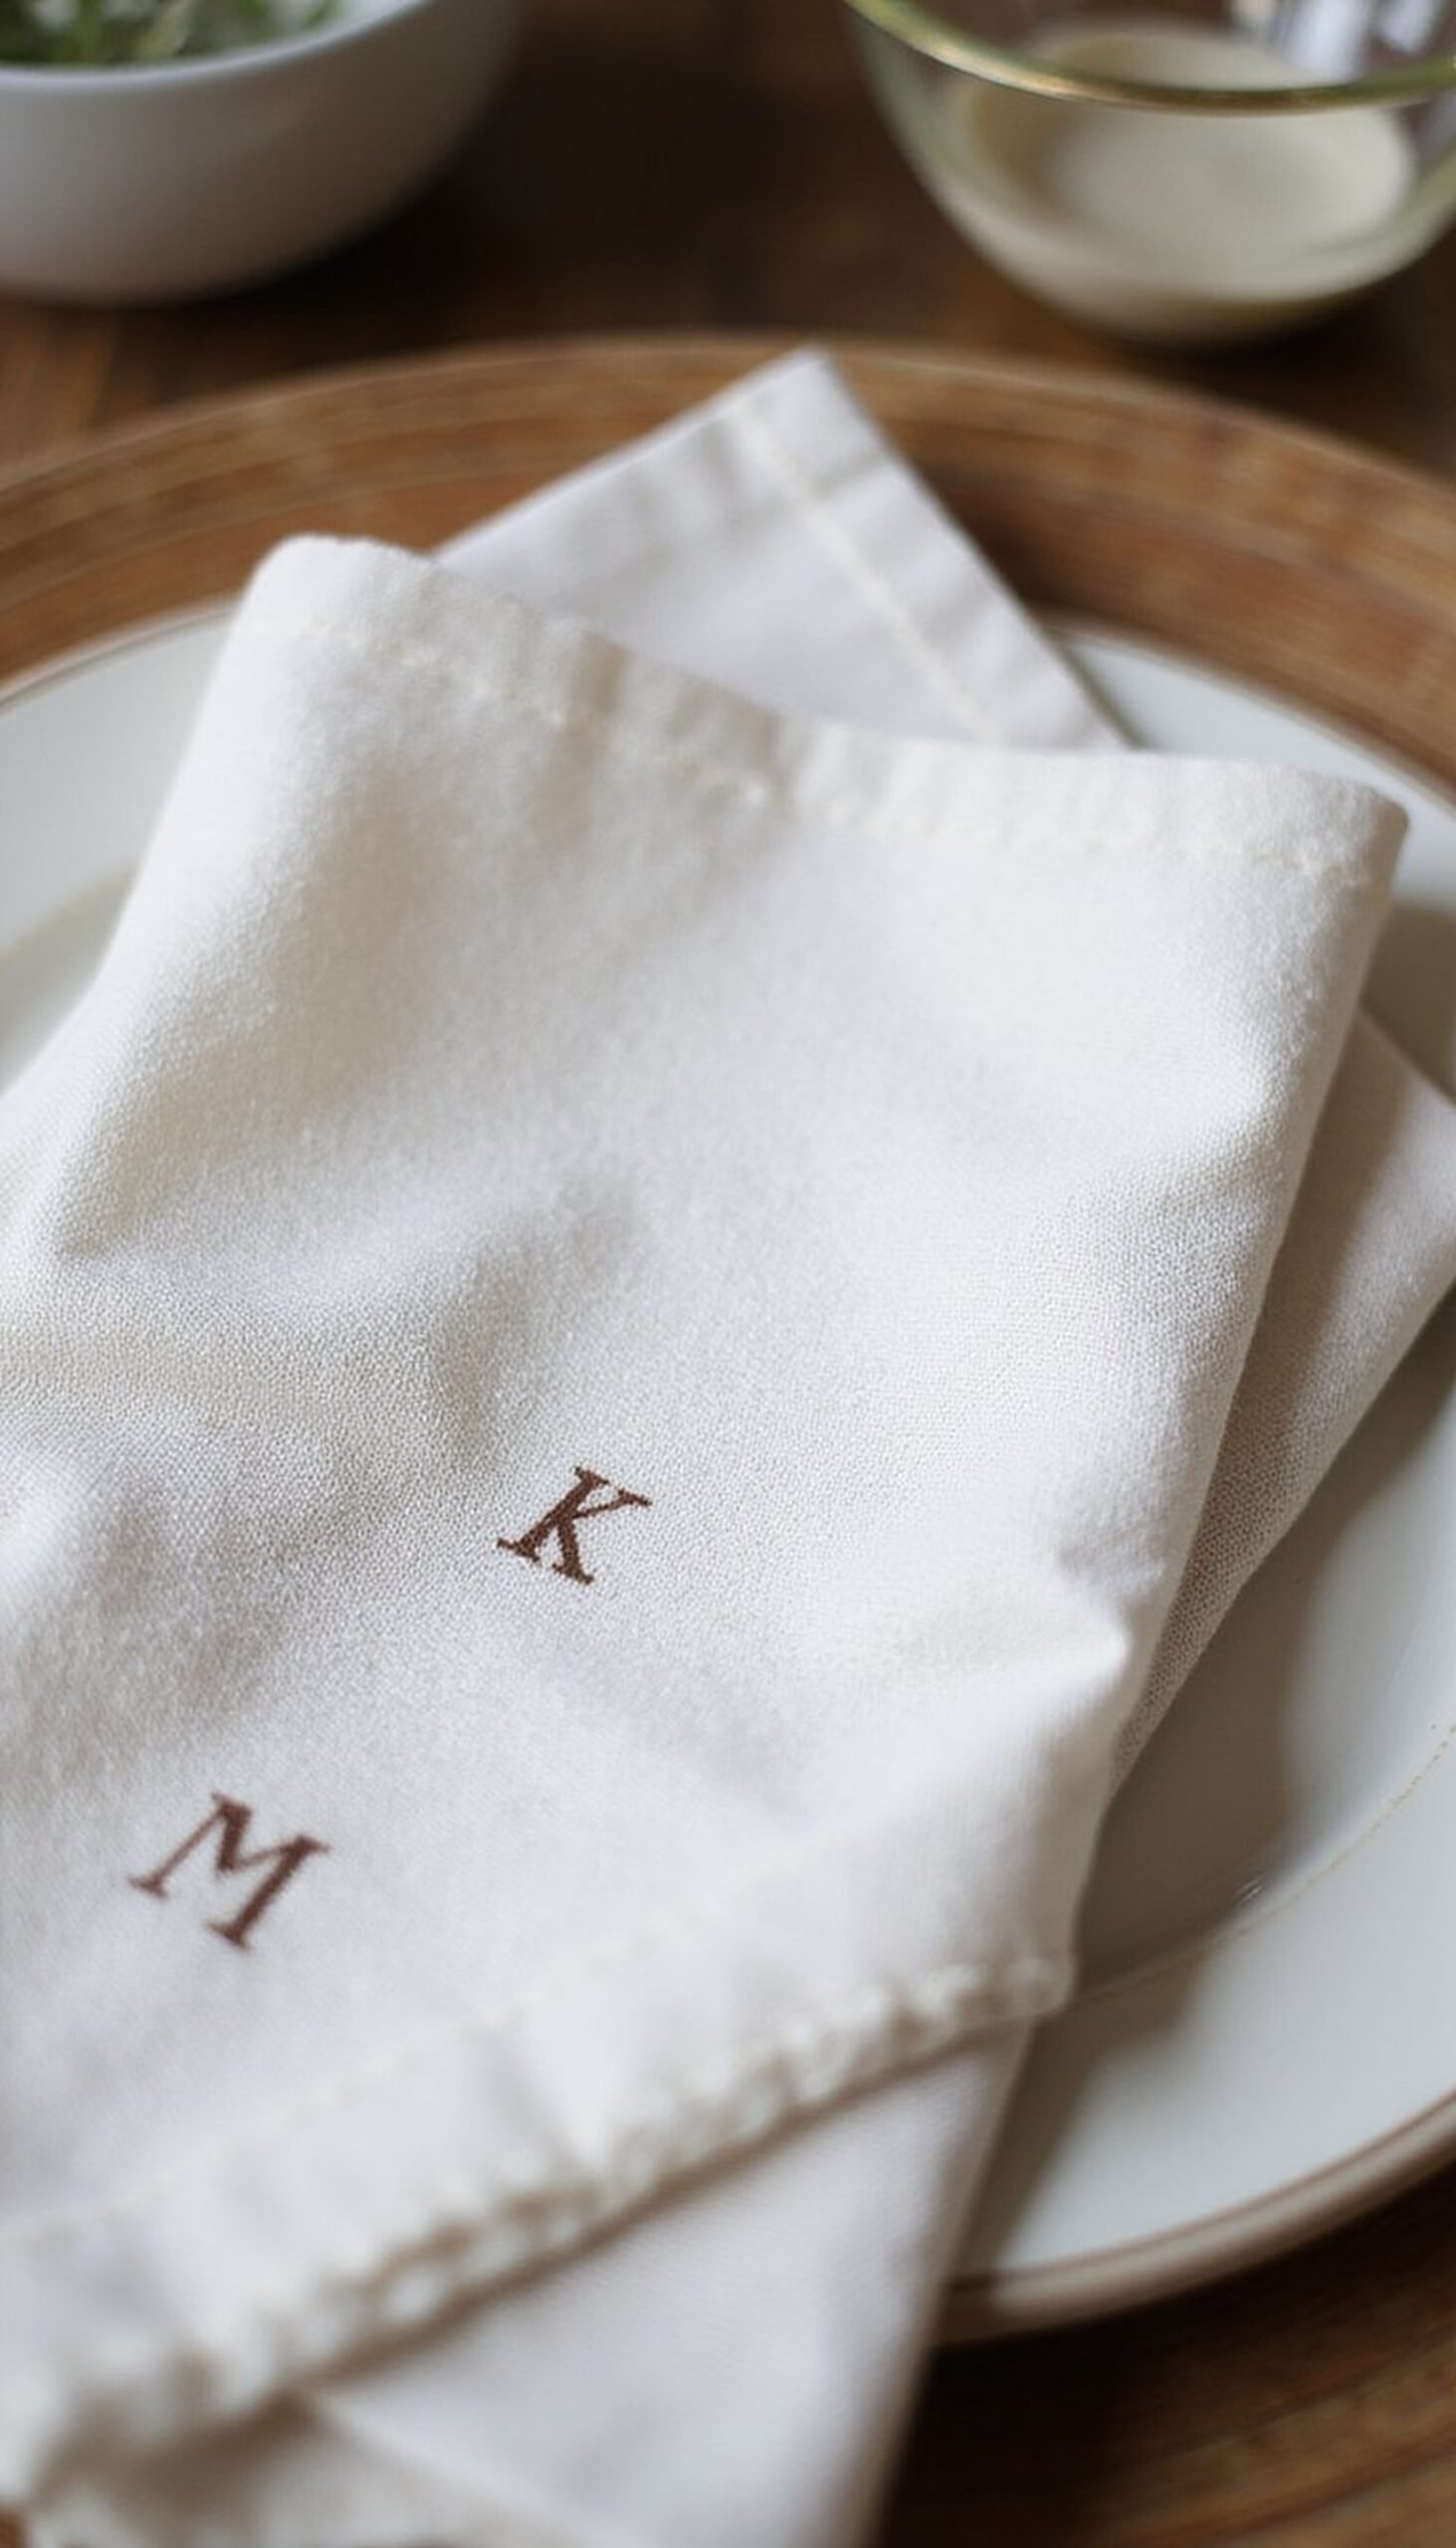
Sew or iron-on small monograms onto soft linen napkins in a muted thread color for a quietly personal detail. Place the napkin across the plate or tuck it into a simple ring; the linen texture pairs beautifully with ceramic dishes and wooden chargers. Choosing a single font style for the set keeps it cohesive, and I like to mix a classic serif with a modern neutral palette. These napkins feel like a keepsake guests can fold up and take home after the meal—an easy way to leave a memory at the table.
Styling Tips
- Keep monogram sizes small to stay understated.
- Match thread color to a floral or plate accent.
- Press linens lightly so they feel relaxed, not stiff.
Layered Table Runner with Patterned Placemats
Start with a neutral linen runner and layer patterned placemats or small tapestry squares to add visual rhythm. Mix a floral runner with geometric placemats in harmonizing hues for an eclectic, collected look. Textures are key here—combine smooth ceramics with woven textiles and a chipped-glaze vase. I often swap in seasonal runners depending on light and mood: lighter linens for spring, slightly heavier weaves for cooler mornings. This approach makes each place feel considered without being overly matchy.
Styling Tips
- Stick to a restrained palette to keep layers from clashing.
- Use placemats that are slightly offset for an organic feel.
- Anchor the runner with a low centerpiece to maintain sightlines.
Mini Terrariums as Green Place Markers
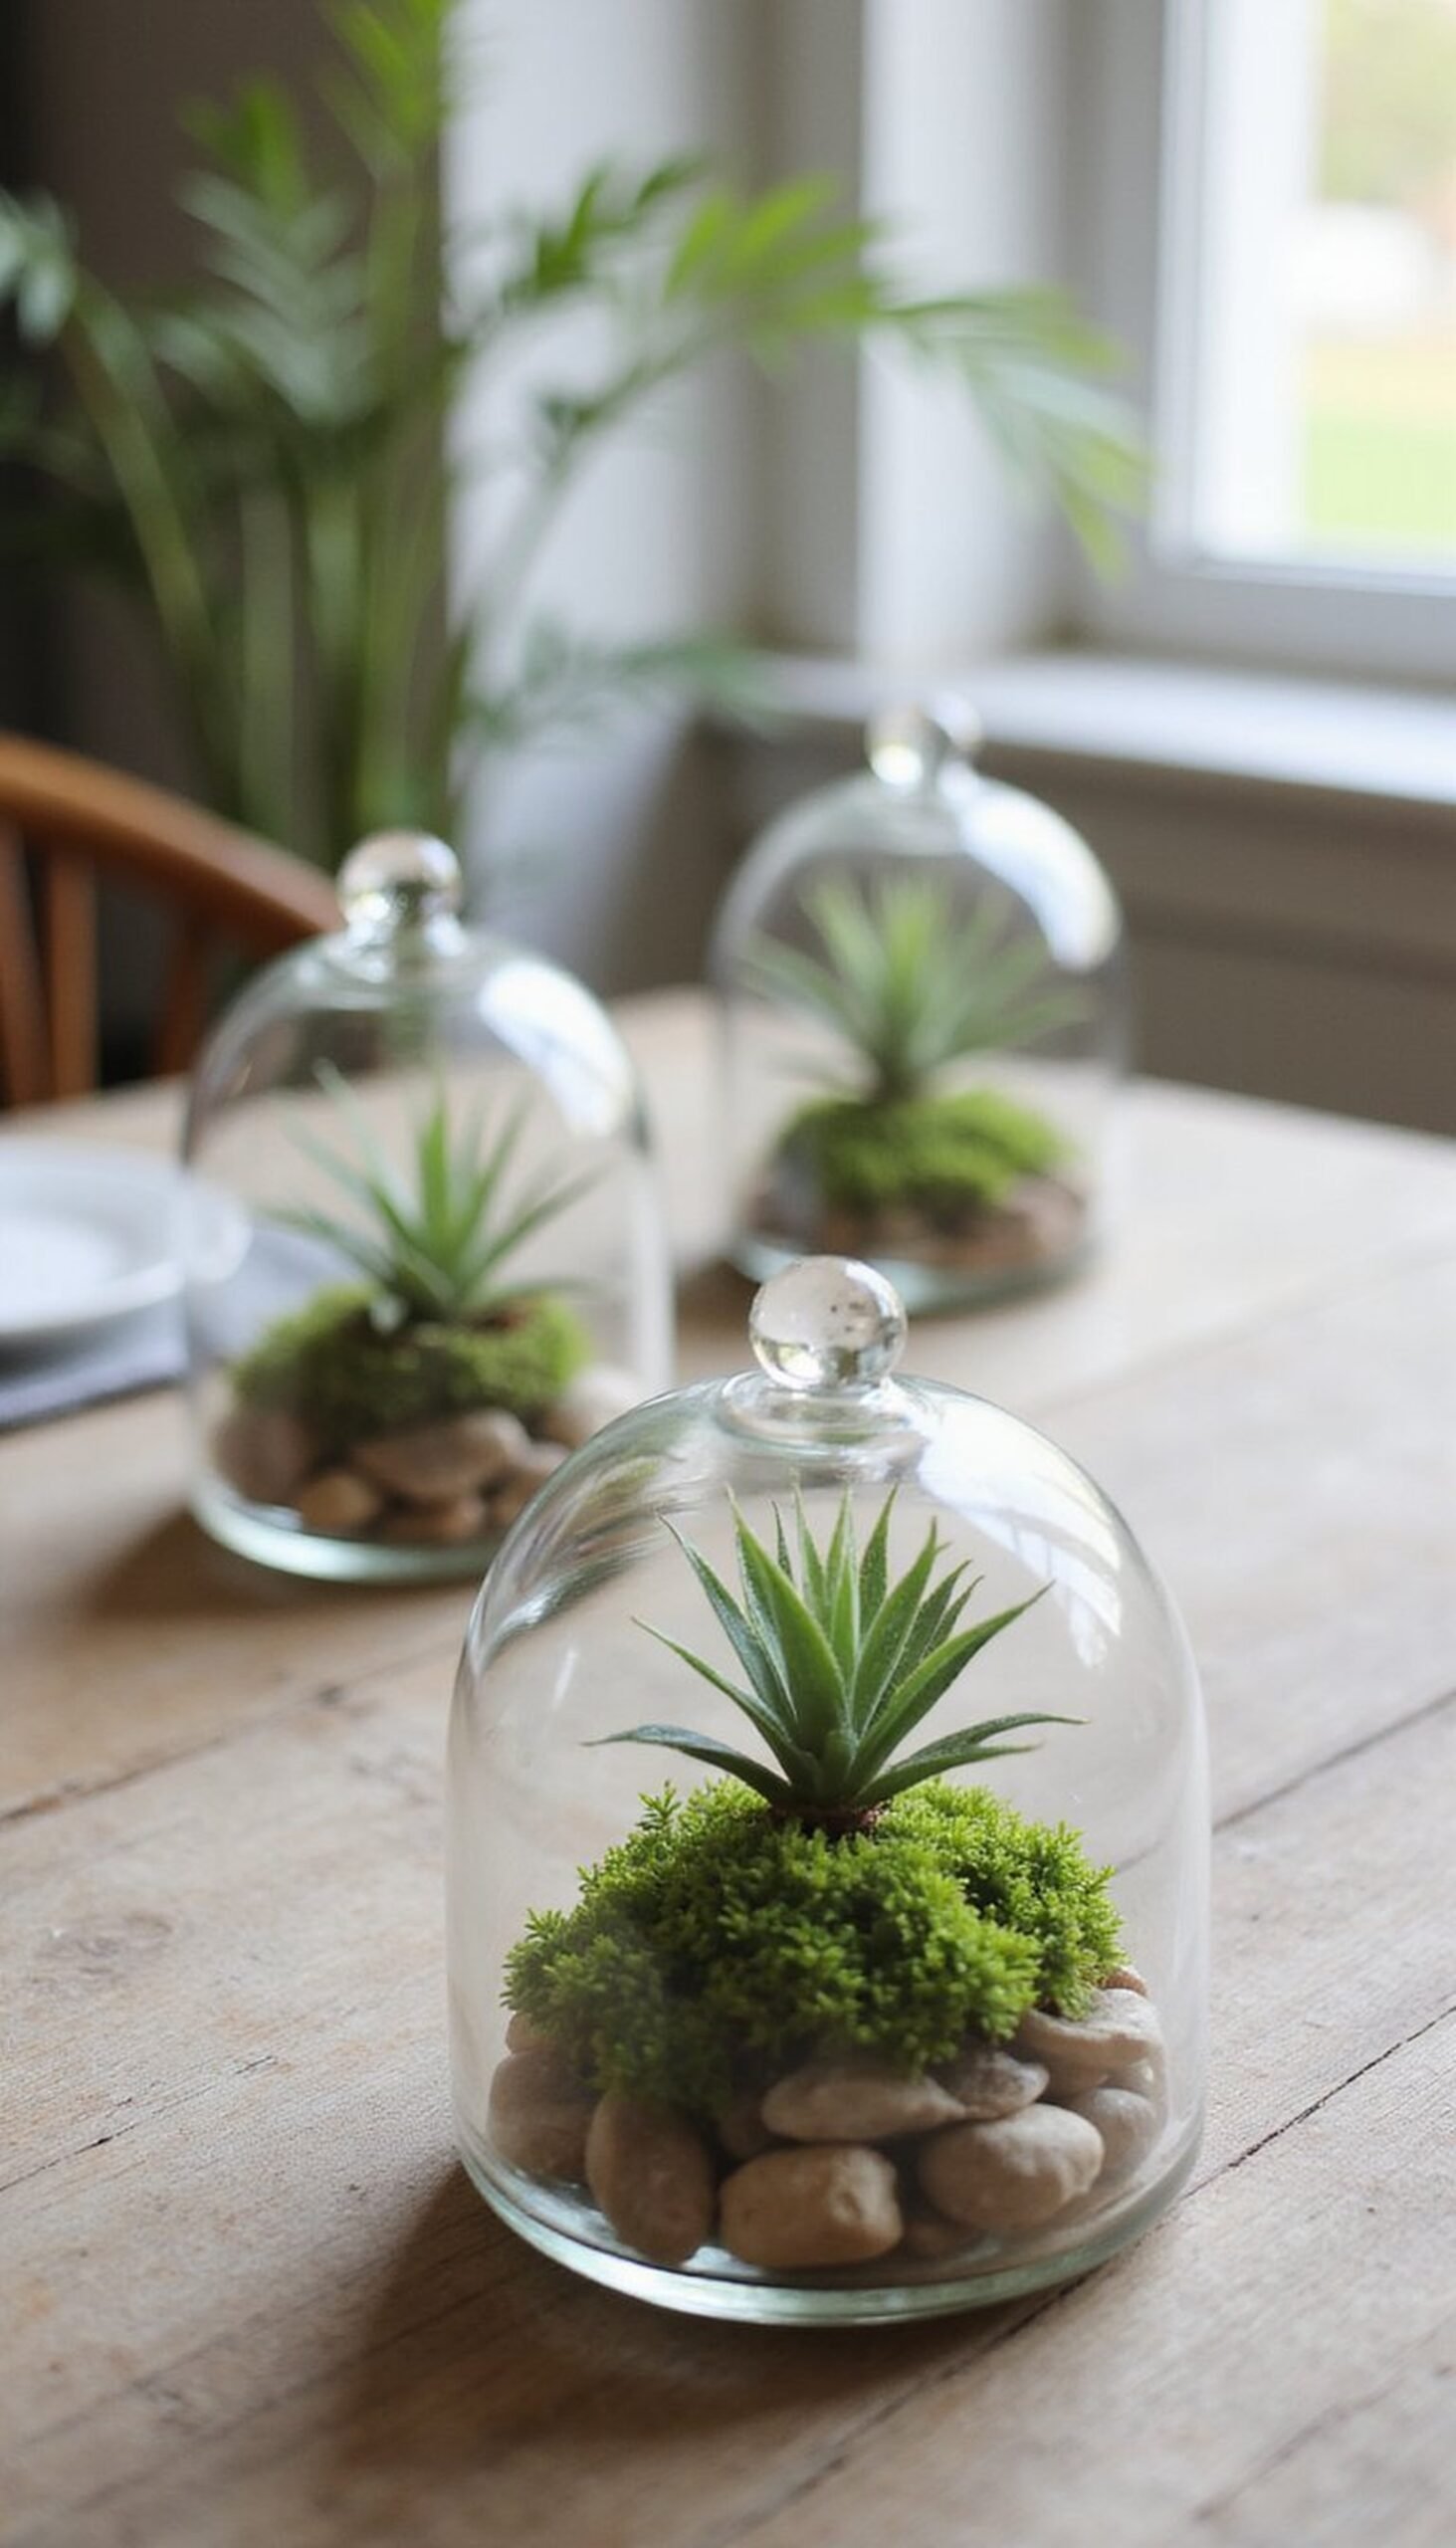
Set tiny glass terrariums at each place with a touch of moss, a tiny fern, or delicate air plant. These little green worlds are calm and minimal while adding a living element that lasts beyond the meal. Use clear glass to show off pebbles and soil layers, and tie a slim ribbon around the top if you like. I find guests enjoy lifting them gently to peer inside—it’s a simple way to bring a bit of the outdoors in, especially for spring brunches with lots of light.
Styling Tips
- Choose low-maintenance plants like air plants or succulents.
- Keep terrariums small so they don’t crowd plates.
- Group a few extras down the center for continuity.
Painted Mason Jars with Lace Sleeves
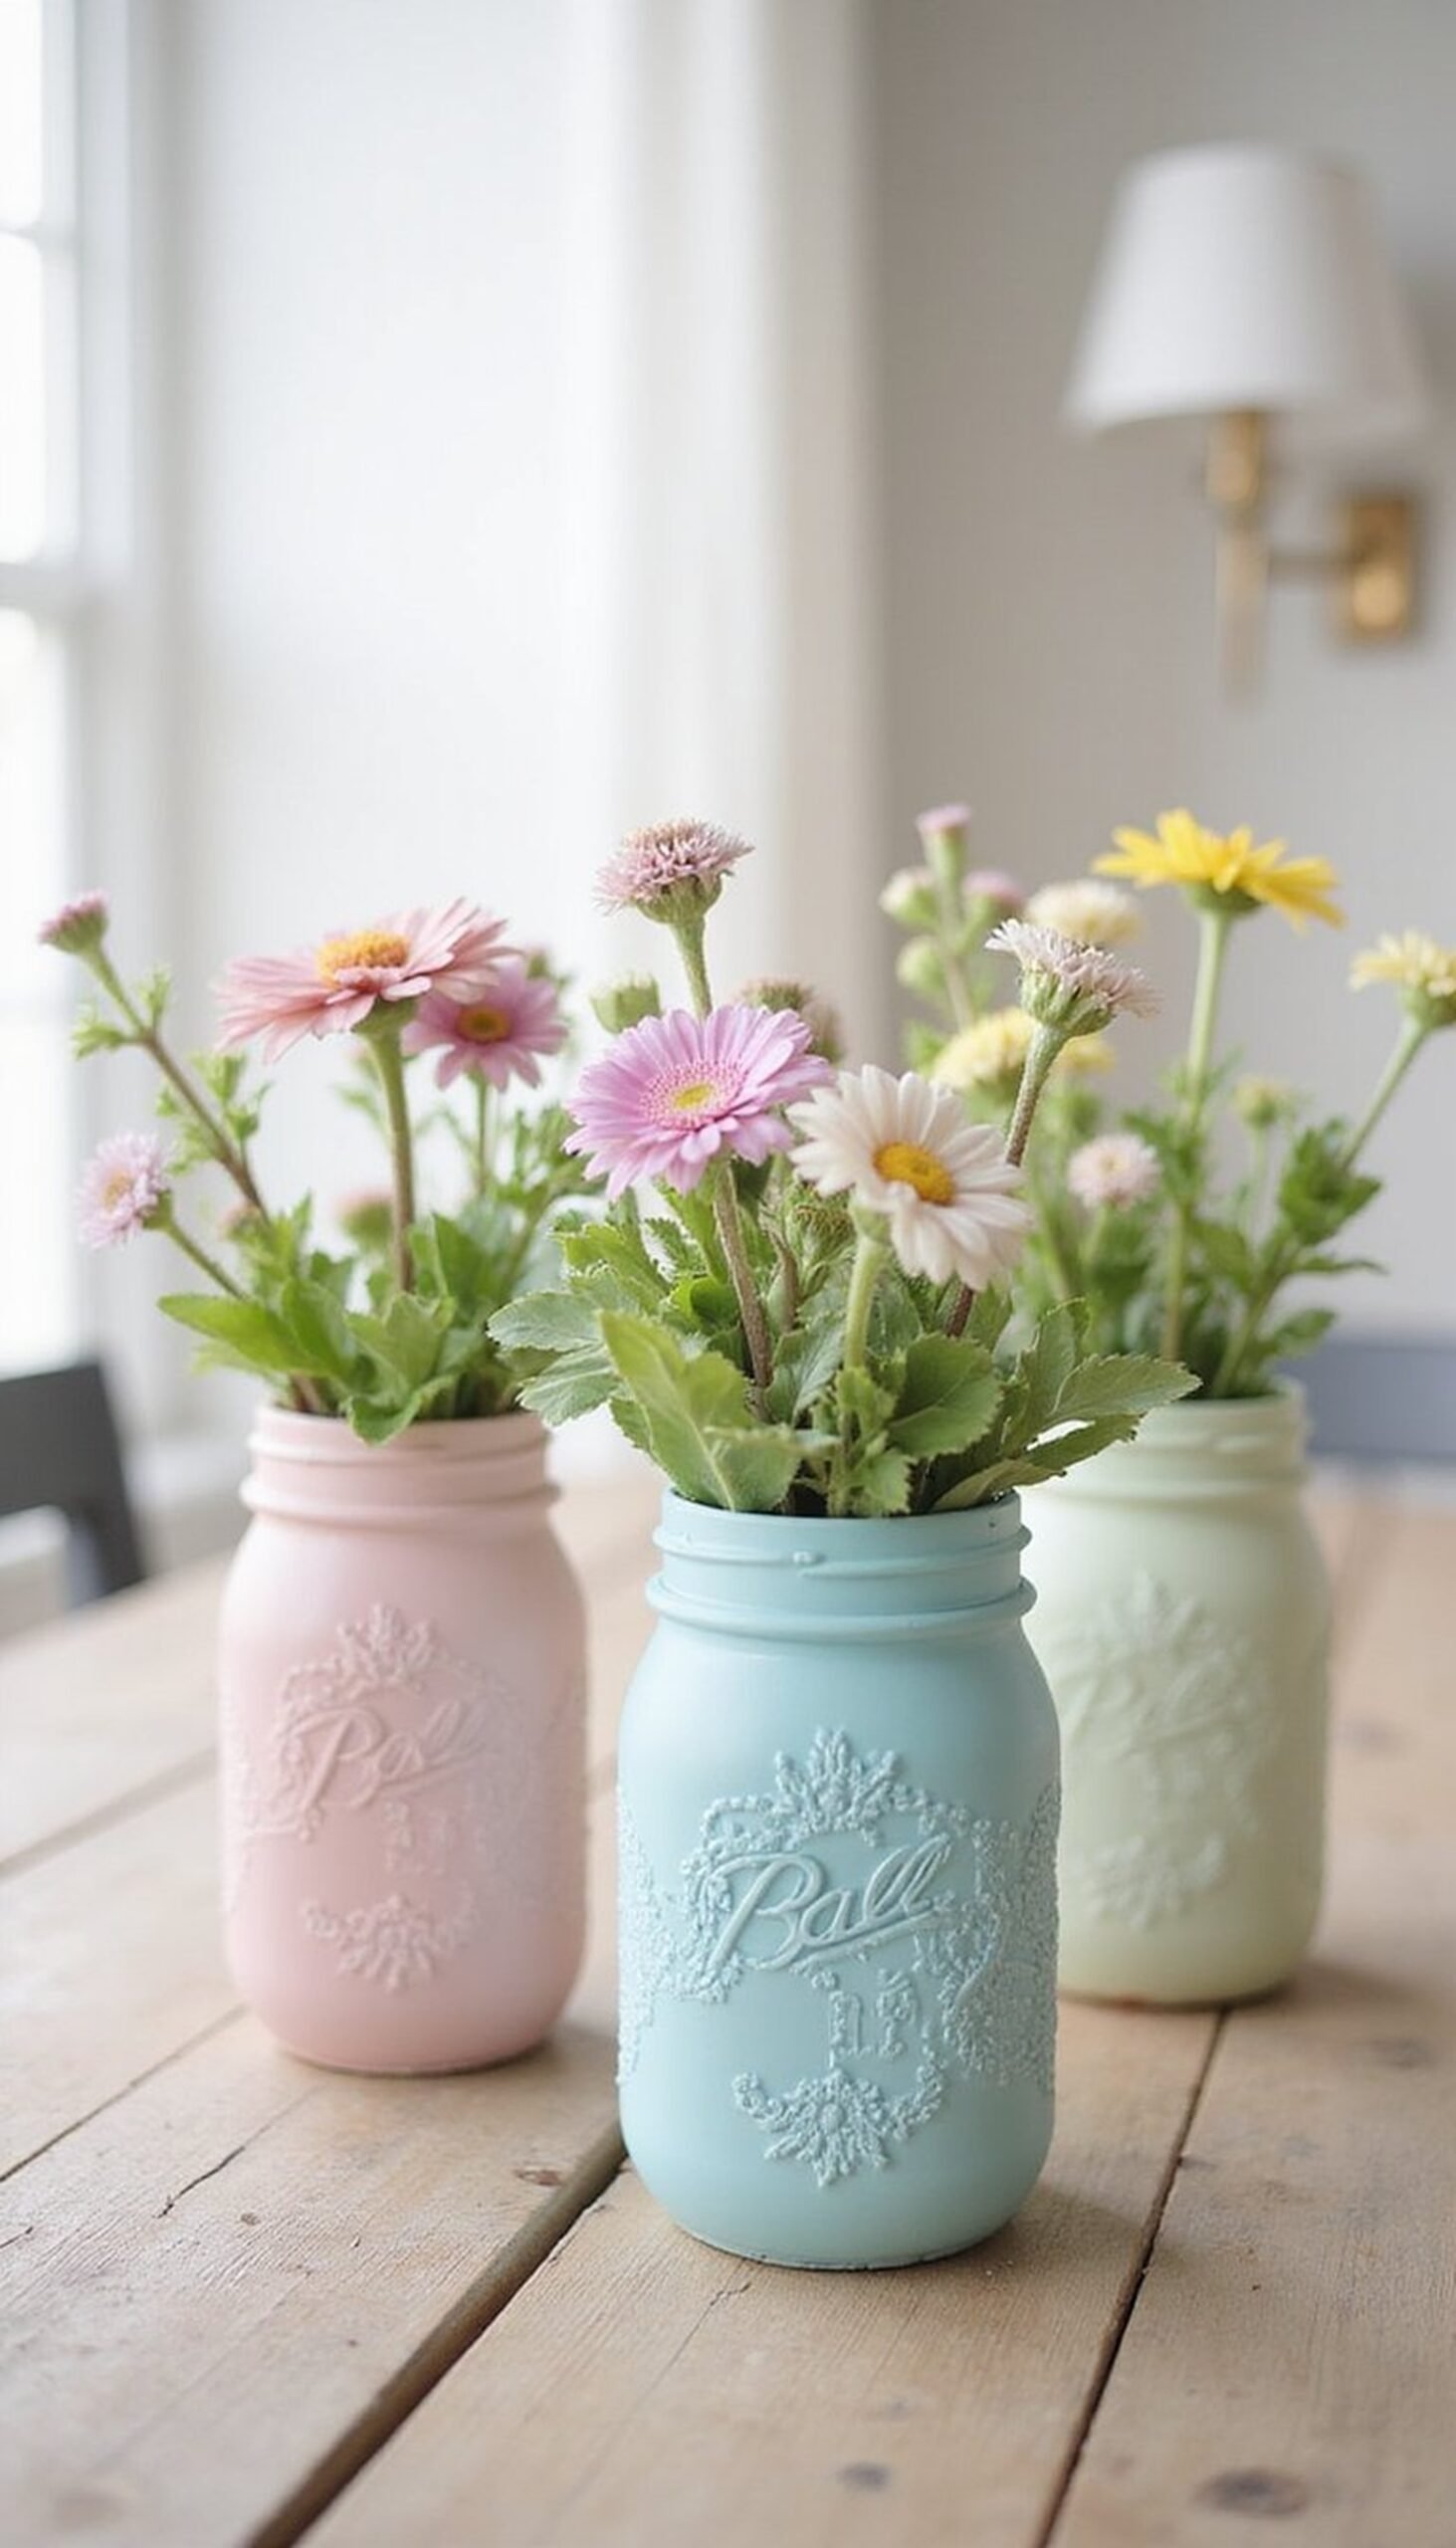
Gently paint mason jars in muted pastel tones and slip a lace sleeve or fabric cuff over them once dry to add a romantic layer. Use these as vases for single stems or small posies and scatter them along the table for a cottage feel. The contrast between painted glass and delicate lace creates a charming handmade look. I like mixing matte and semi-gloss finishes, then arranging the jars with tiny stacks of small plates and flatware for a cohesive tabletop vignette.
Styling Tips
- Sand lightly before painting for a weathered finish.
- Line the inside with a small glass to protect the paint from water.
- Vary jar heights and lace patterns for interest.
Floral Garland Draped Along Table Edge
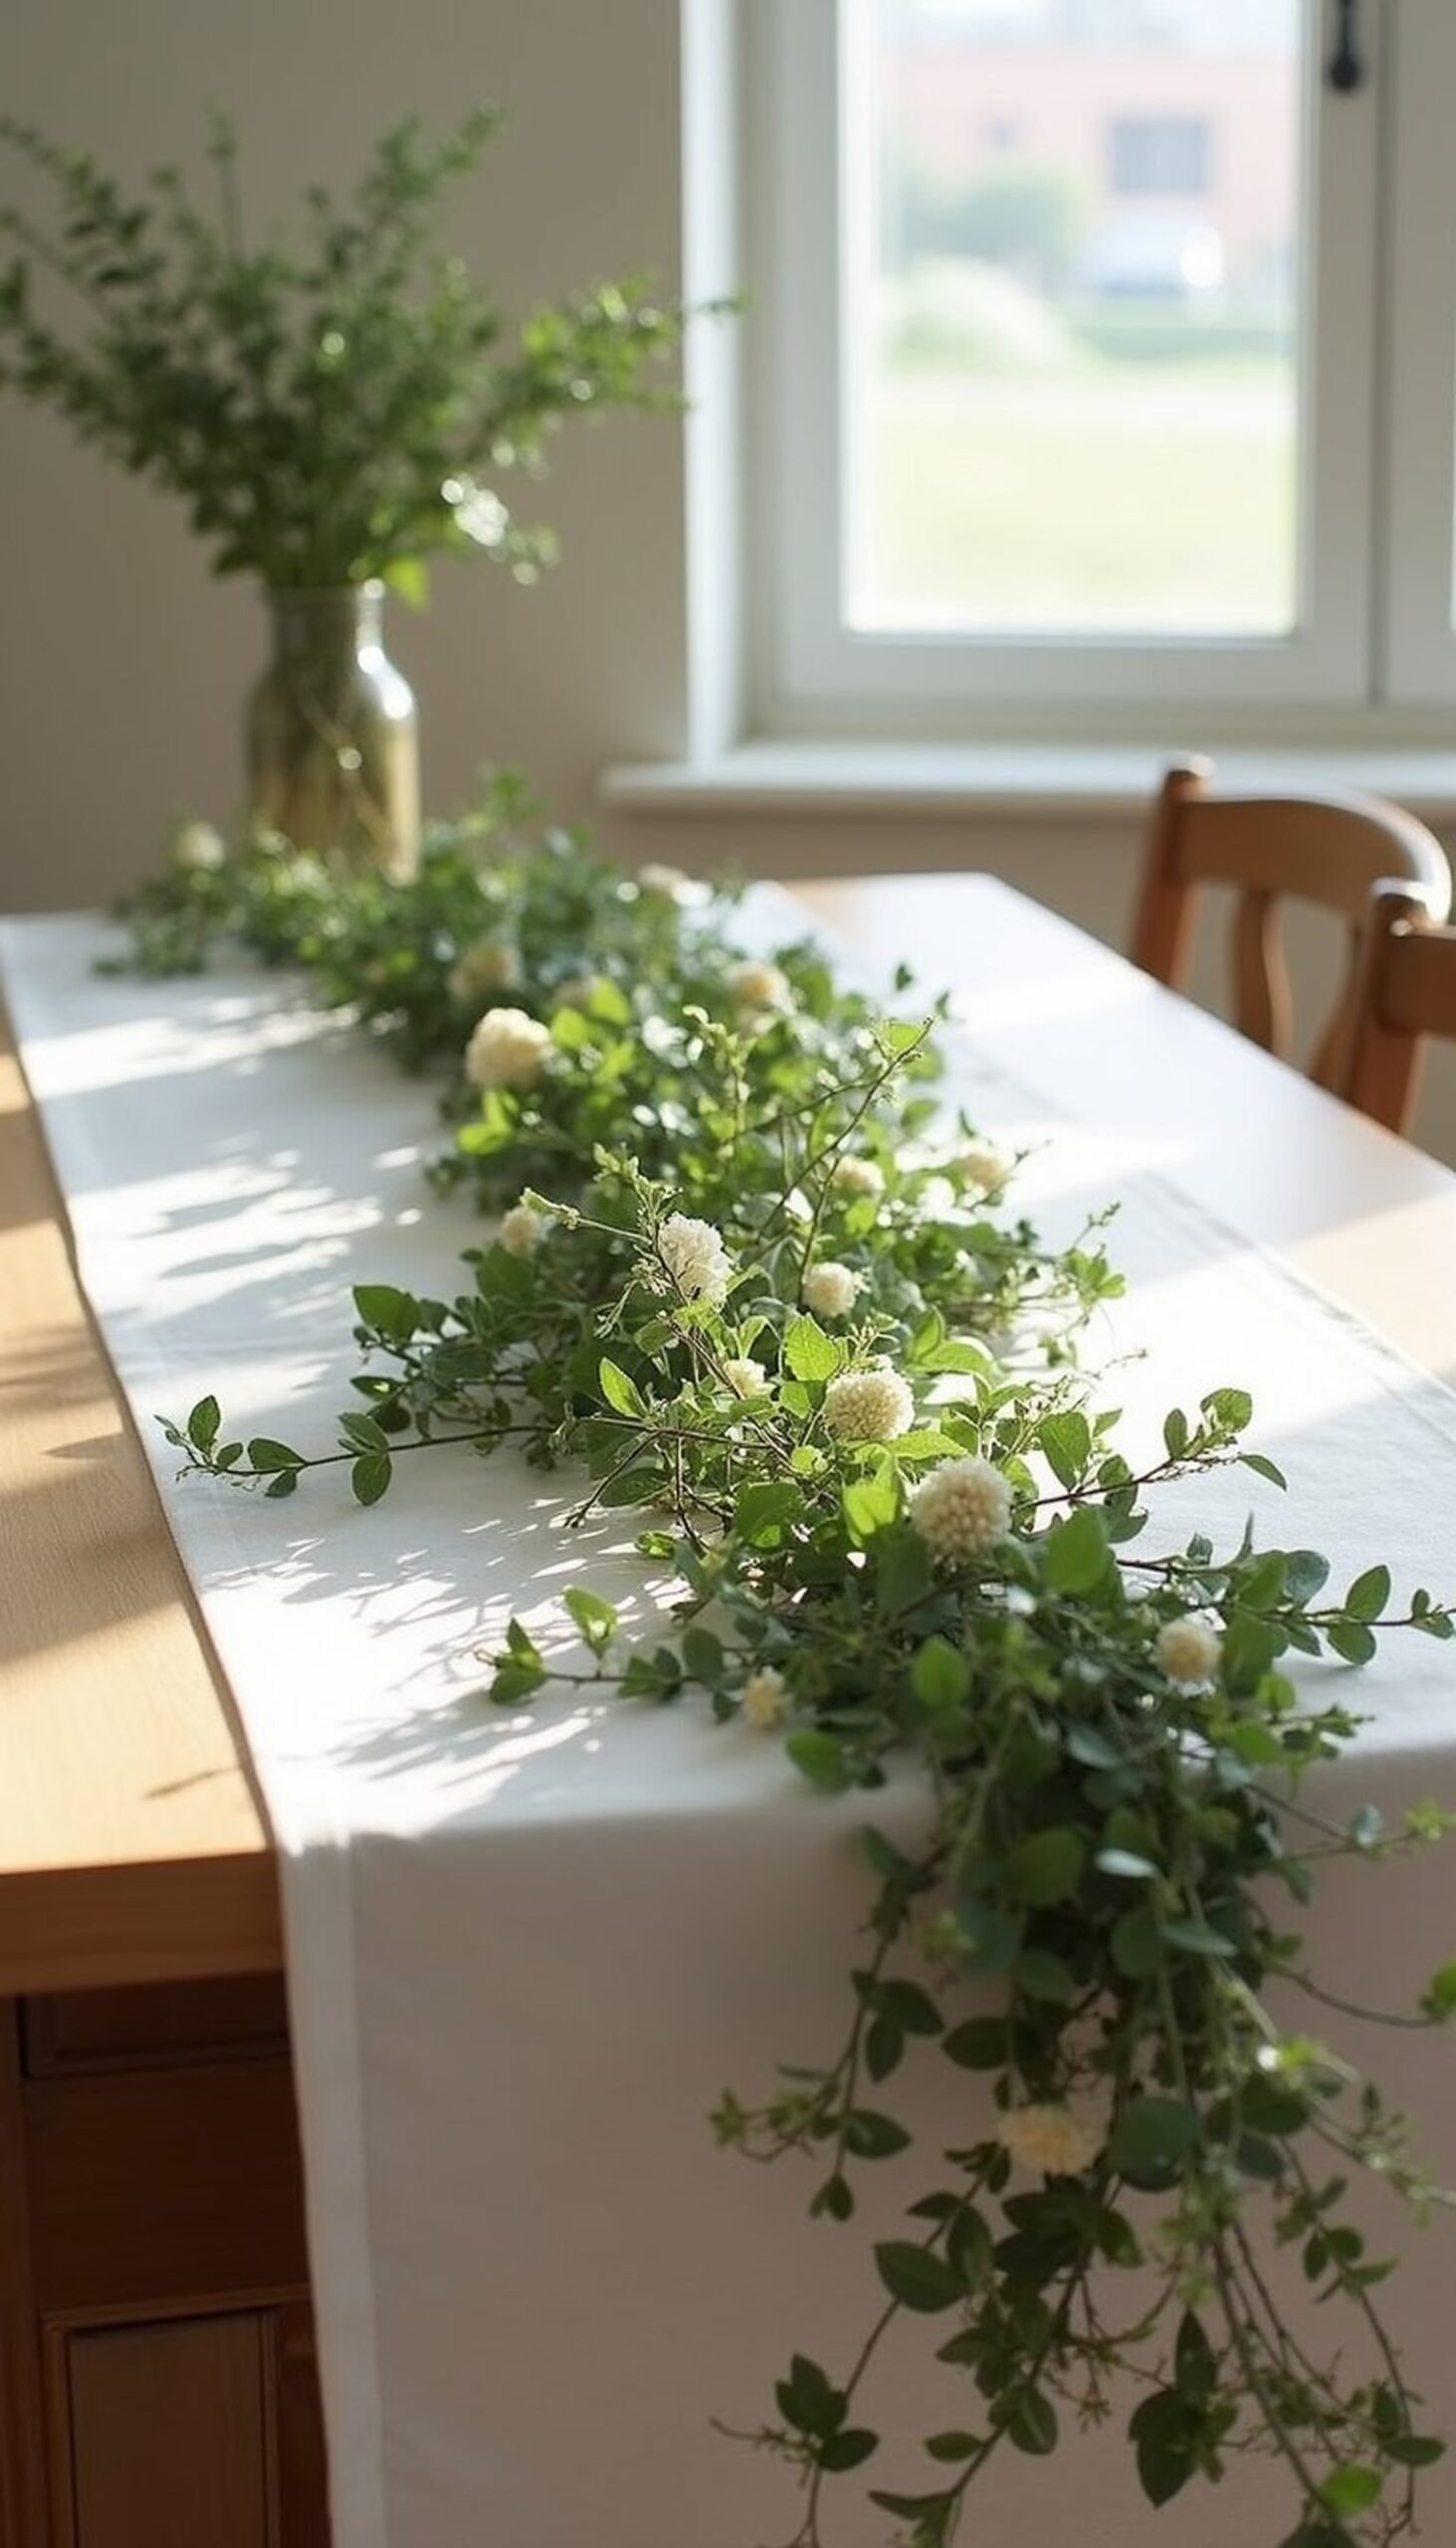
Drape a loose garland of mixed greenery and small blooms along the center of the table, letting a few tendrils fall over the edge for a relaxed, garden-like effect. Use wired stems for flexibility and weave in ribbon or tiny buds for color pops. This low centerpiece keeps conversation flowing while delivering a lush, cohesive look. I often let kids help tuck in blooms; it’s a sweet way to add personality and everyone feels they’ve contributed to the table’s atmosphere.
Styling Tips
- Keep the garland low to maintain sightlines across the table.
- Secure heavier pieces with floral wire to prevent shifting.
- Add small clusters of flowers at intervals for rhythm.
Pastel Balloon Arch Backdrop for Photos
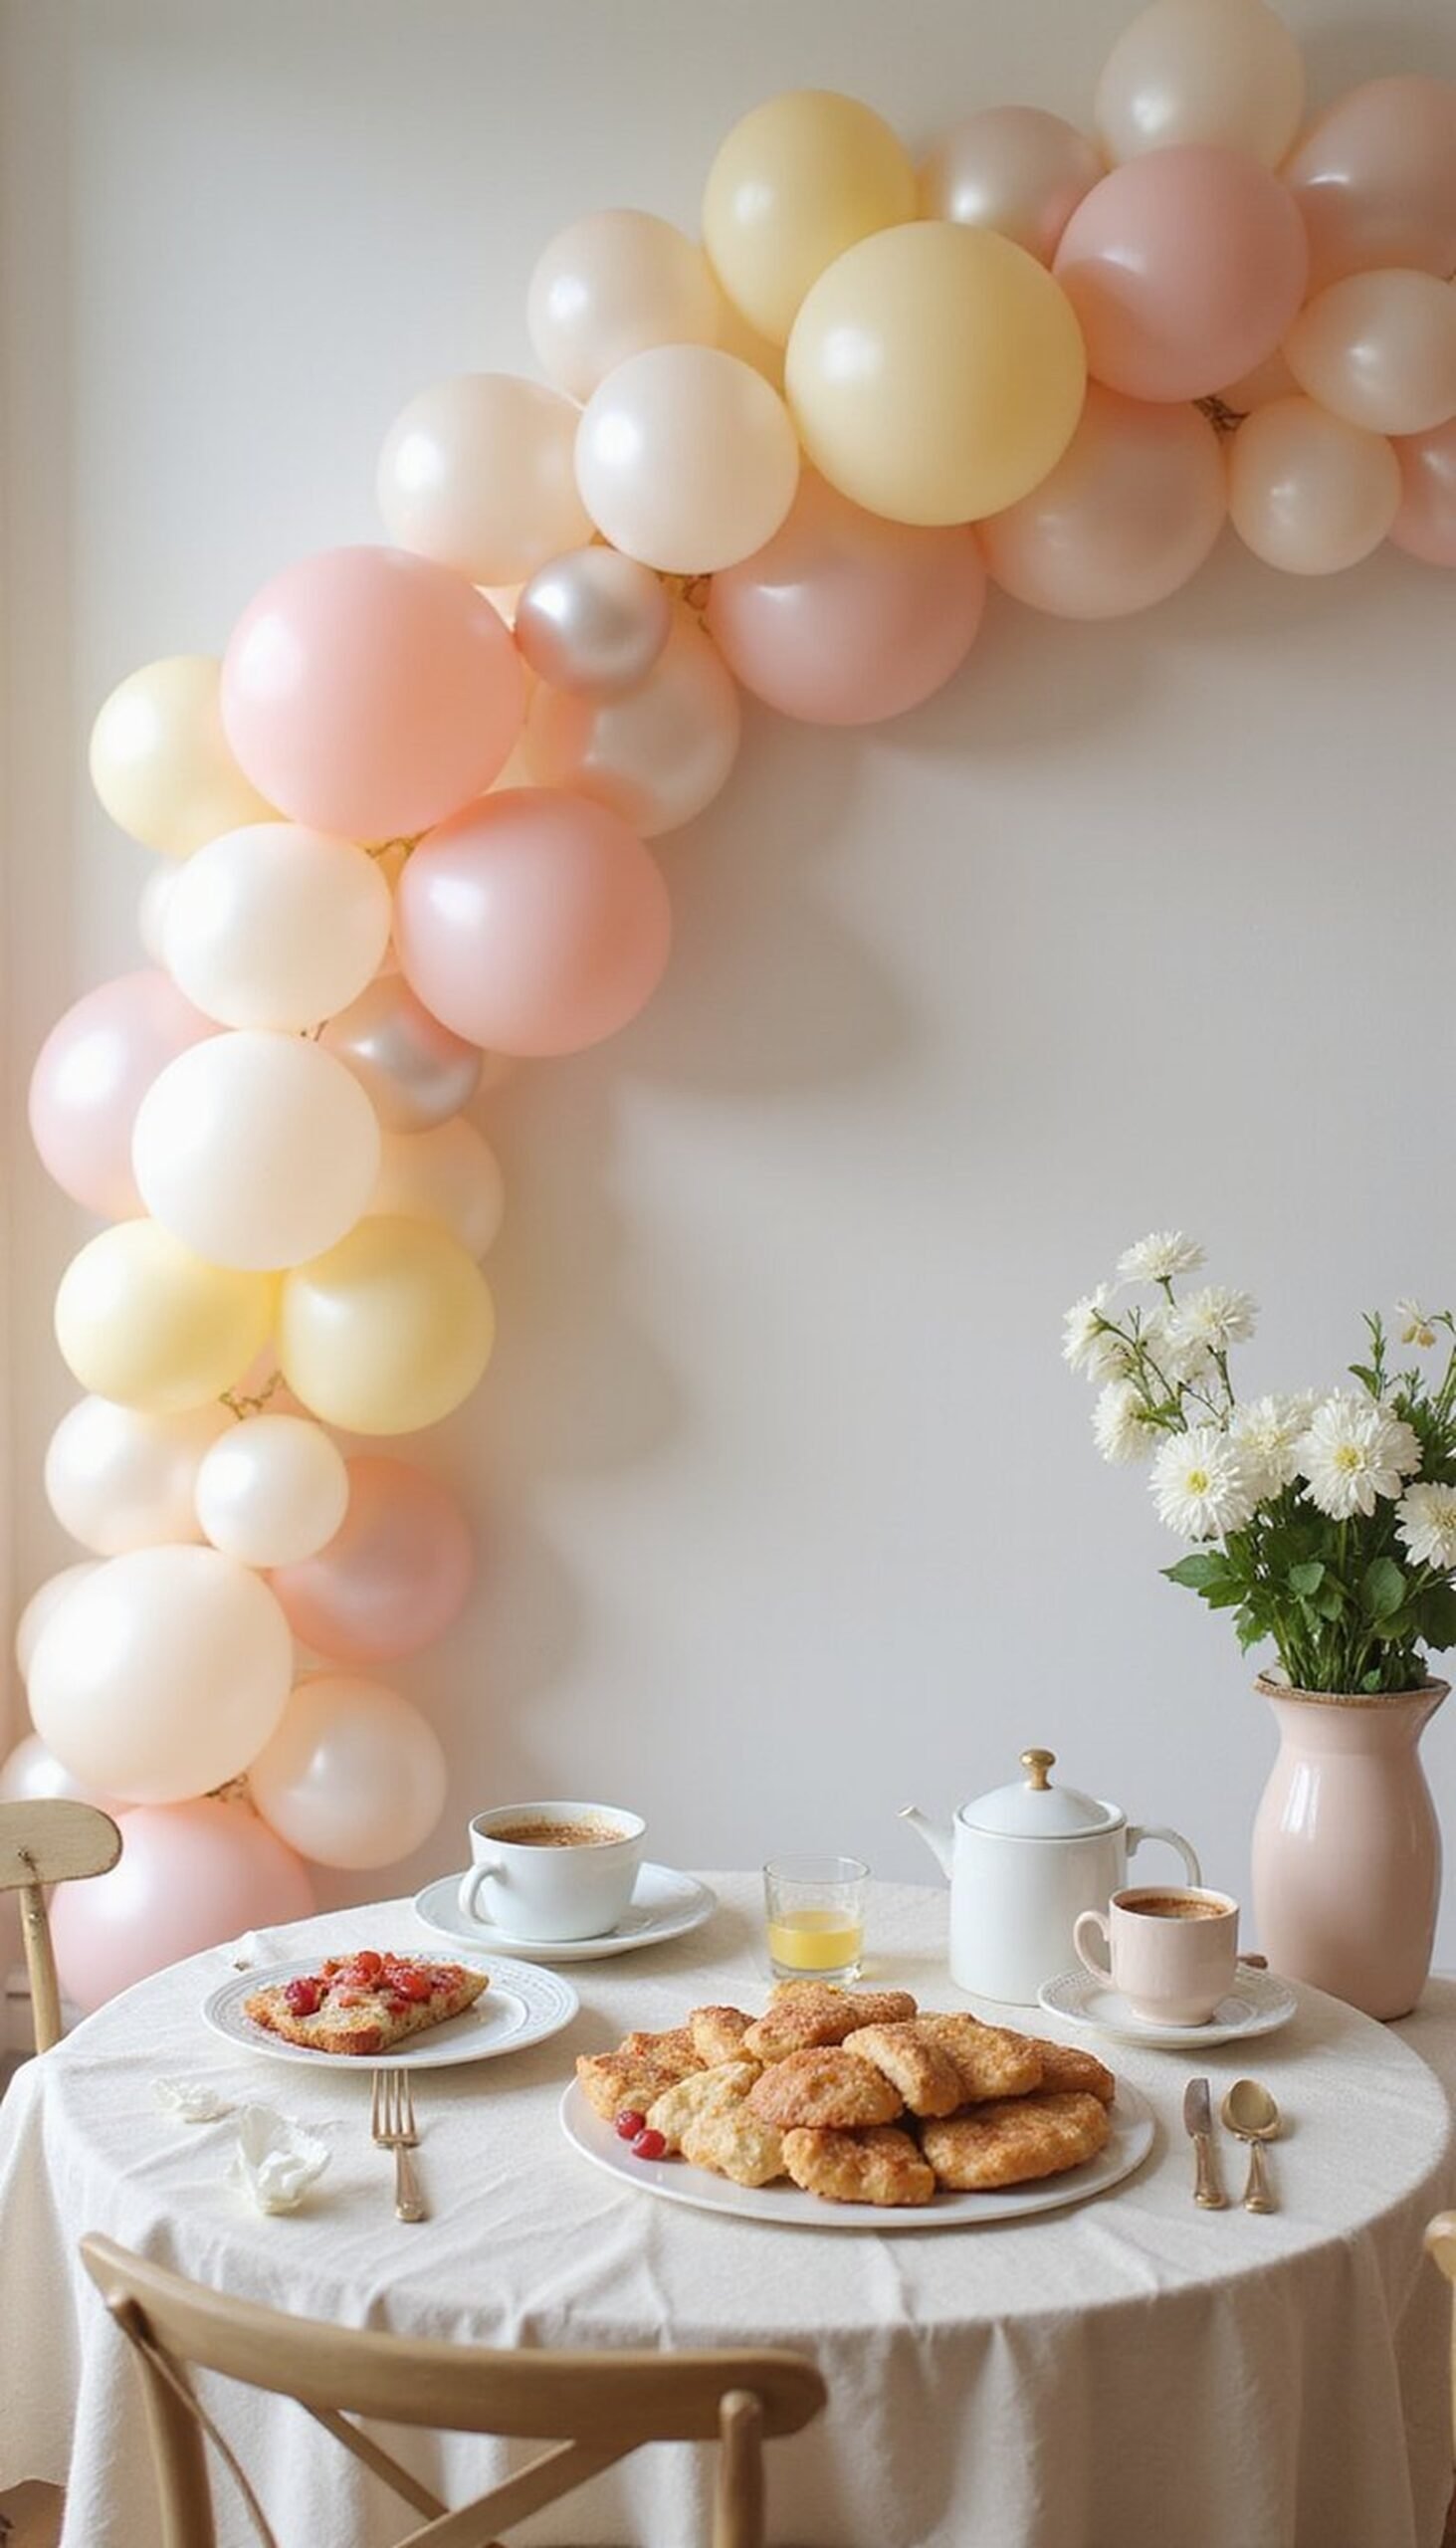
Create a soft pastel balloon arch behind the head of the table as a playful photo backdrop. Mix matte and pearl finishes in tones that mirror the table palette—pale pinks, creams, and soft yellows. Anchor the arch to a simple frame or a door so it’s easy to assemble and remove. I love how the backdrop invites silly family snapshots after brunch and lifts the room’s energy without stealing the table’s attention. Keep balloons clustered more densely at one side for a modern, asymmetrical look.
Styling Tips
- Use a mix of sizes for a natural, cloud-like effect.
- Add a few silk ribbons or greenery for texture.
- Place the arch where light flatters faces for photos.
Single Stem Bud Vases in Vintage Bottles
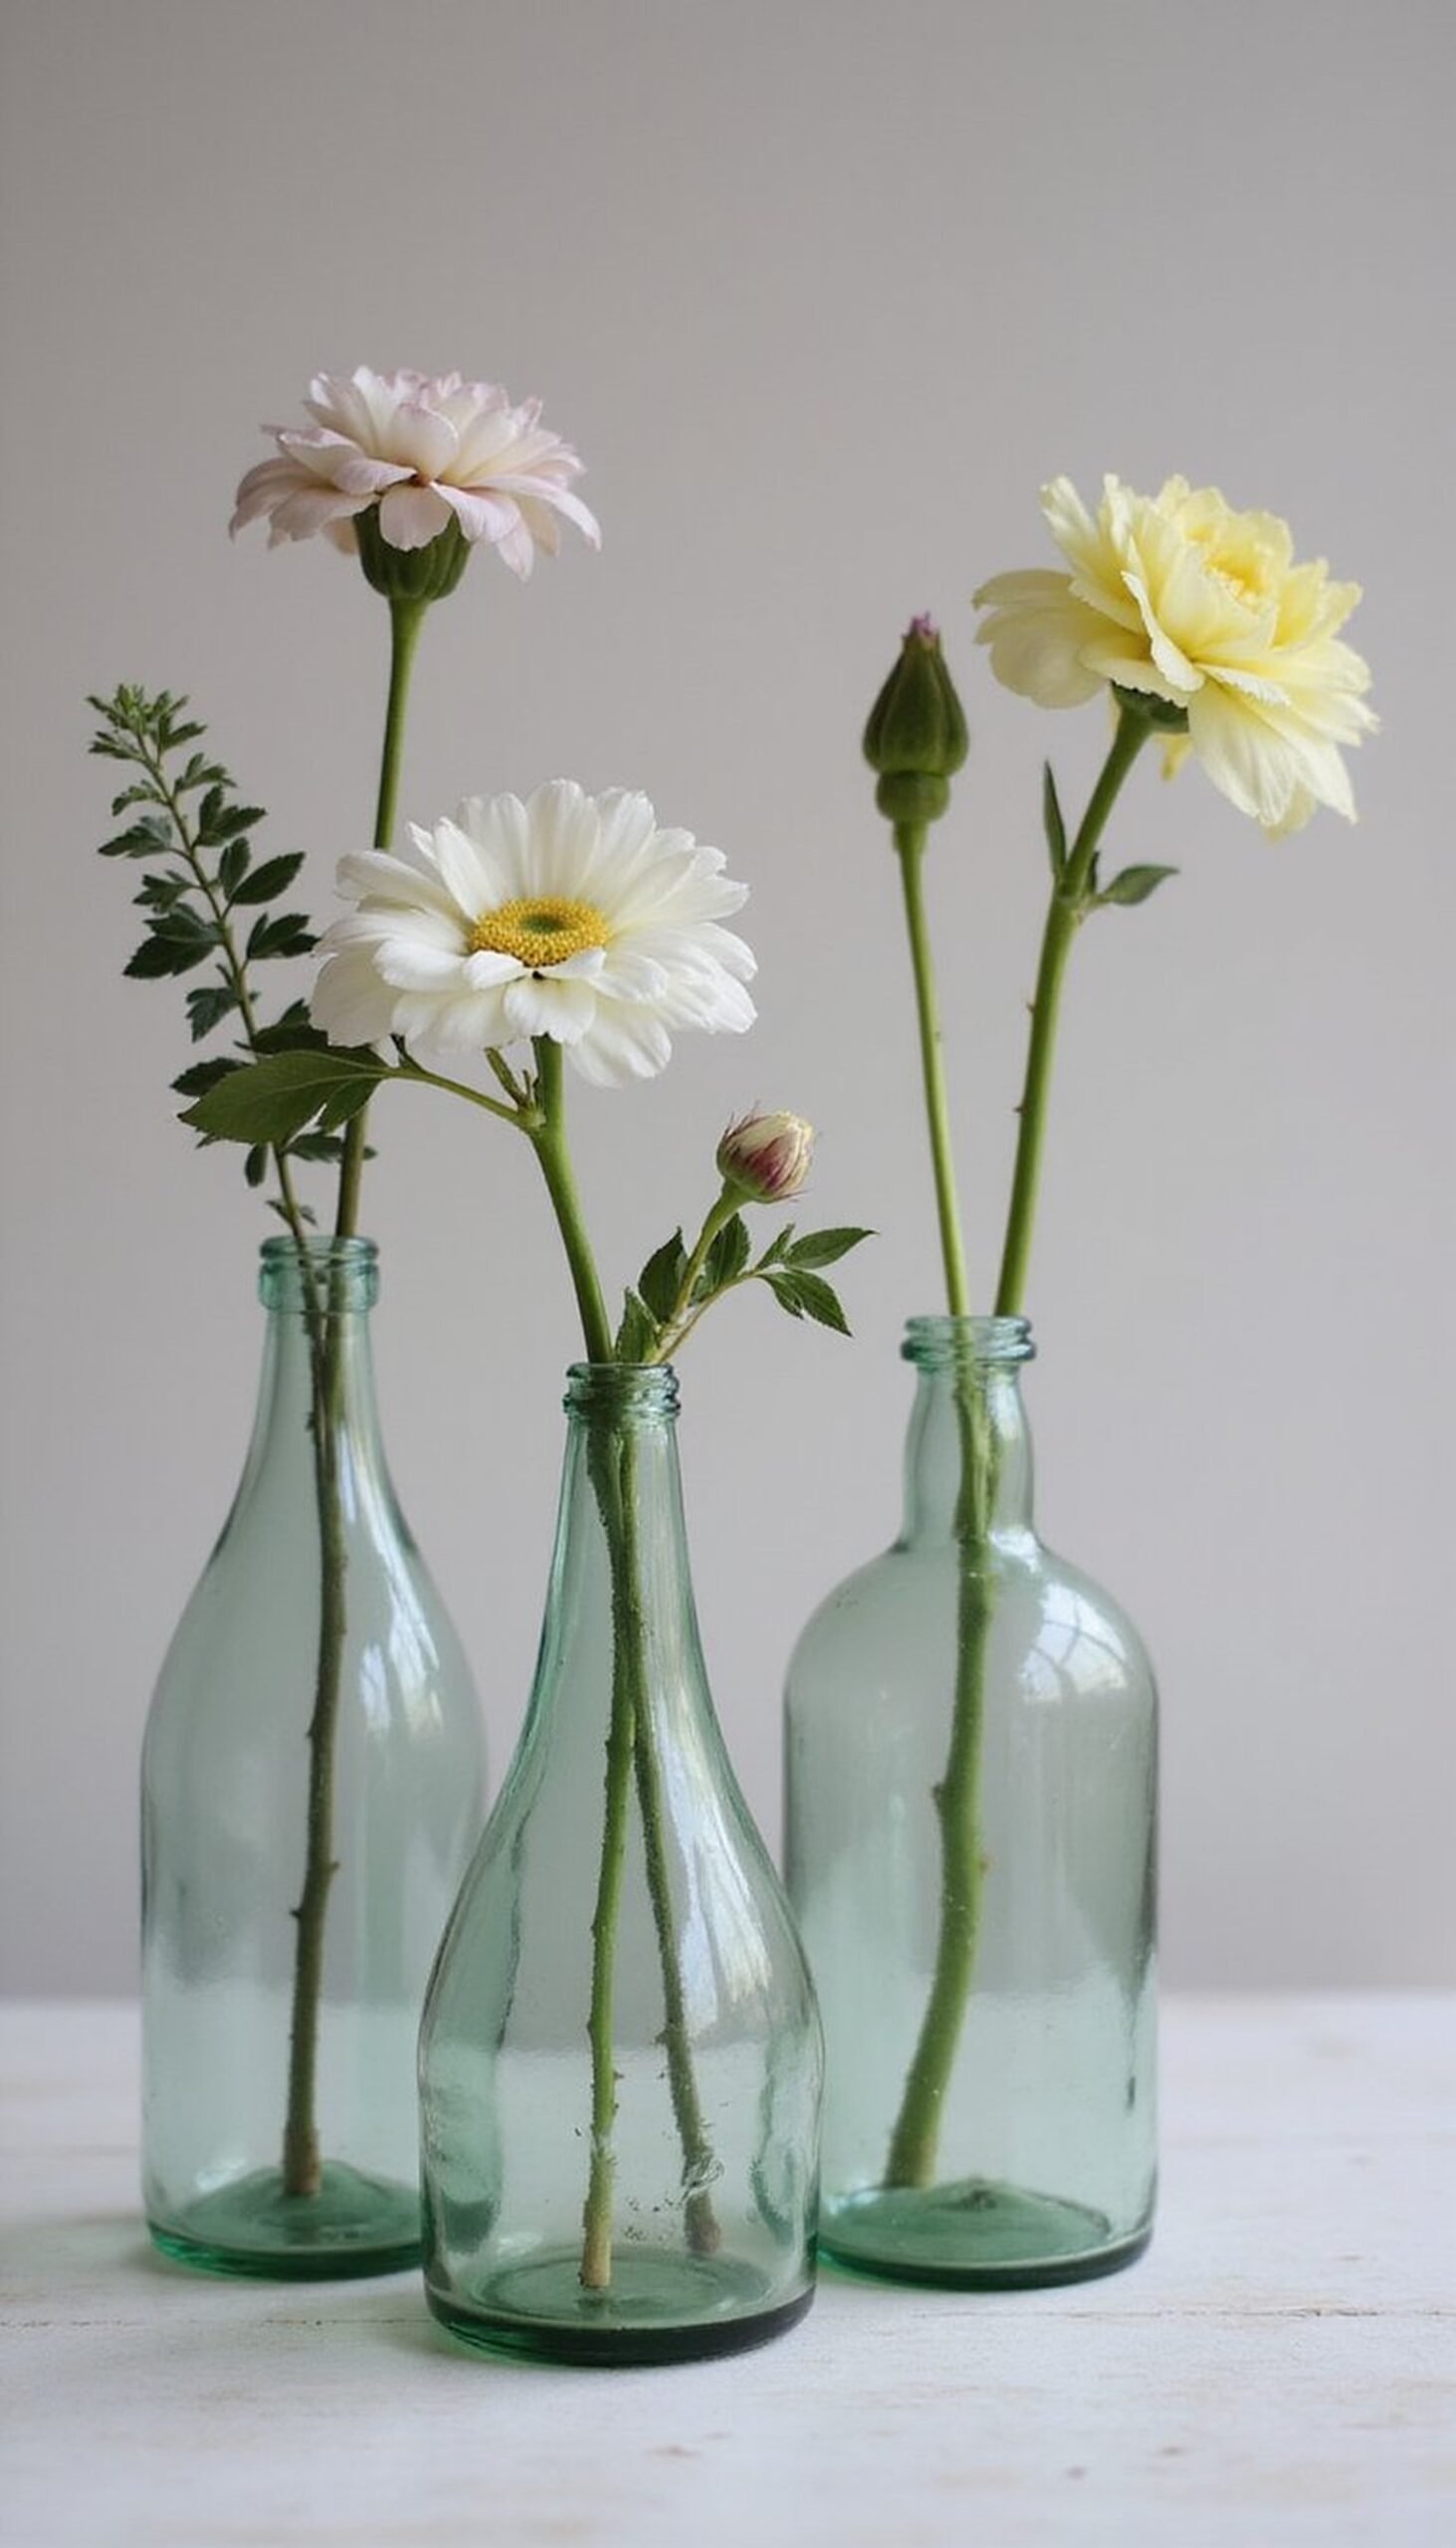
Scatter vintage bottles with a single stem—sweet pea, ranunculus, or tulip—at each place or every few seats. The narrow necks create elegant lines and the variety of bottle shapes adds subtle charm. This minimal approach highlights each flower while keeping space open for plates and glasses. When my mom hosted, she often used one bloom per guest so everyone felt seen; it’s a small gesture that sparks conversation and makes each setting feel tended to with care.
Styling Tips
- Choose stems with interesting silhouettes for more visual interest.
- Keep water levels low to stabilize tall stems.
- Alternate bottle heights to avoid a uniform row.
Tea-Light Lanterns to Set a Soft Evening Brunch Mood
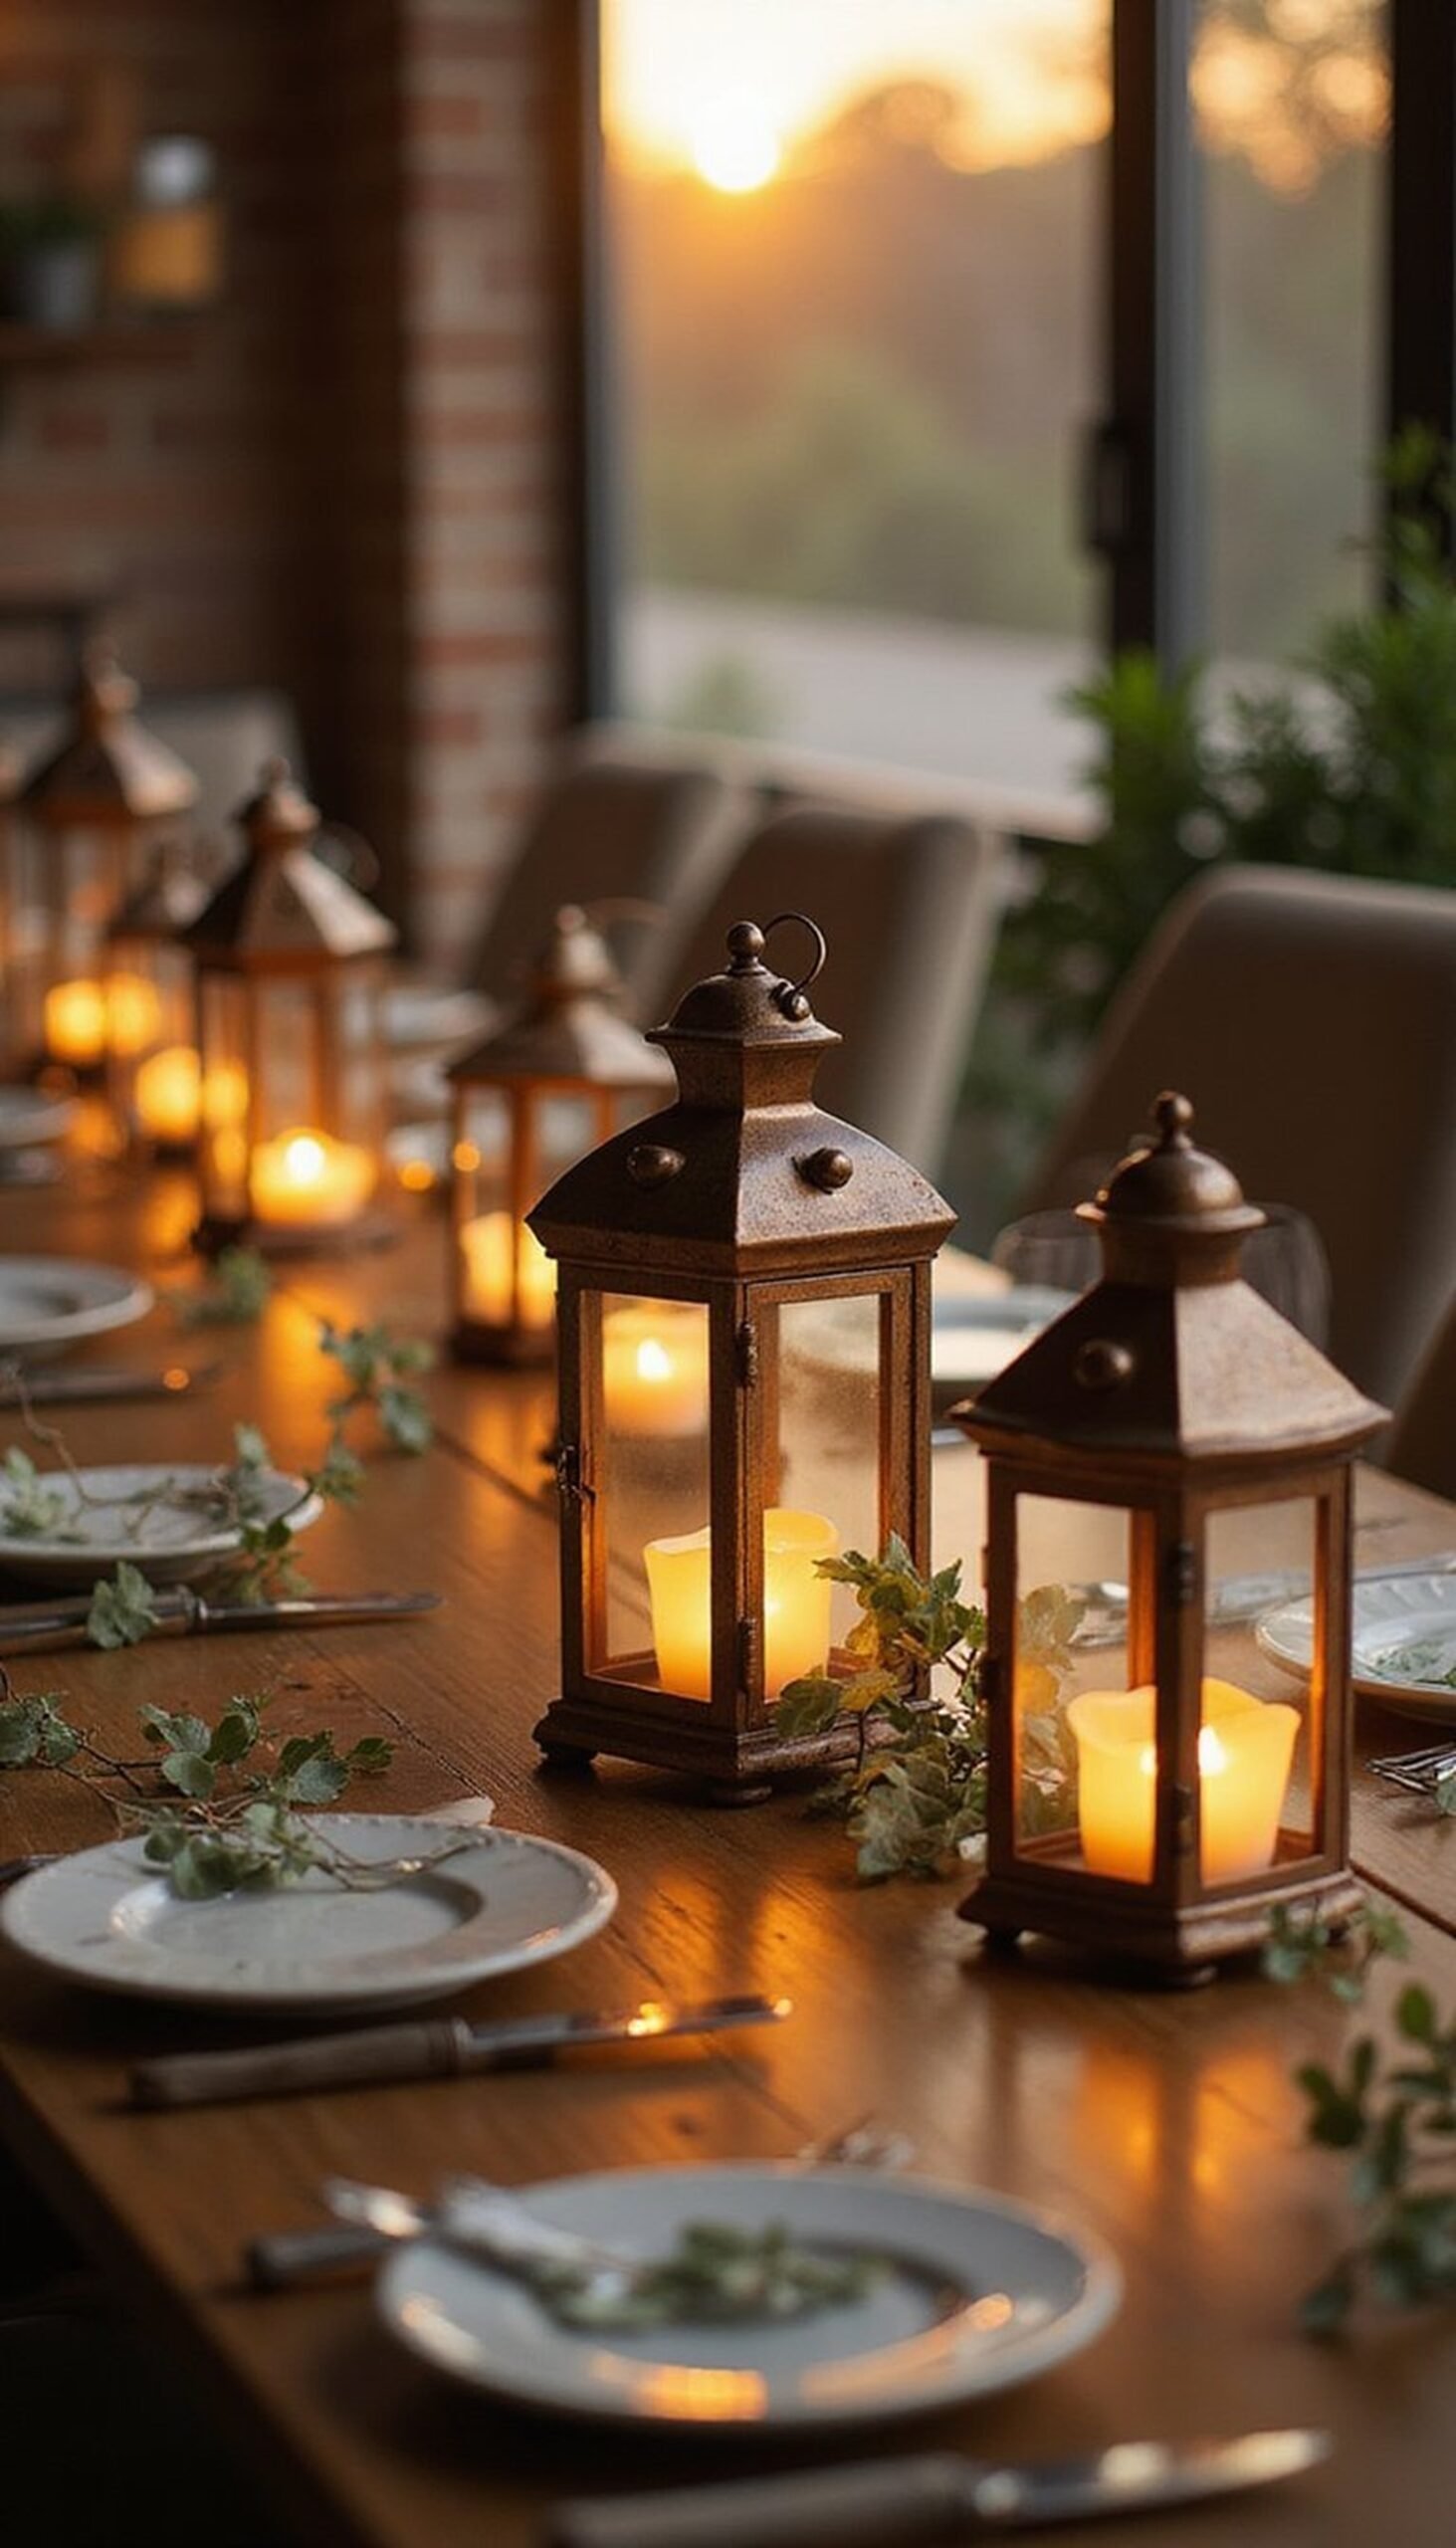
For a later brunch that spills into golden hour, place small tea-light lanterns along the table. Choose lanterns with clear glass panels and metal frames in warm finishes, then nestle a tea-light inside each. The flickering light gives the meal a gentle, intimate atmosphere while being simple to arrange. Mix in a few sprigs of eucalyptus or a scattering of petals to soften edges. I light them just before guests sit so the first glow greets everyone as they arrive.
Styling Tips
- Use LED tea-lights if you want a no-drip option.
- Space lanterns evenly to create a steady ribbon of light.
- Pair with low greenery to keep the view across the table clear.
DIY Paper Flower Napkin Rings for Each Guest
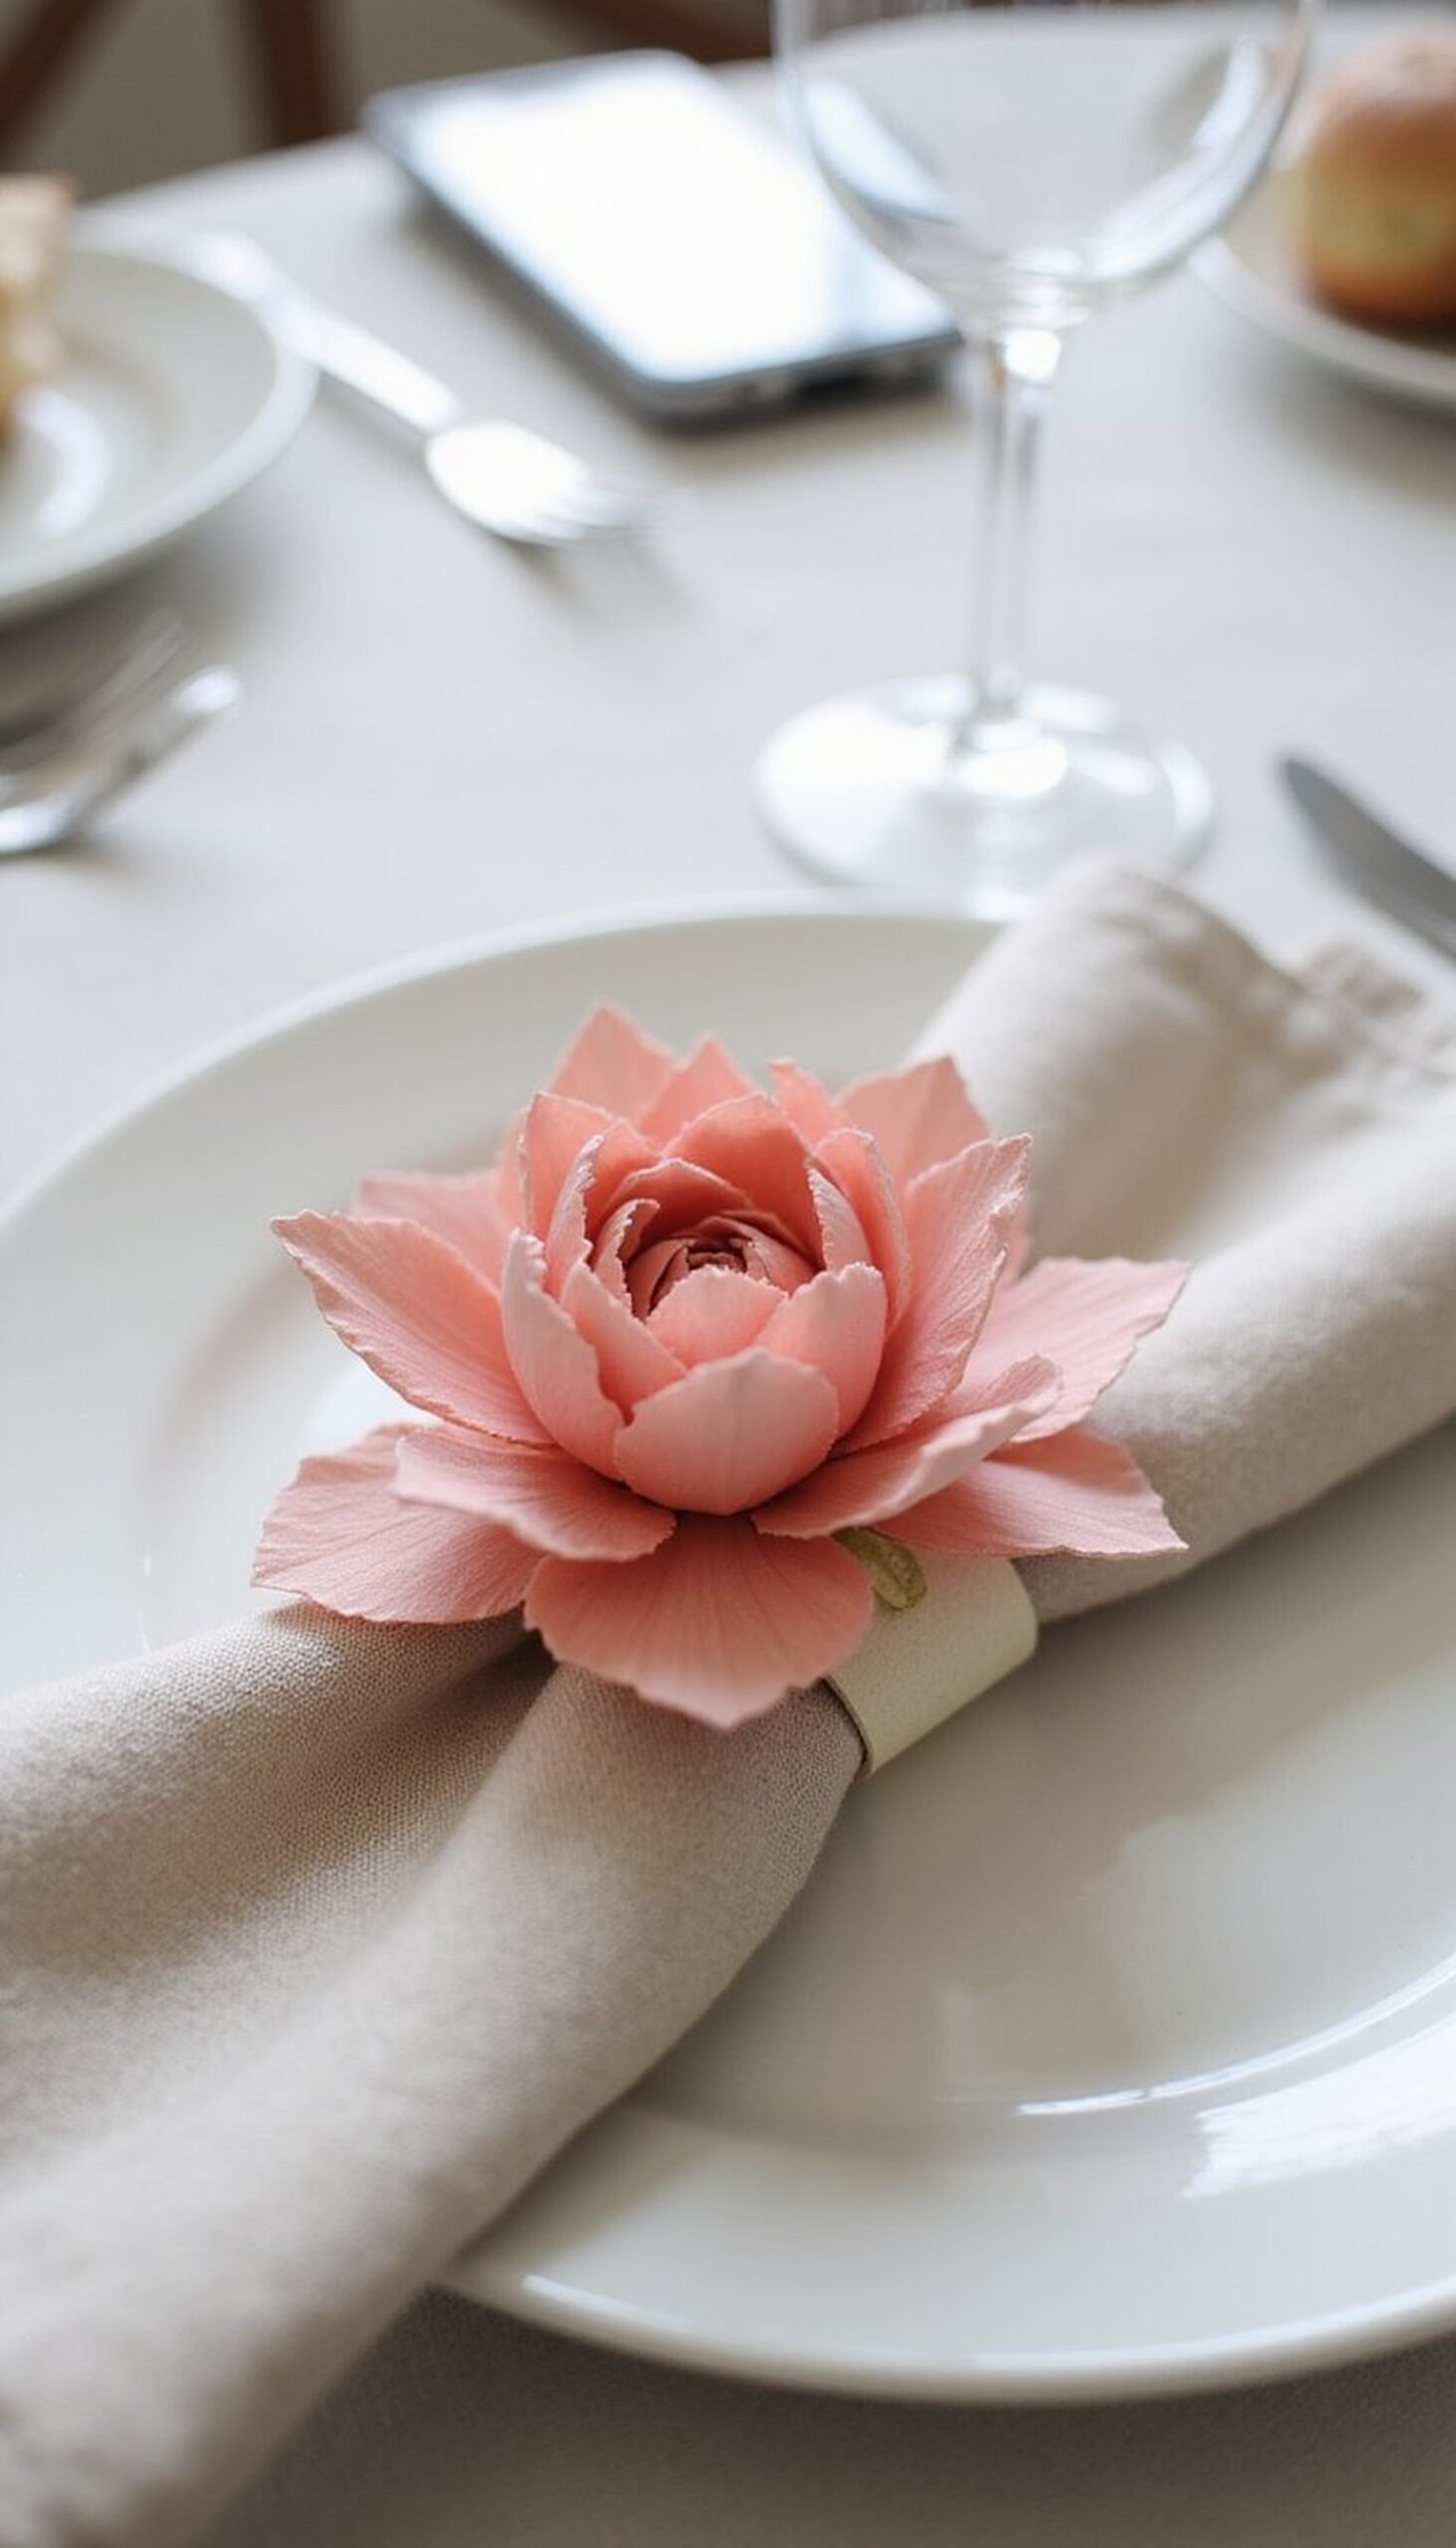
Craft small paper flowers and glue them onto simple napkin rings for a cheerful, crafty touch. Use textured cardstock in spring shades and fold petals for dimension. These lightweight accents are a lovely way to involve kids in prep—my nieces love making a few while music plays in the kitchen. Pair the rings with neutral napkins and white plates so the flowers pop. They store flat in a box and can be reused for future gatherings, adding handmade character to your tabletop traditions.
Styling Tips
- Seal paper flowers lightly with spray fixative to protect them.
- Match flower colors to the table palette for cohesion.
- Attach flowers to simple wooden or metal rings for stability.
Hand-Lettered Chalkboard Menu on Easel Stand
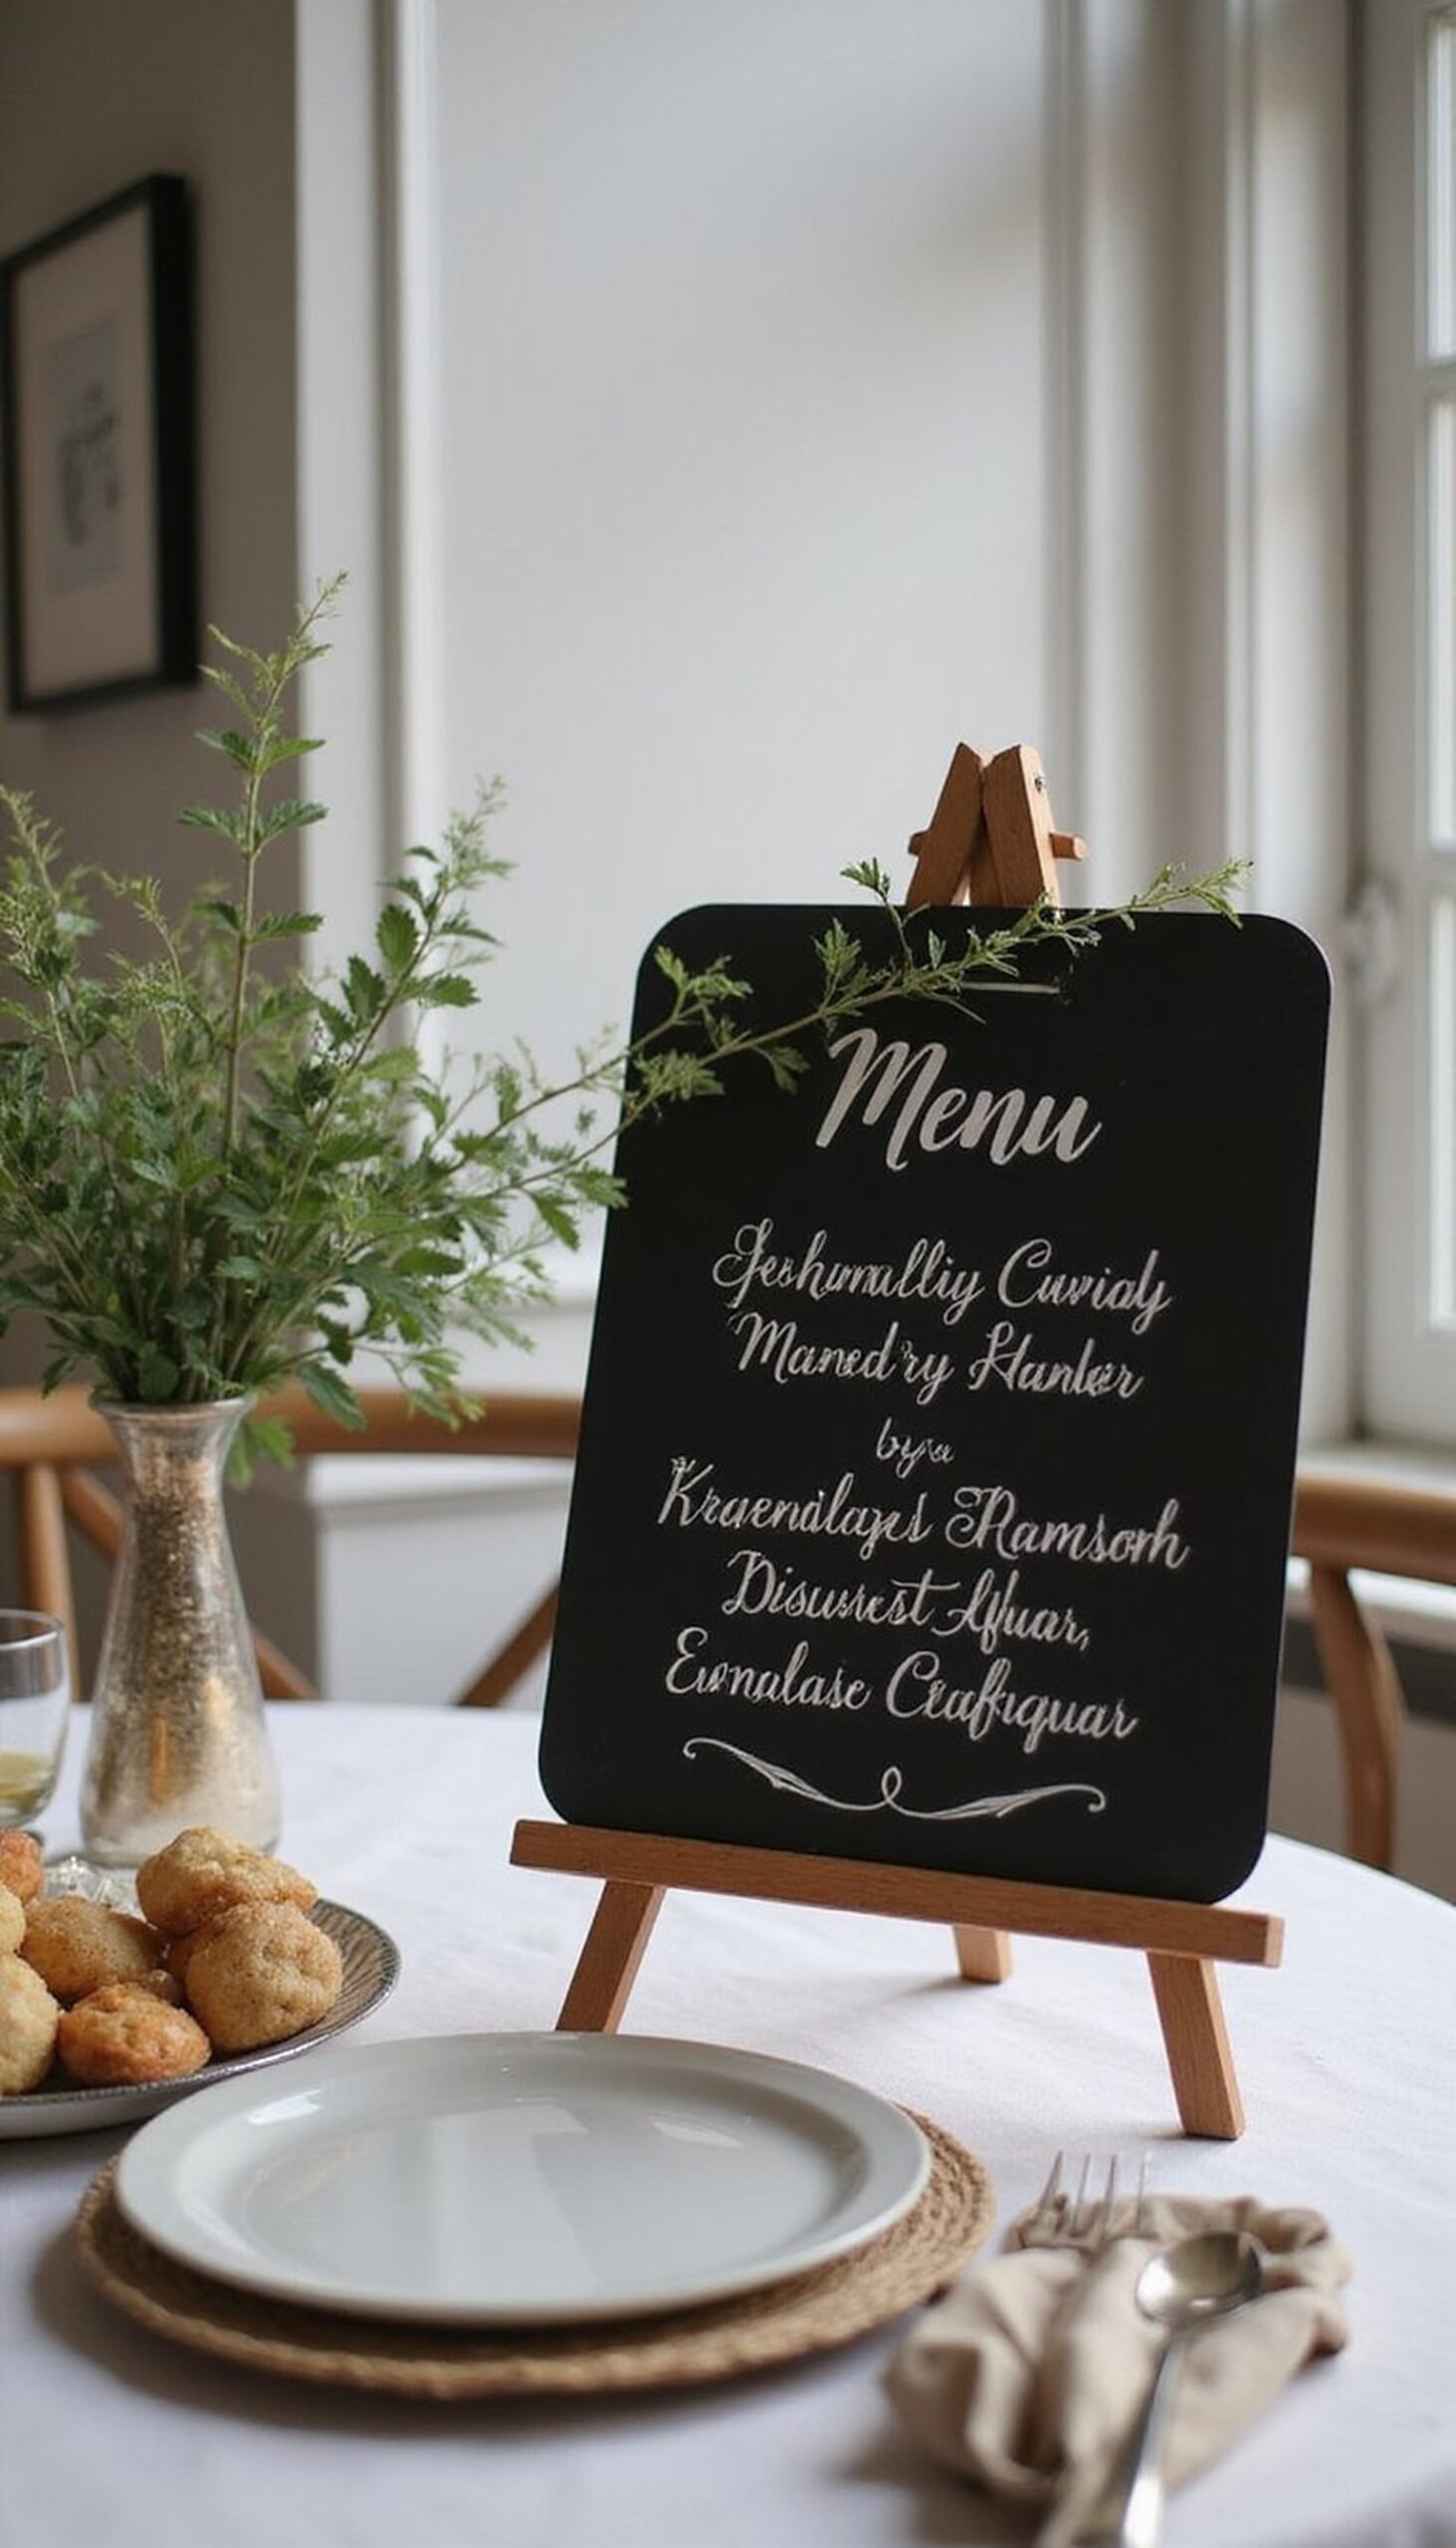
Set a small chalkboard on an easel listing the brunch menu in hand-lettered script. Use white or soft-colored chalk on a dark board for easy reading, and decorate the edges with a few floral sketches or a sprig of greenery. The board acts as both decor and practical signage so guests know what to expect—especially handy if you have a few self-serve stations. I keep the wording light and friendly, and it becomes a little focal point guests like to glance at between bites.
Styling Tips
- Write menu items in a clear, readable hand.
- Place the easel near the serving station for convenience.
- Add a tiny vase of matching blooms at the base.
Floral Napkin Rings with Fresh Blooms
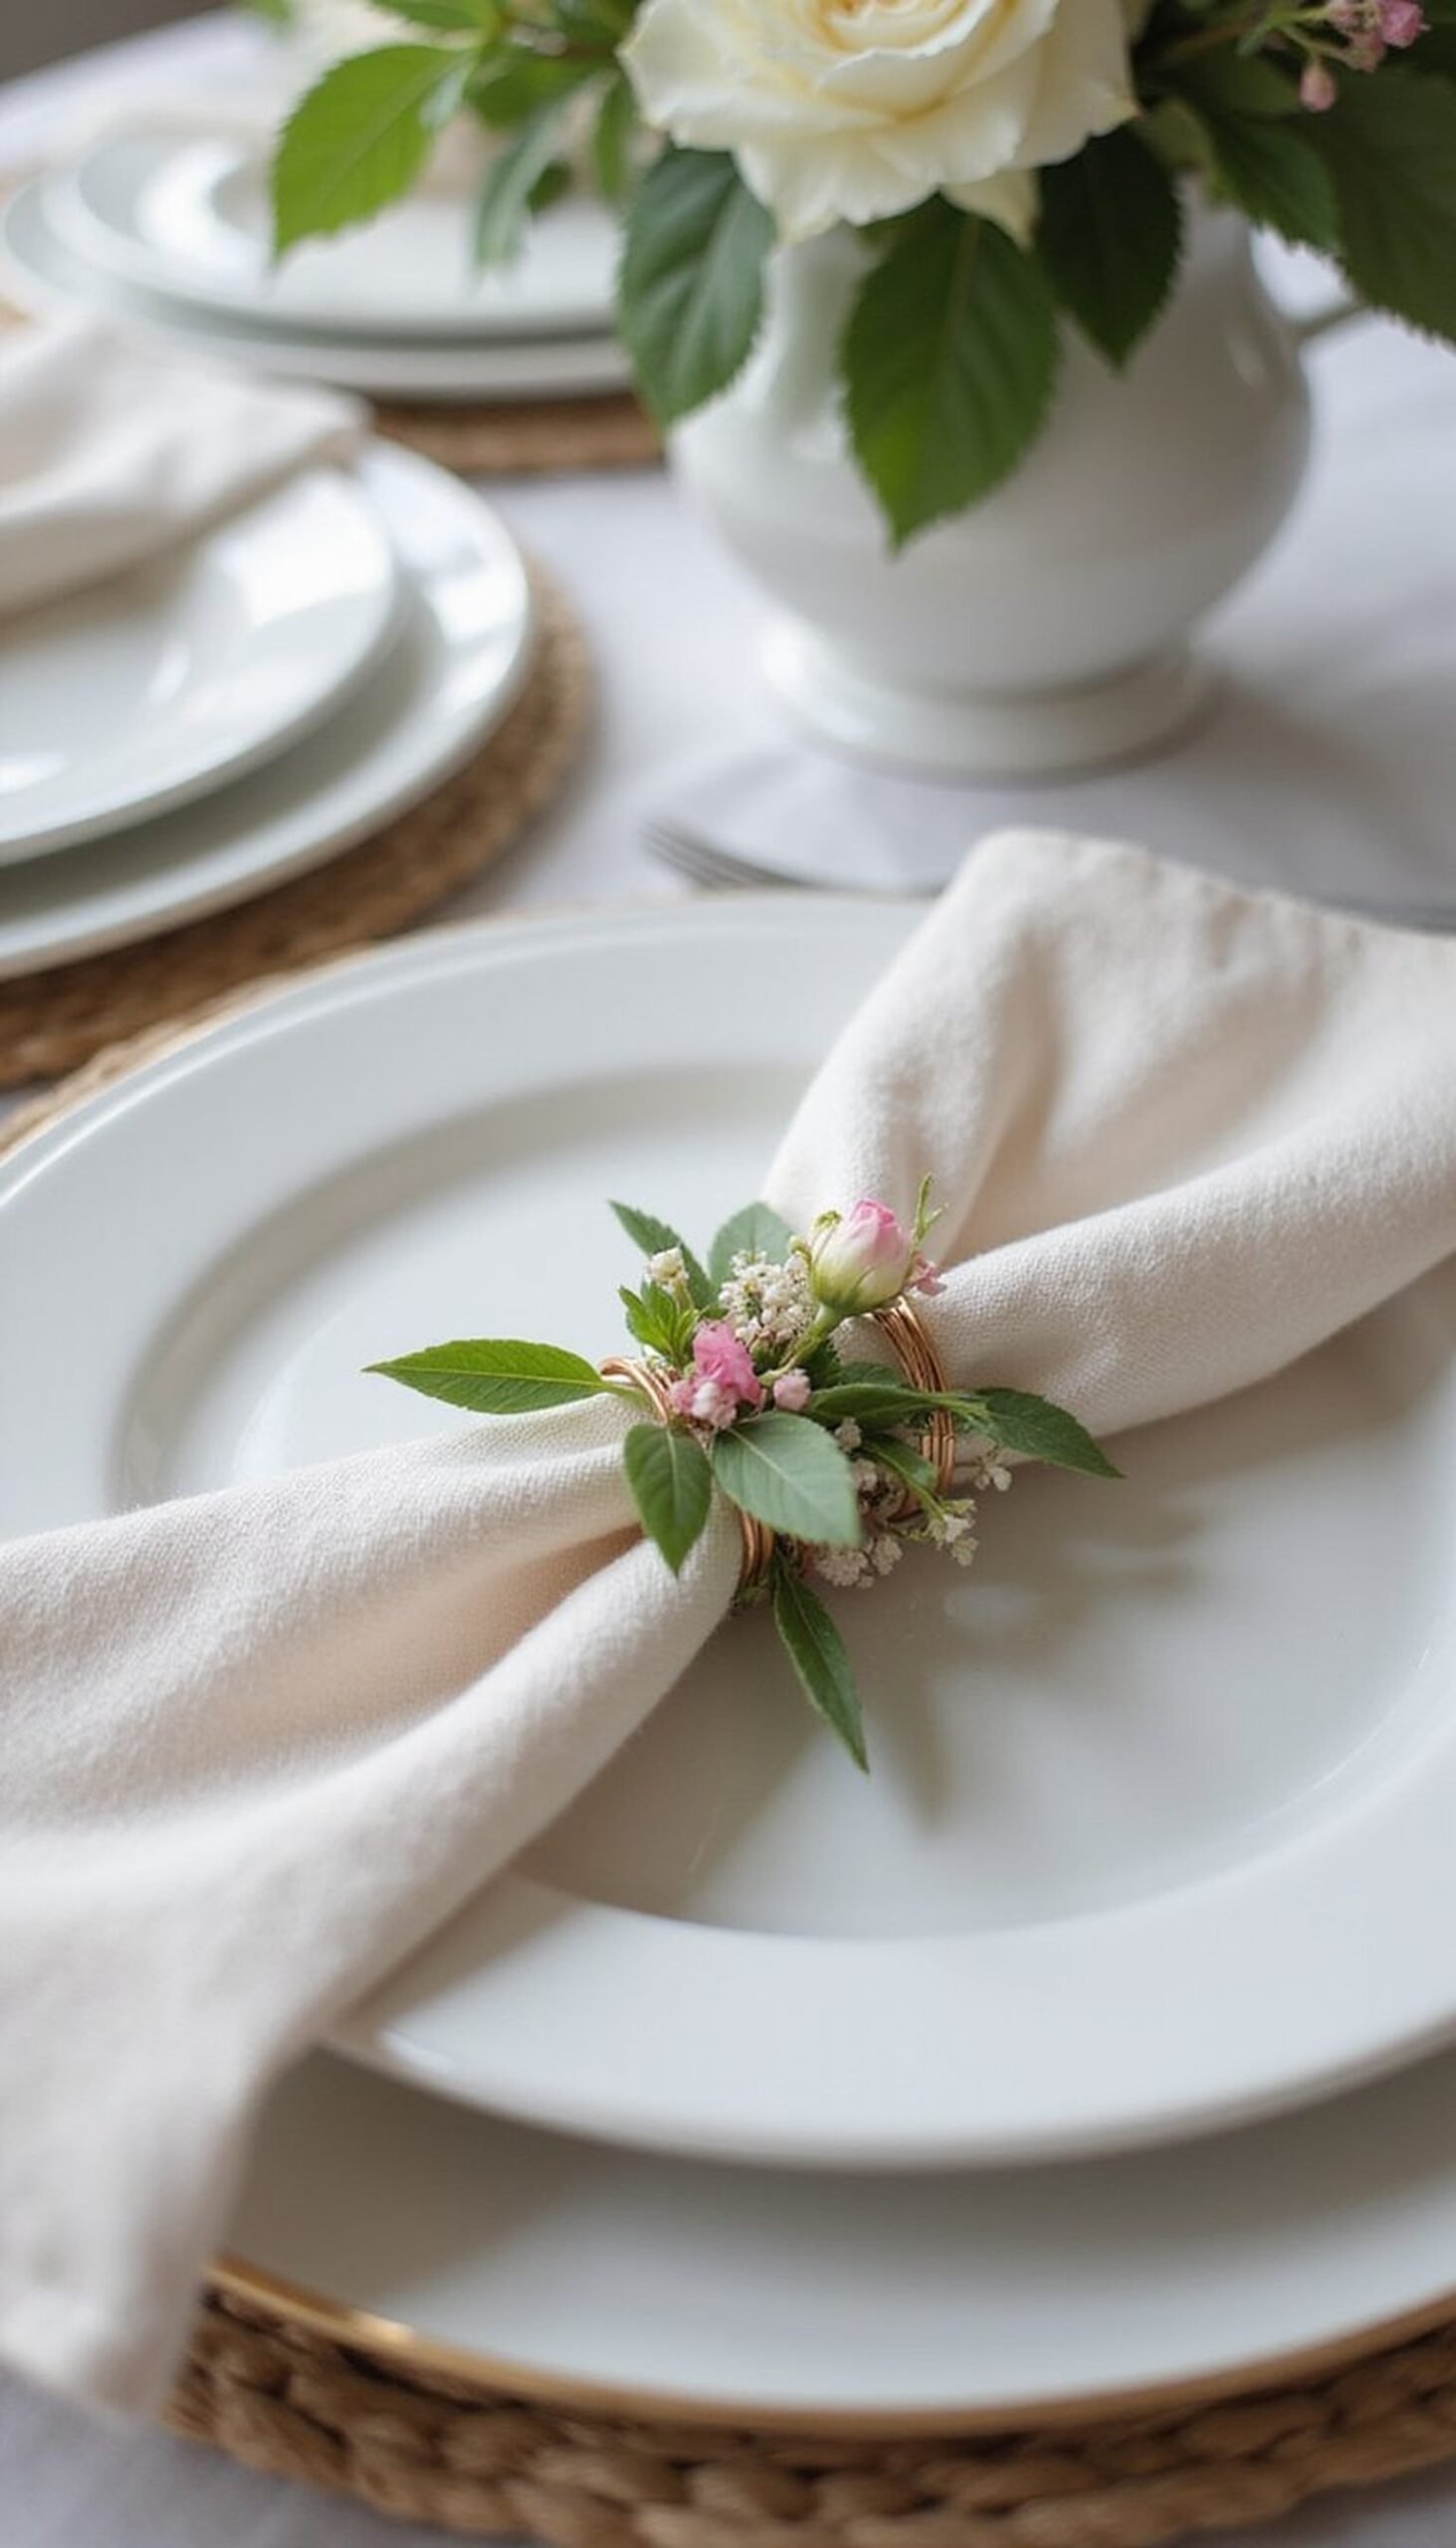
Create rings from thin floral wire and attach a small fresh bloom plus a leaf or two to each. The living blossom brings immediate freshness and pairs wonderfully with simple ceramics and woven placemats. These rings are delicate, so place them gently on top of folded napkins. I find guests enjoy choosing which bloom they prefer—it’s a tiny moment of choice that feels indulgent. Because the flowers are fresh, plan to add them just before guests arrive to keep petals crisp and lively.
Styling Tips
- Select sturdy blooms like spray roses or ranunculus for durability.
- Tuck a small water tube behind the bloom if the gathering lasts long.
- Coordinate bloom colors with the main centerpiece for harmony.