
Spring break calls for easy, breezy hair that survives sun, sand, and late-night plans. These Spring Break Ready DIY Hairstyles deliver fast, camera-ready looks anyone can recreate with minimal tools and a playful attitude.
From effortless waves to cute braids and updos, each pick keeps hair photo-ready between beach days and poolside hangs.
Once, a five-minute braided pony saved a sunrise photo op; these Spring Break Ready DIY Hairstyles are that kind of lifesaver—quick, fun, and ready for any sun-soaked morning.
Five-Minute Beachy Waves With Salt Spray
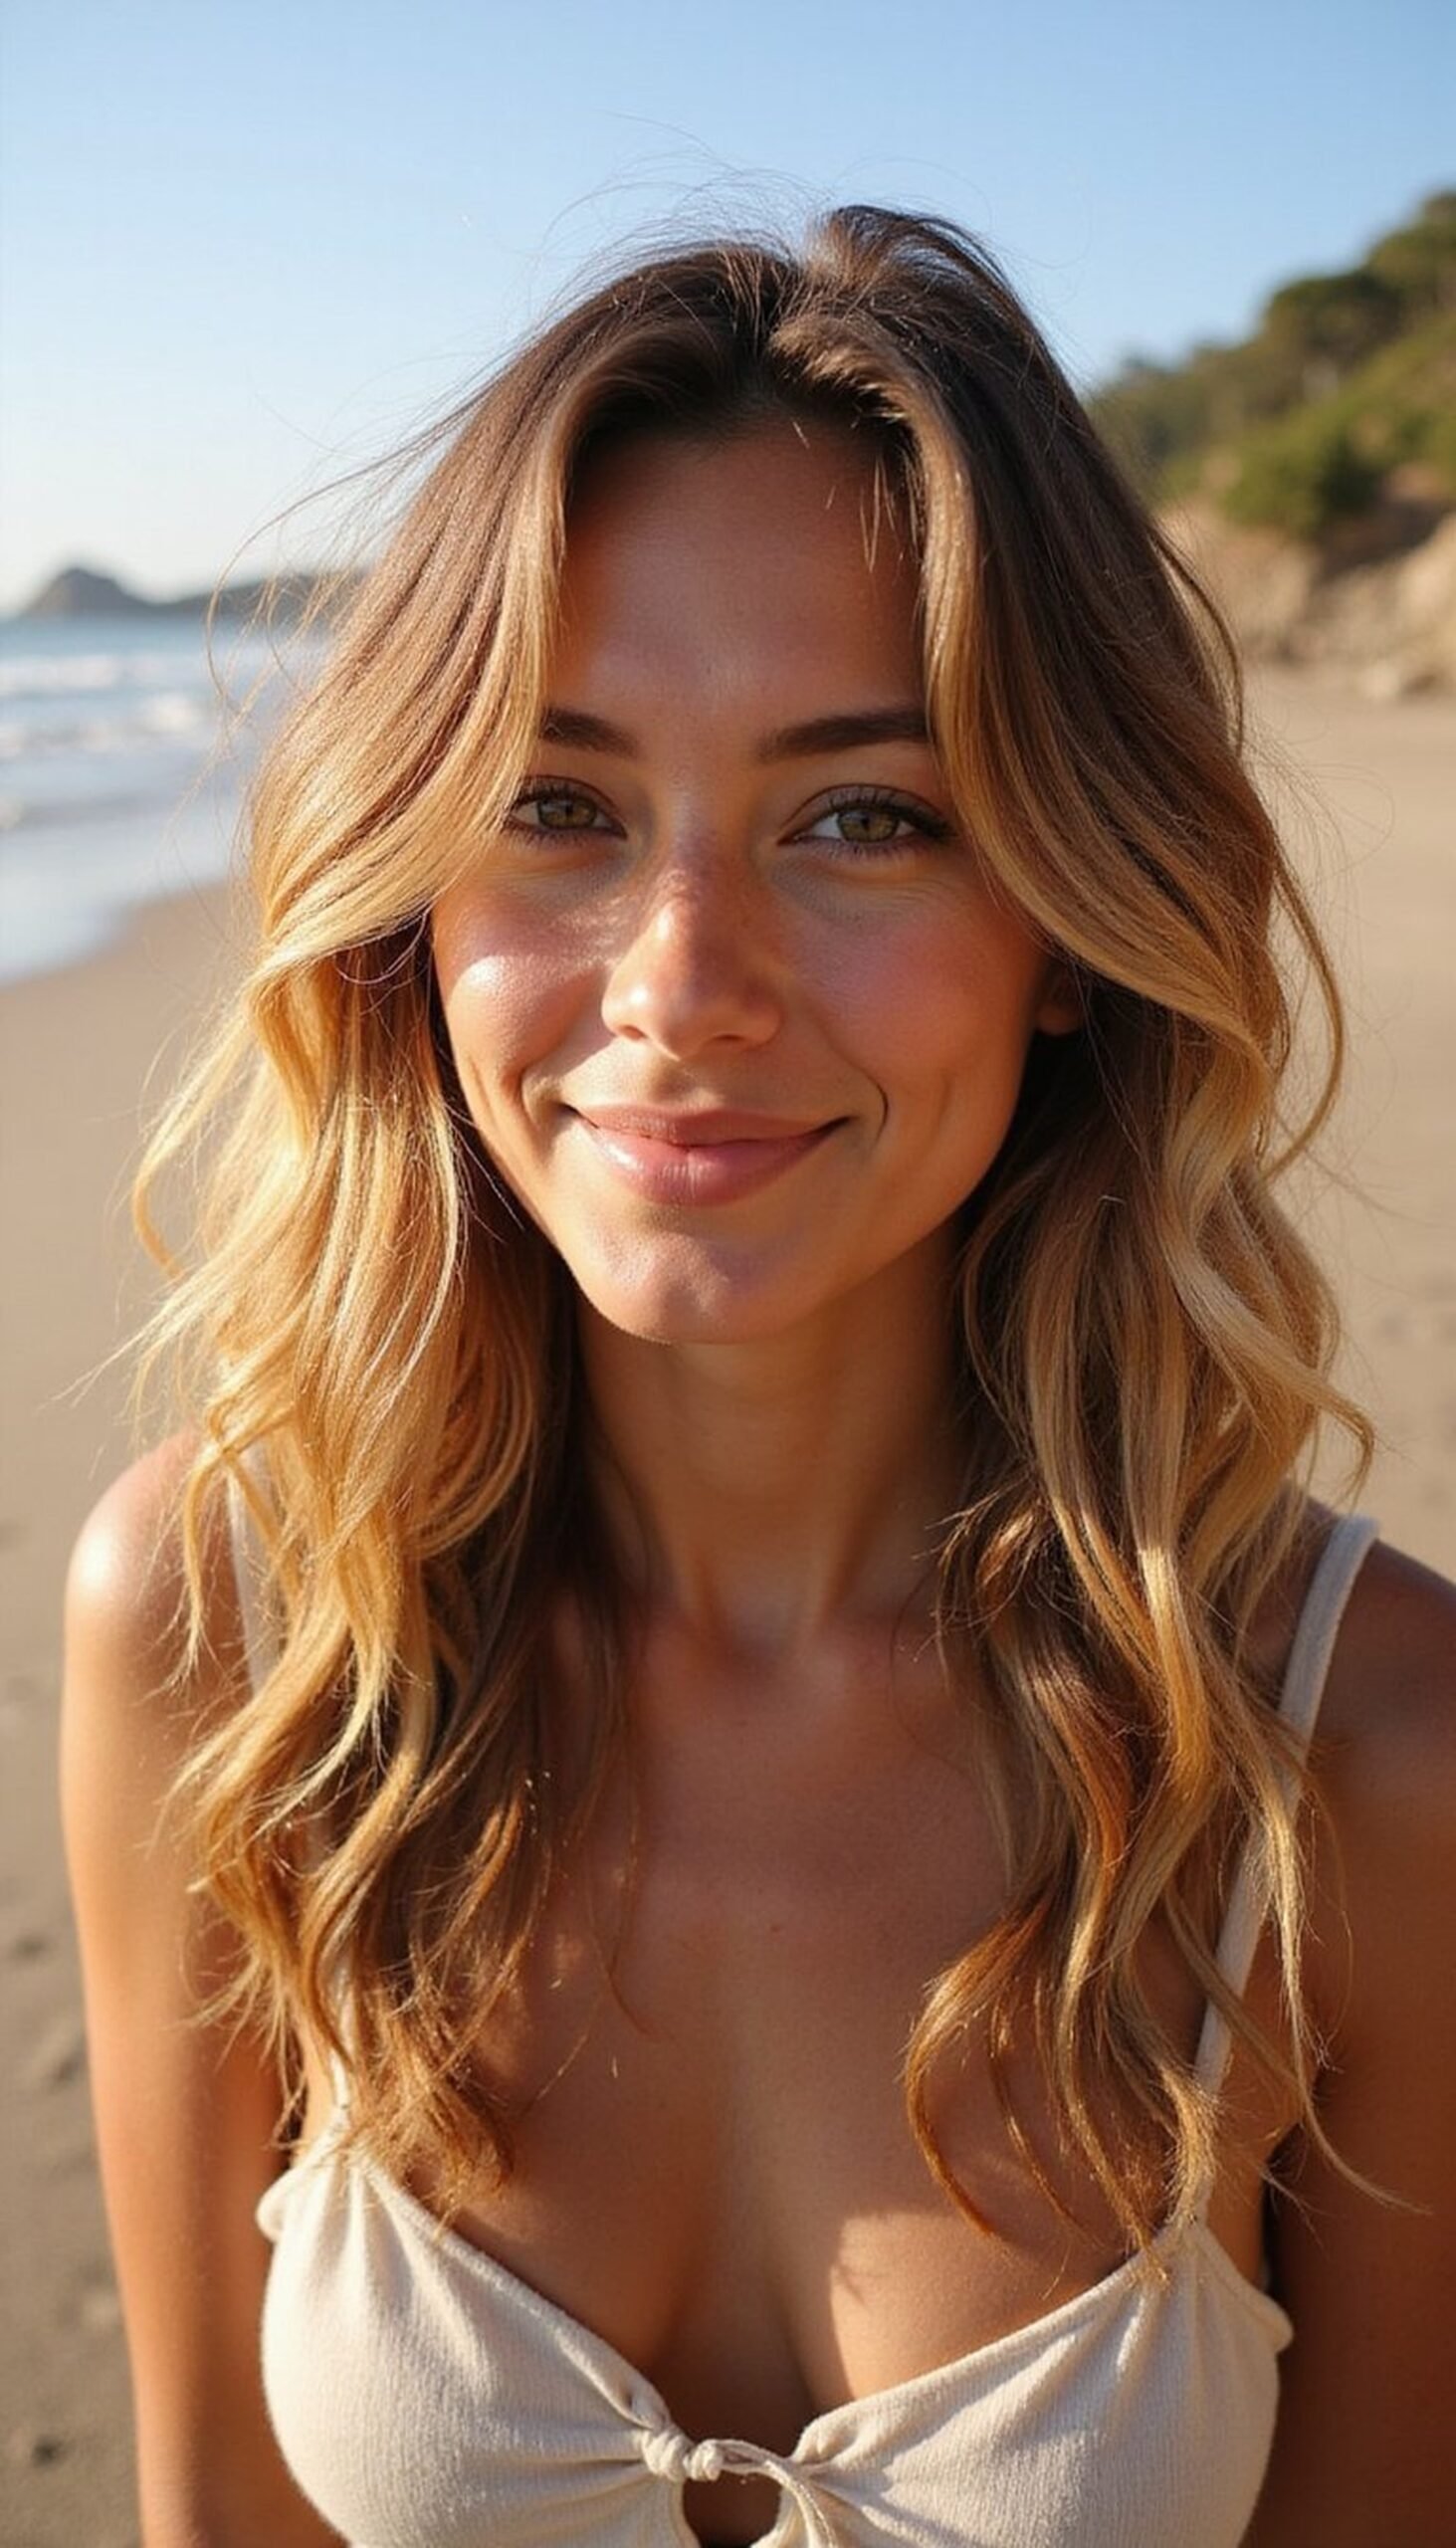
Beachy waves that look like they came straight from the ocean can be made in just minutes. Spritz damp or dry hair with salt spray, scrunch with fingers, then twist chunks into loose knots and let air-dry or blast with a diffuser. The result is tousled texture, natural movement, and effortless volume that pairs perfectly with sunglasses and a sun hat. This style hides greasy roots and keeps hair looking intentionally undone throughout a busy spring break day of exploring and photos by the shore.
Styling Tips
- Apply salt spray mid-length to ends for texture without stiffness.
- Use a diffuser on low heat to boost waves without frizz.
- Finish with a light-hold spray to keep shape but keep touchable movement.
Braided Half-Up Style With Seashell Hair Accessories
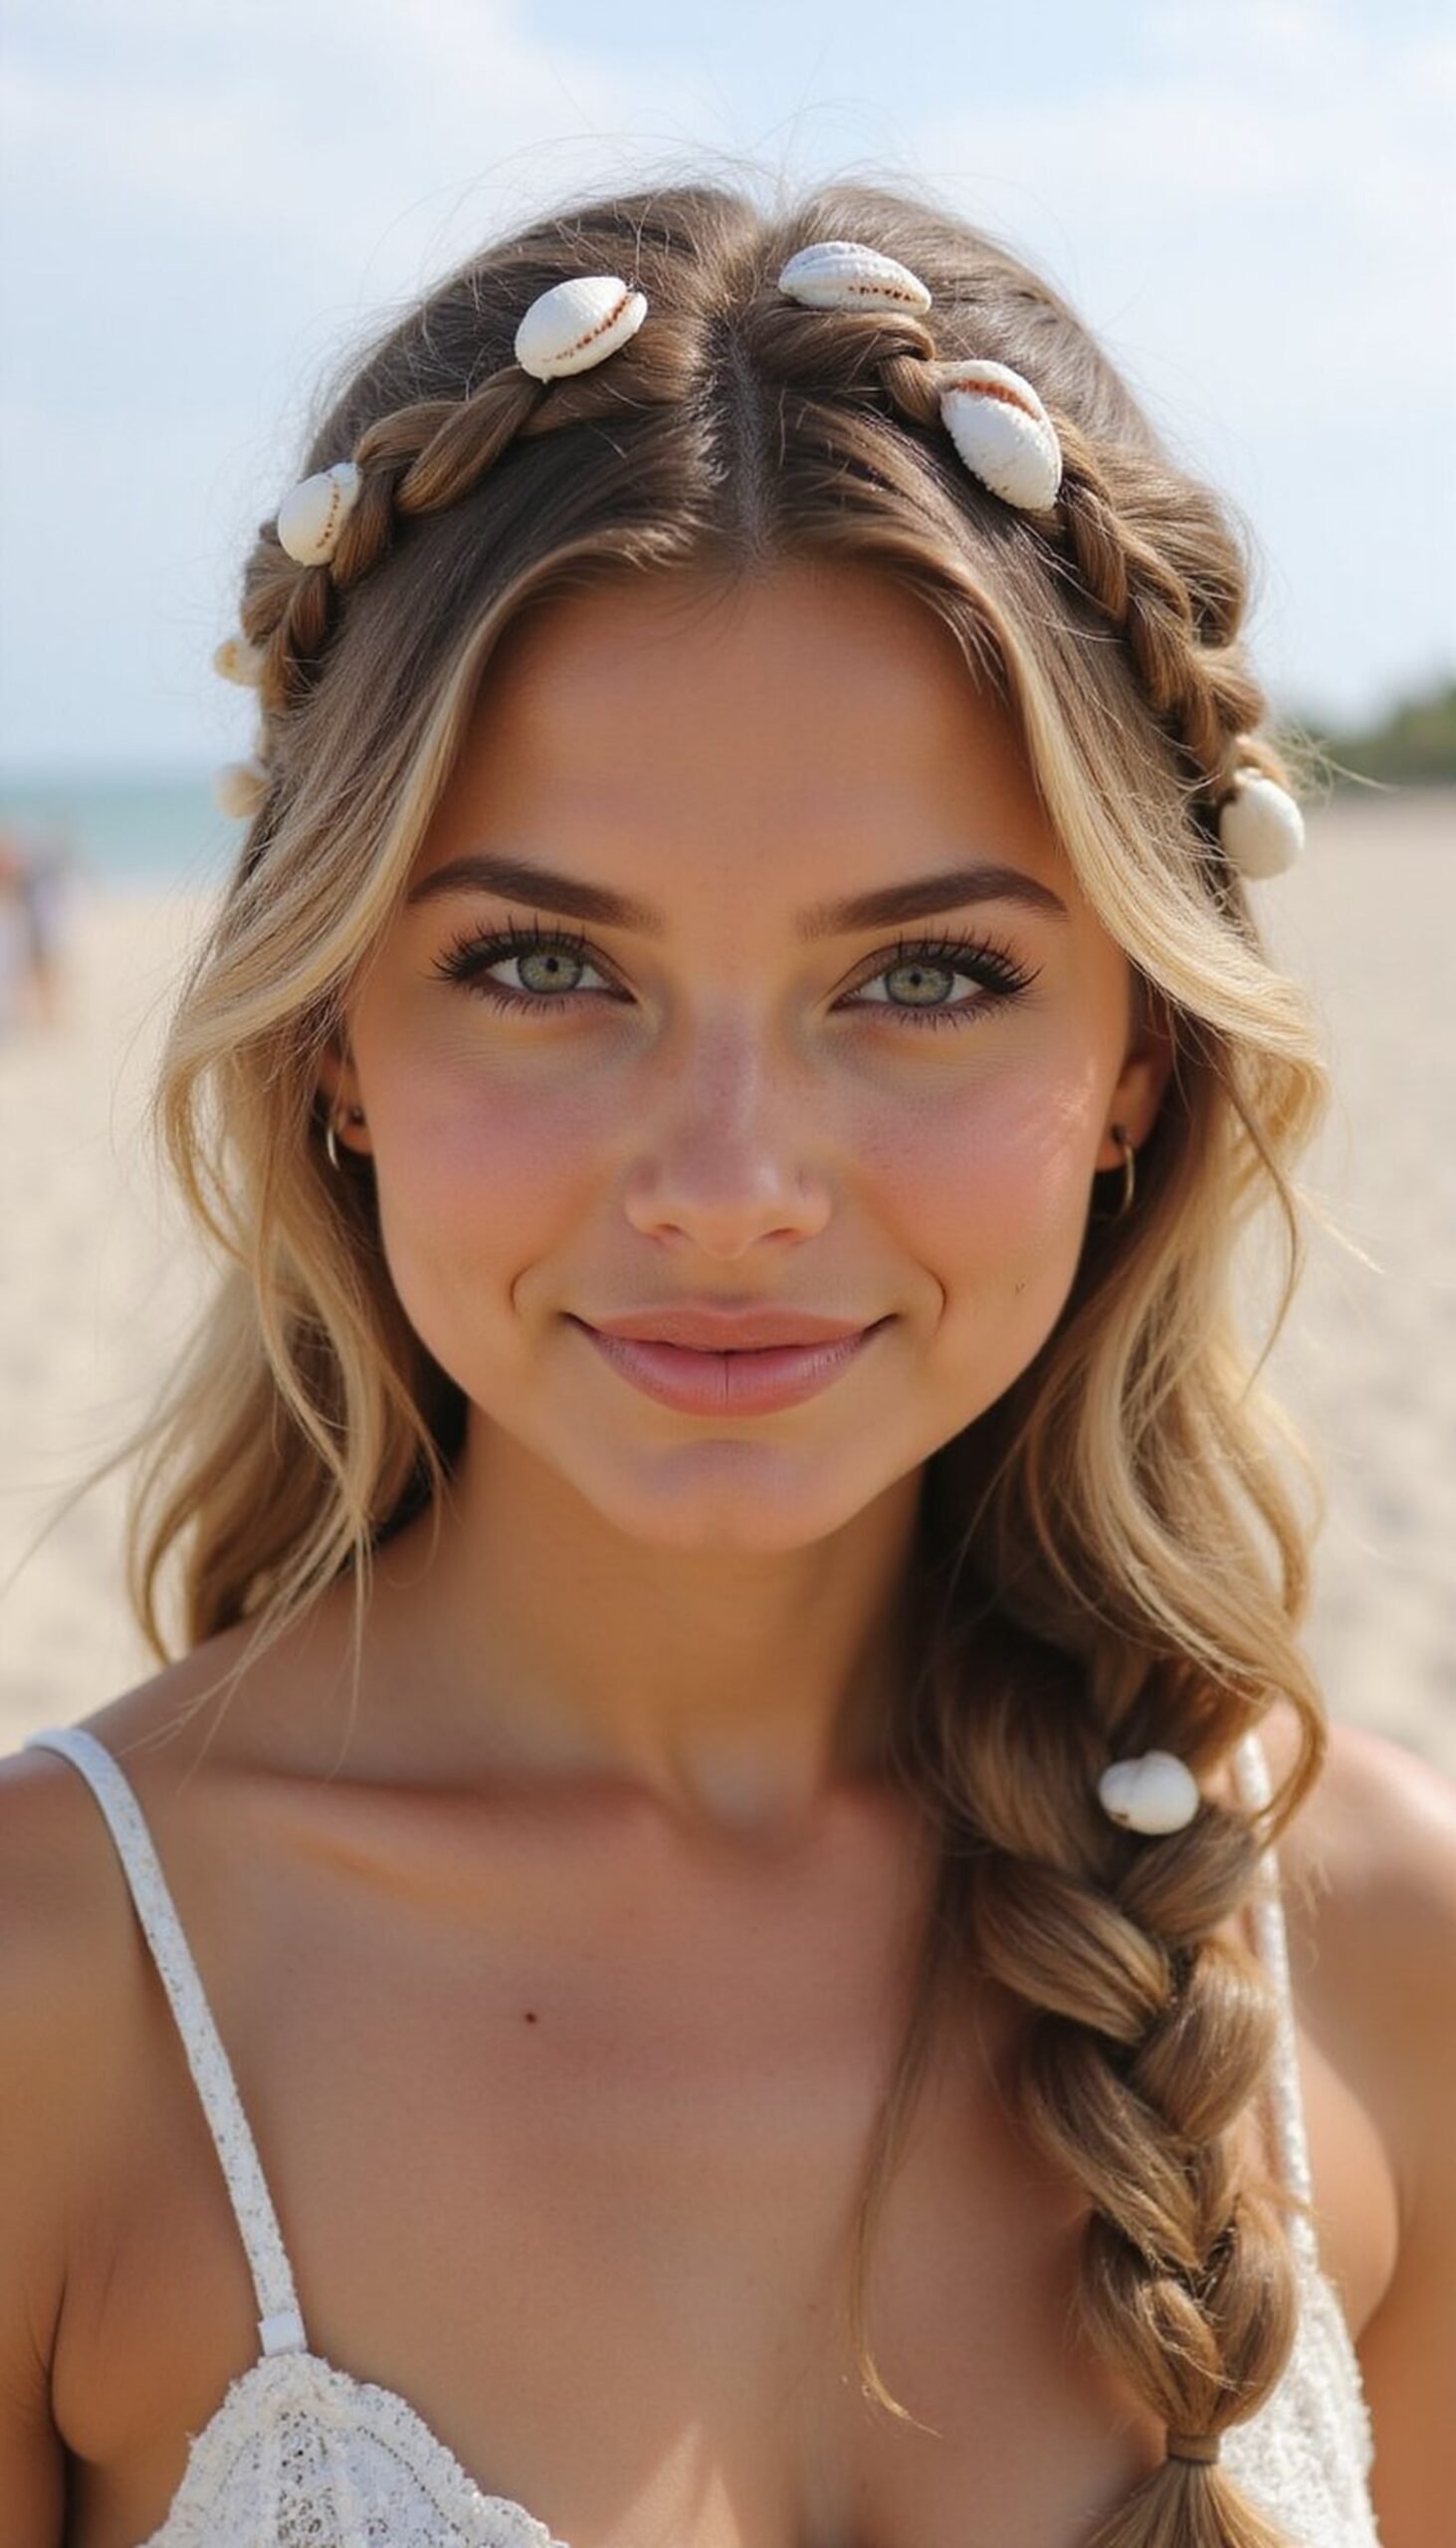
This braided half-up look adds a seaside vibe in minutes. Create two small French or Dutch braids from the temples, bring them to the back, then secure with an elastic. Leave the rest of the hair wavy or gently curled for contrast. Clip on tiny seashell pins or slide-in shell clips to highlight the braid and add a playful spring break touch. The half-up braid keeps hair out of the face for activities while still feeling romantic for sunset photos and casual daytime adventures.
Styling Tips
- Loosen braid edges with fingers for a soft, lived-in finish.
- Use tiny clear elastics to keep the braid neat without visible hardware.
- Add muted shell clips for a coastal, photo-ready accent.
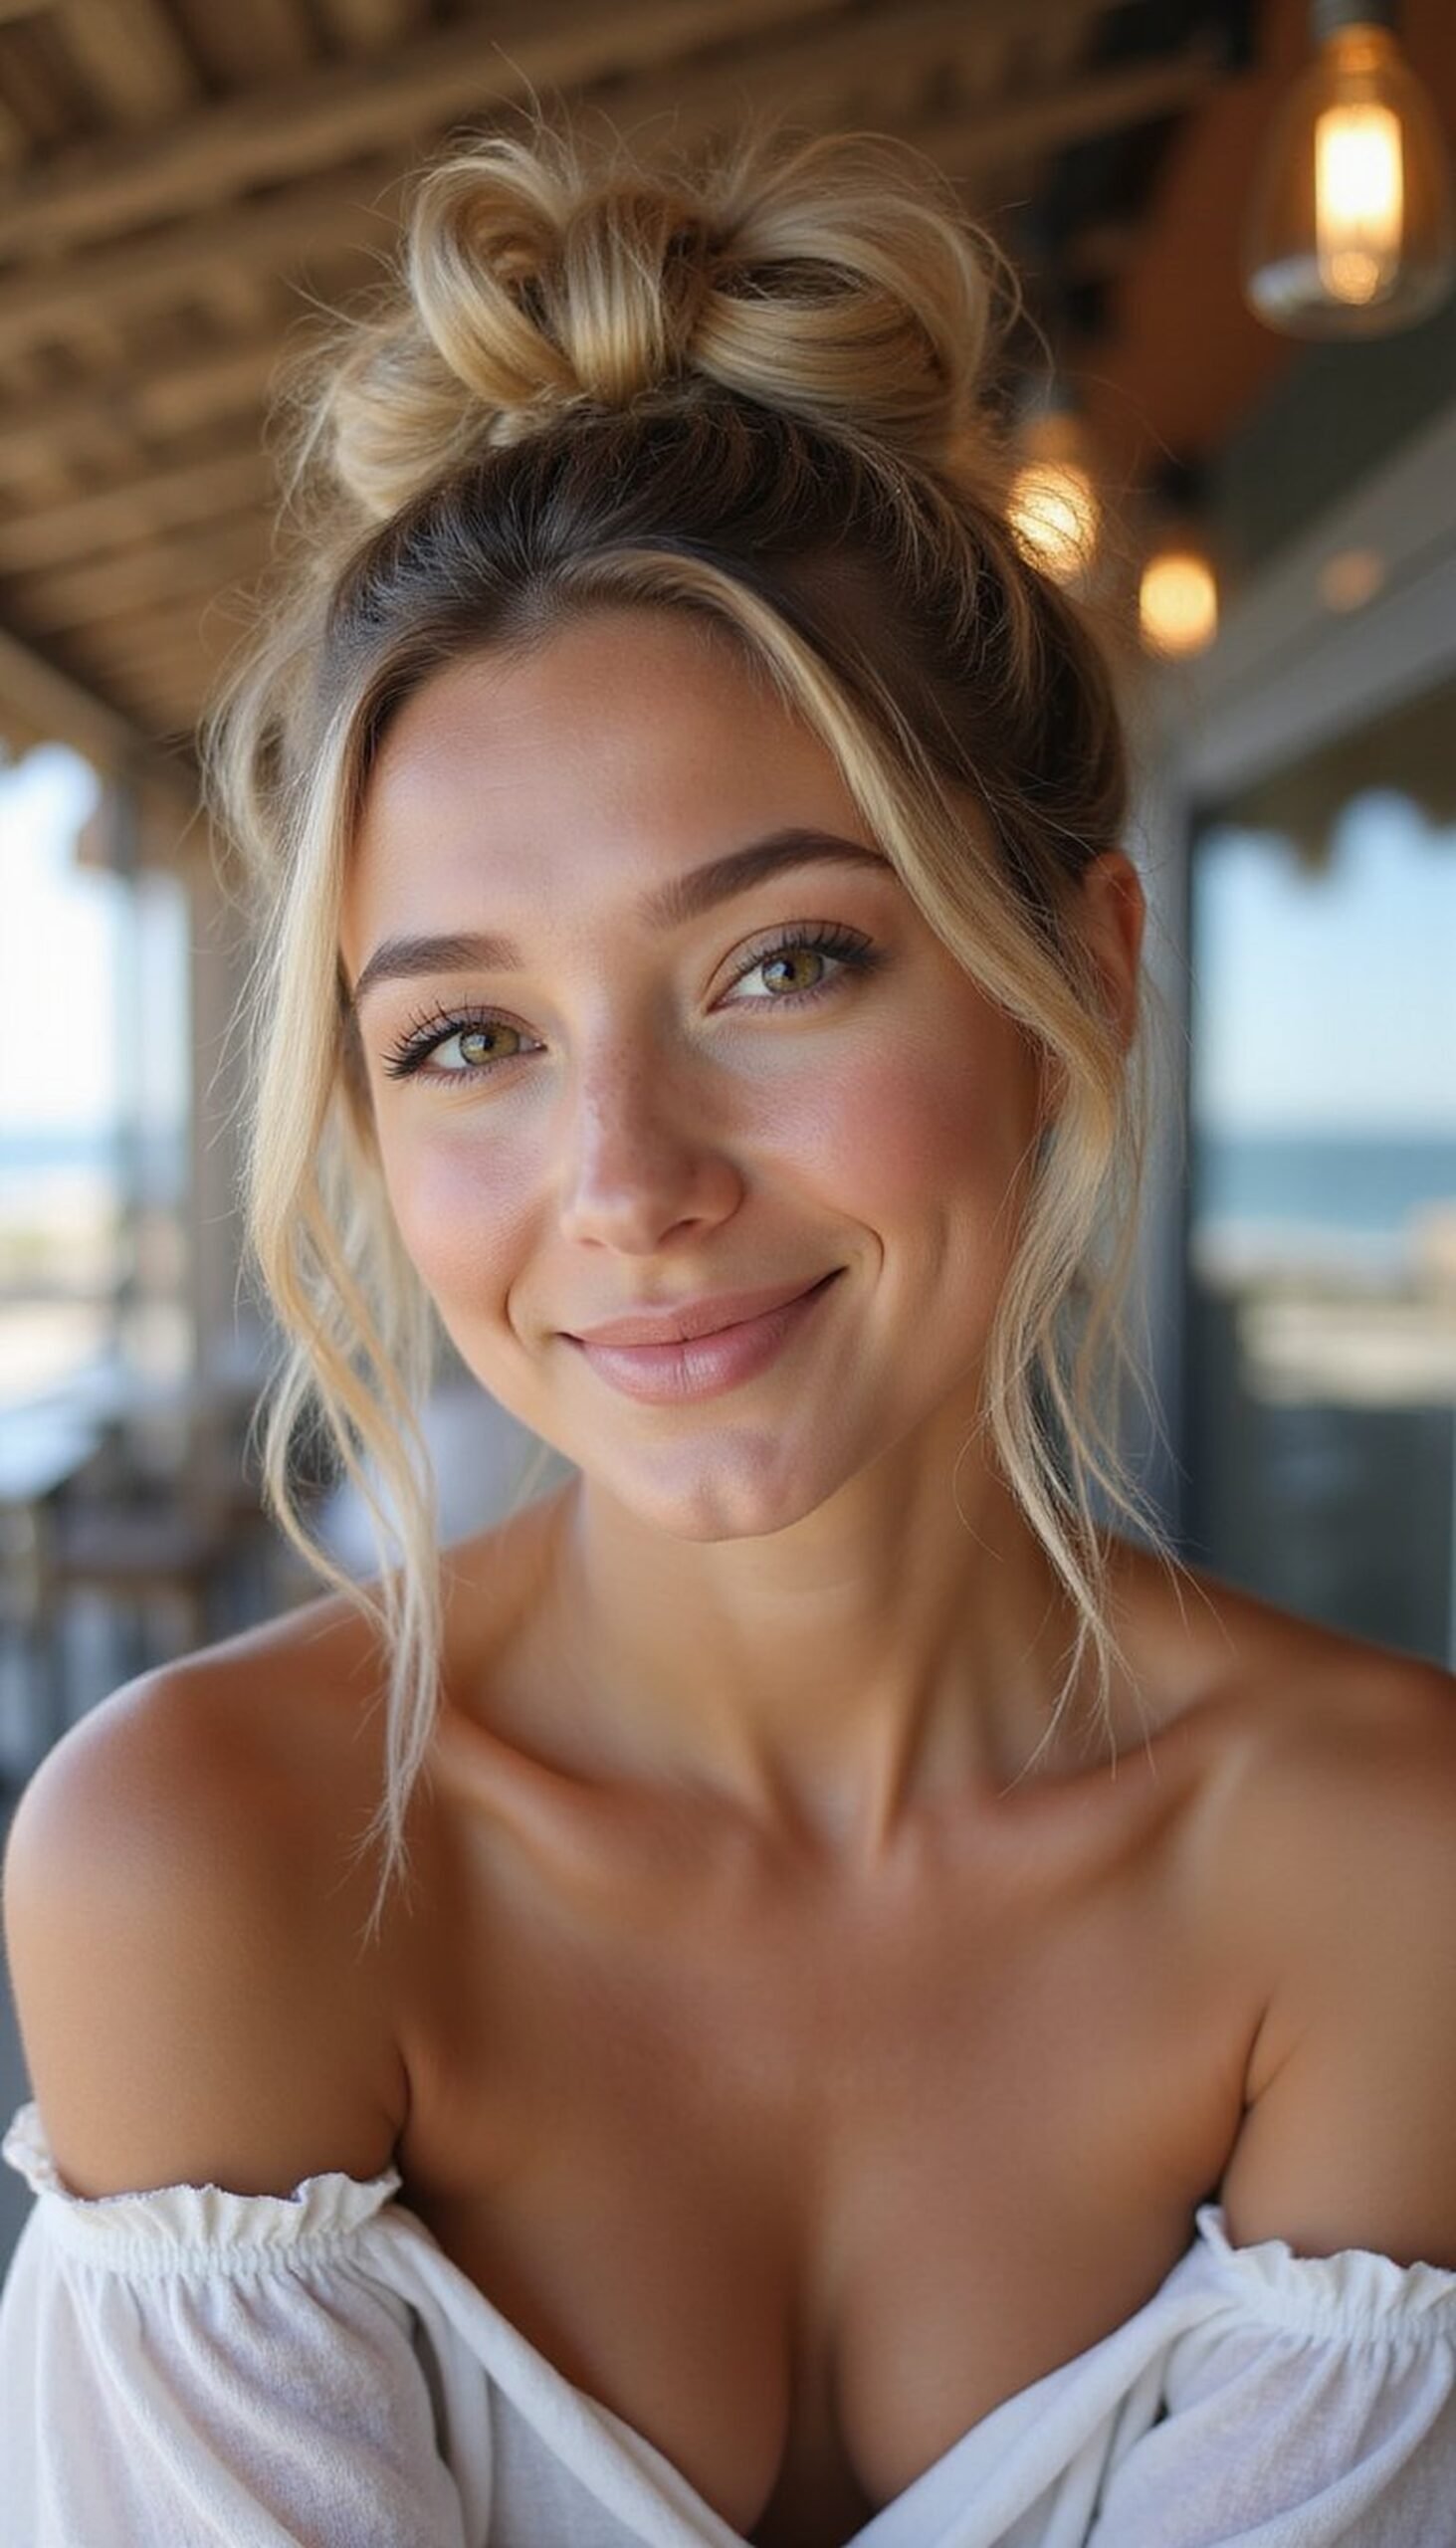
Messy Top Knot With Colorful Scarf Wrap
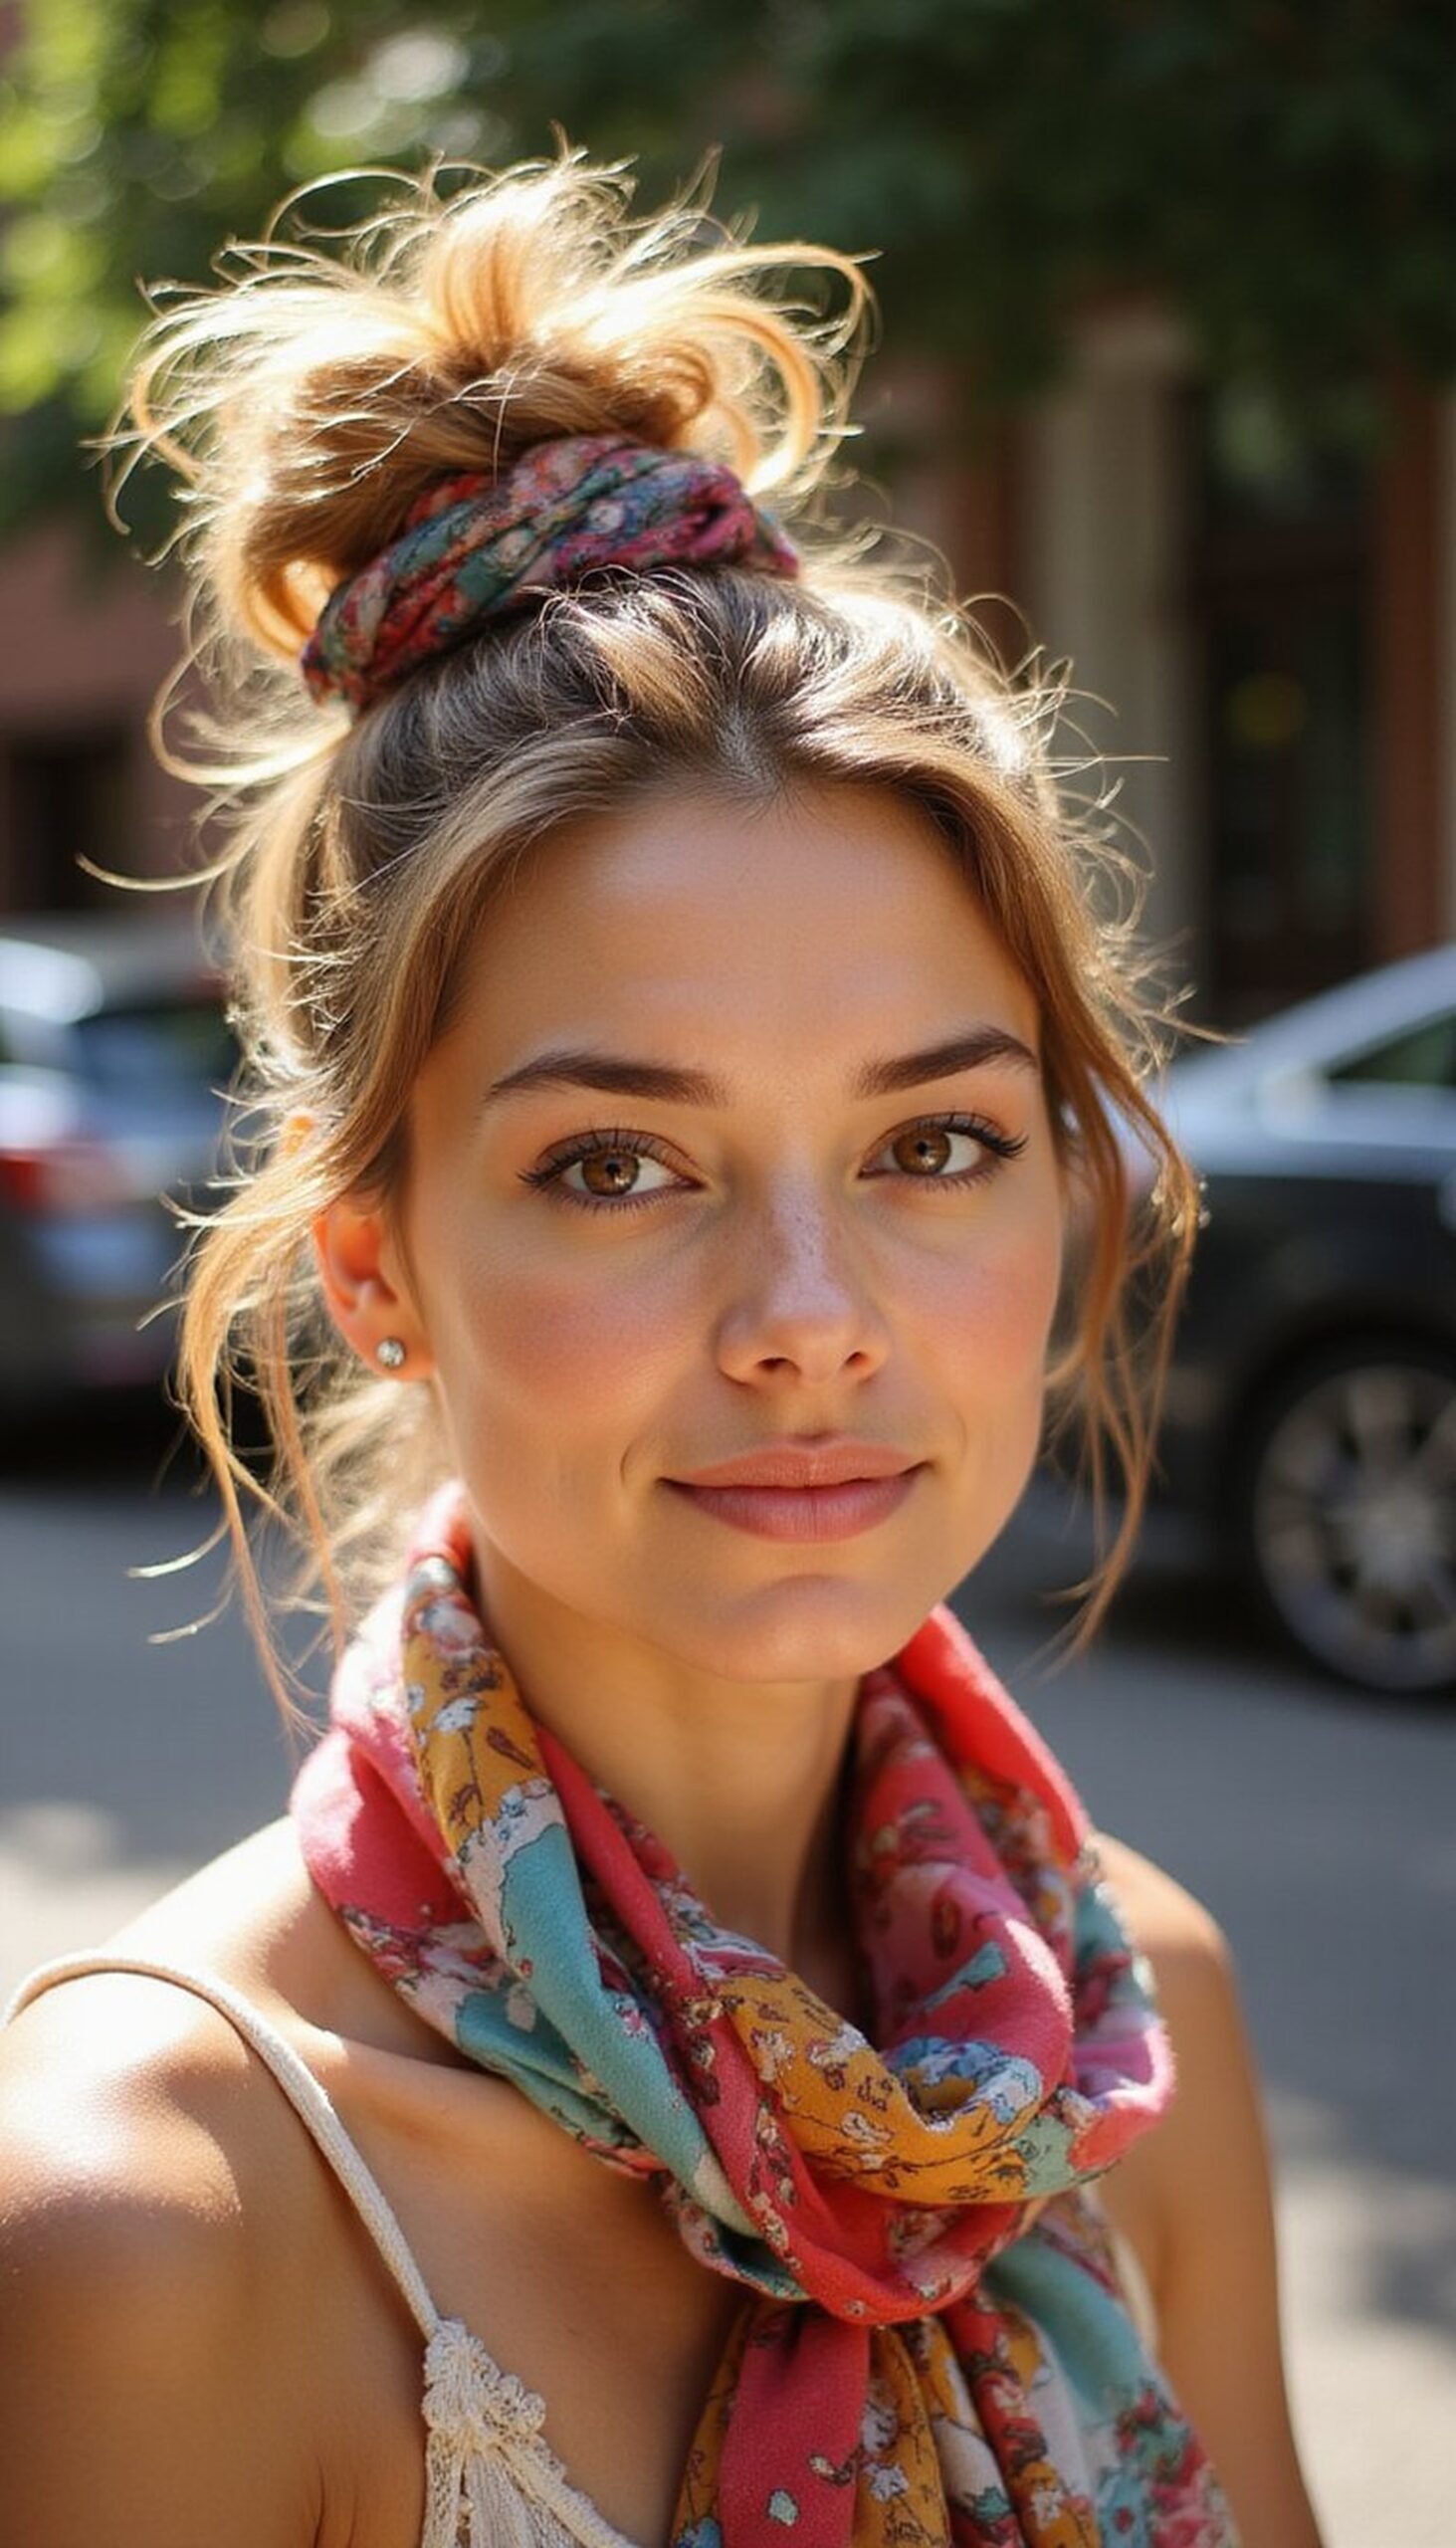
The messy top knot is a staple for busy spring break mornings and nights out. Gather hair high on the crown, twist into a loose bun, and secure with an elastic, letting a few face-framing pieces fall free. Wrap a colorful scarf around the base of the bun and tie in a playful knot or bow. The scarf adds pattern and keeps the bun secure during windy moments. This look feels polished without fuss and works with straight, wavy, or slightly curled hair for a quick style upgrade.
Styling Tips
- Use a texturizing spray before styling to add grip to slippery hair.
- Pull a couple of strands loose to soften the face and balance the bun.
- Choose a lightweight cotton scarf for comfort in warm weather.
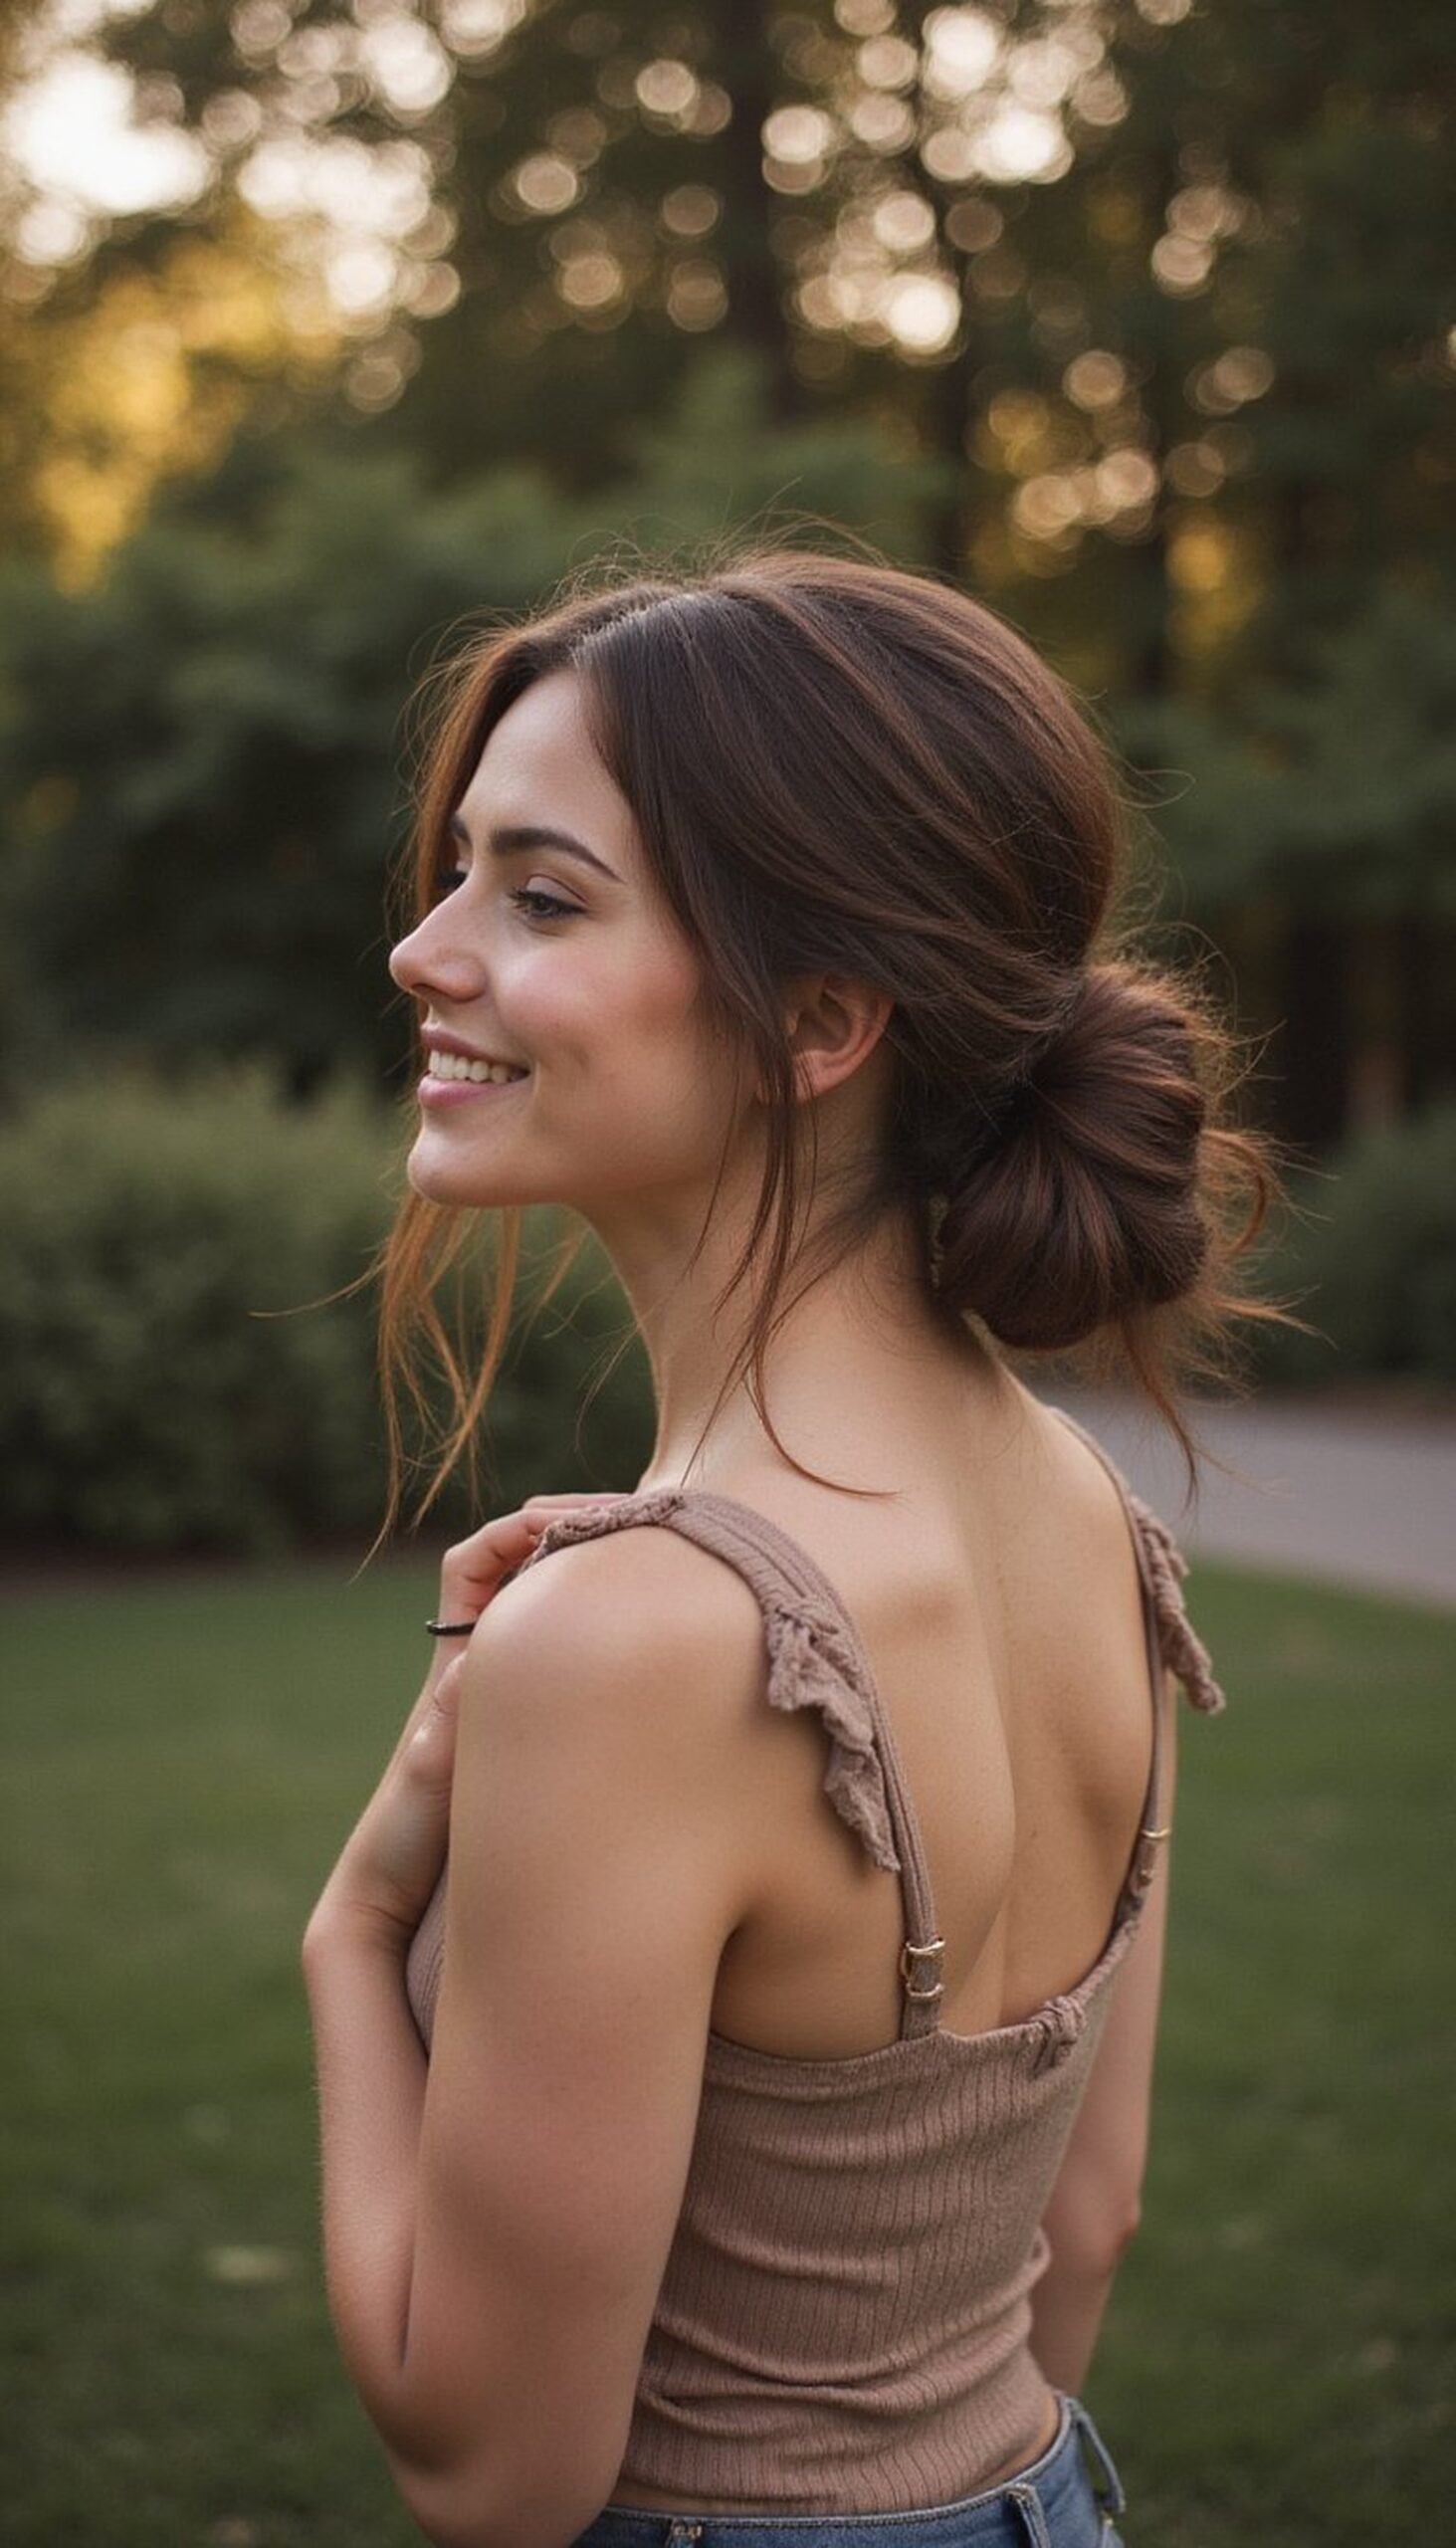
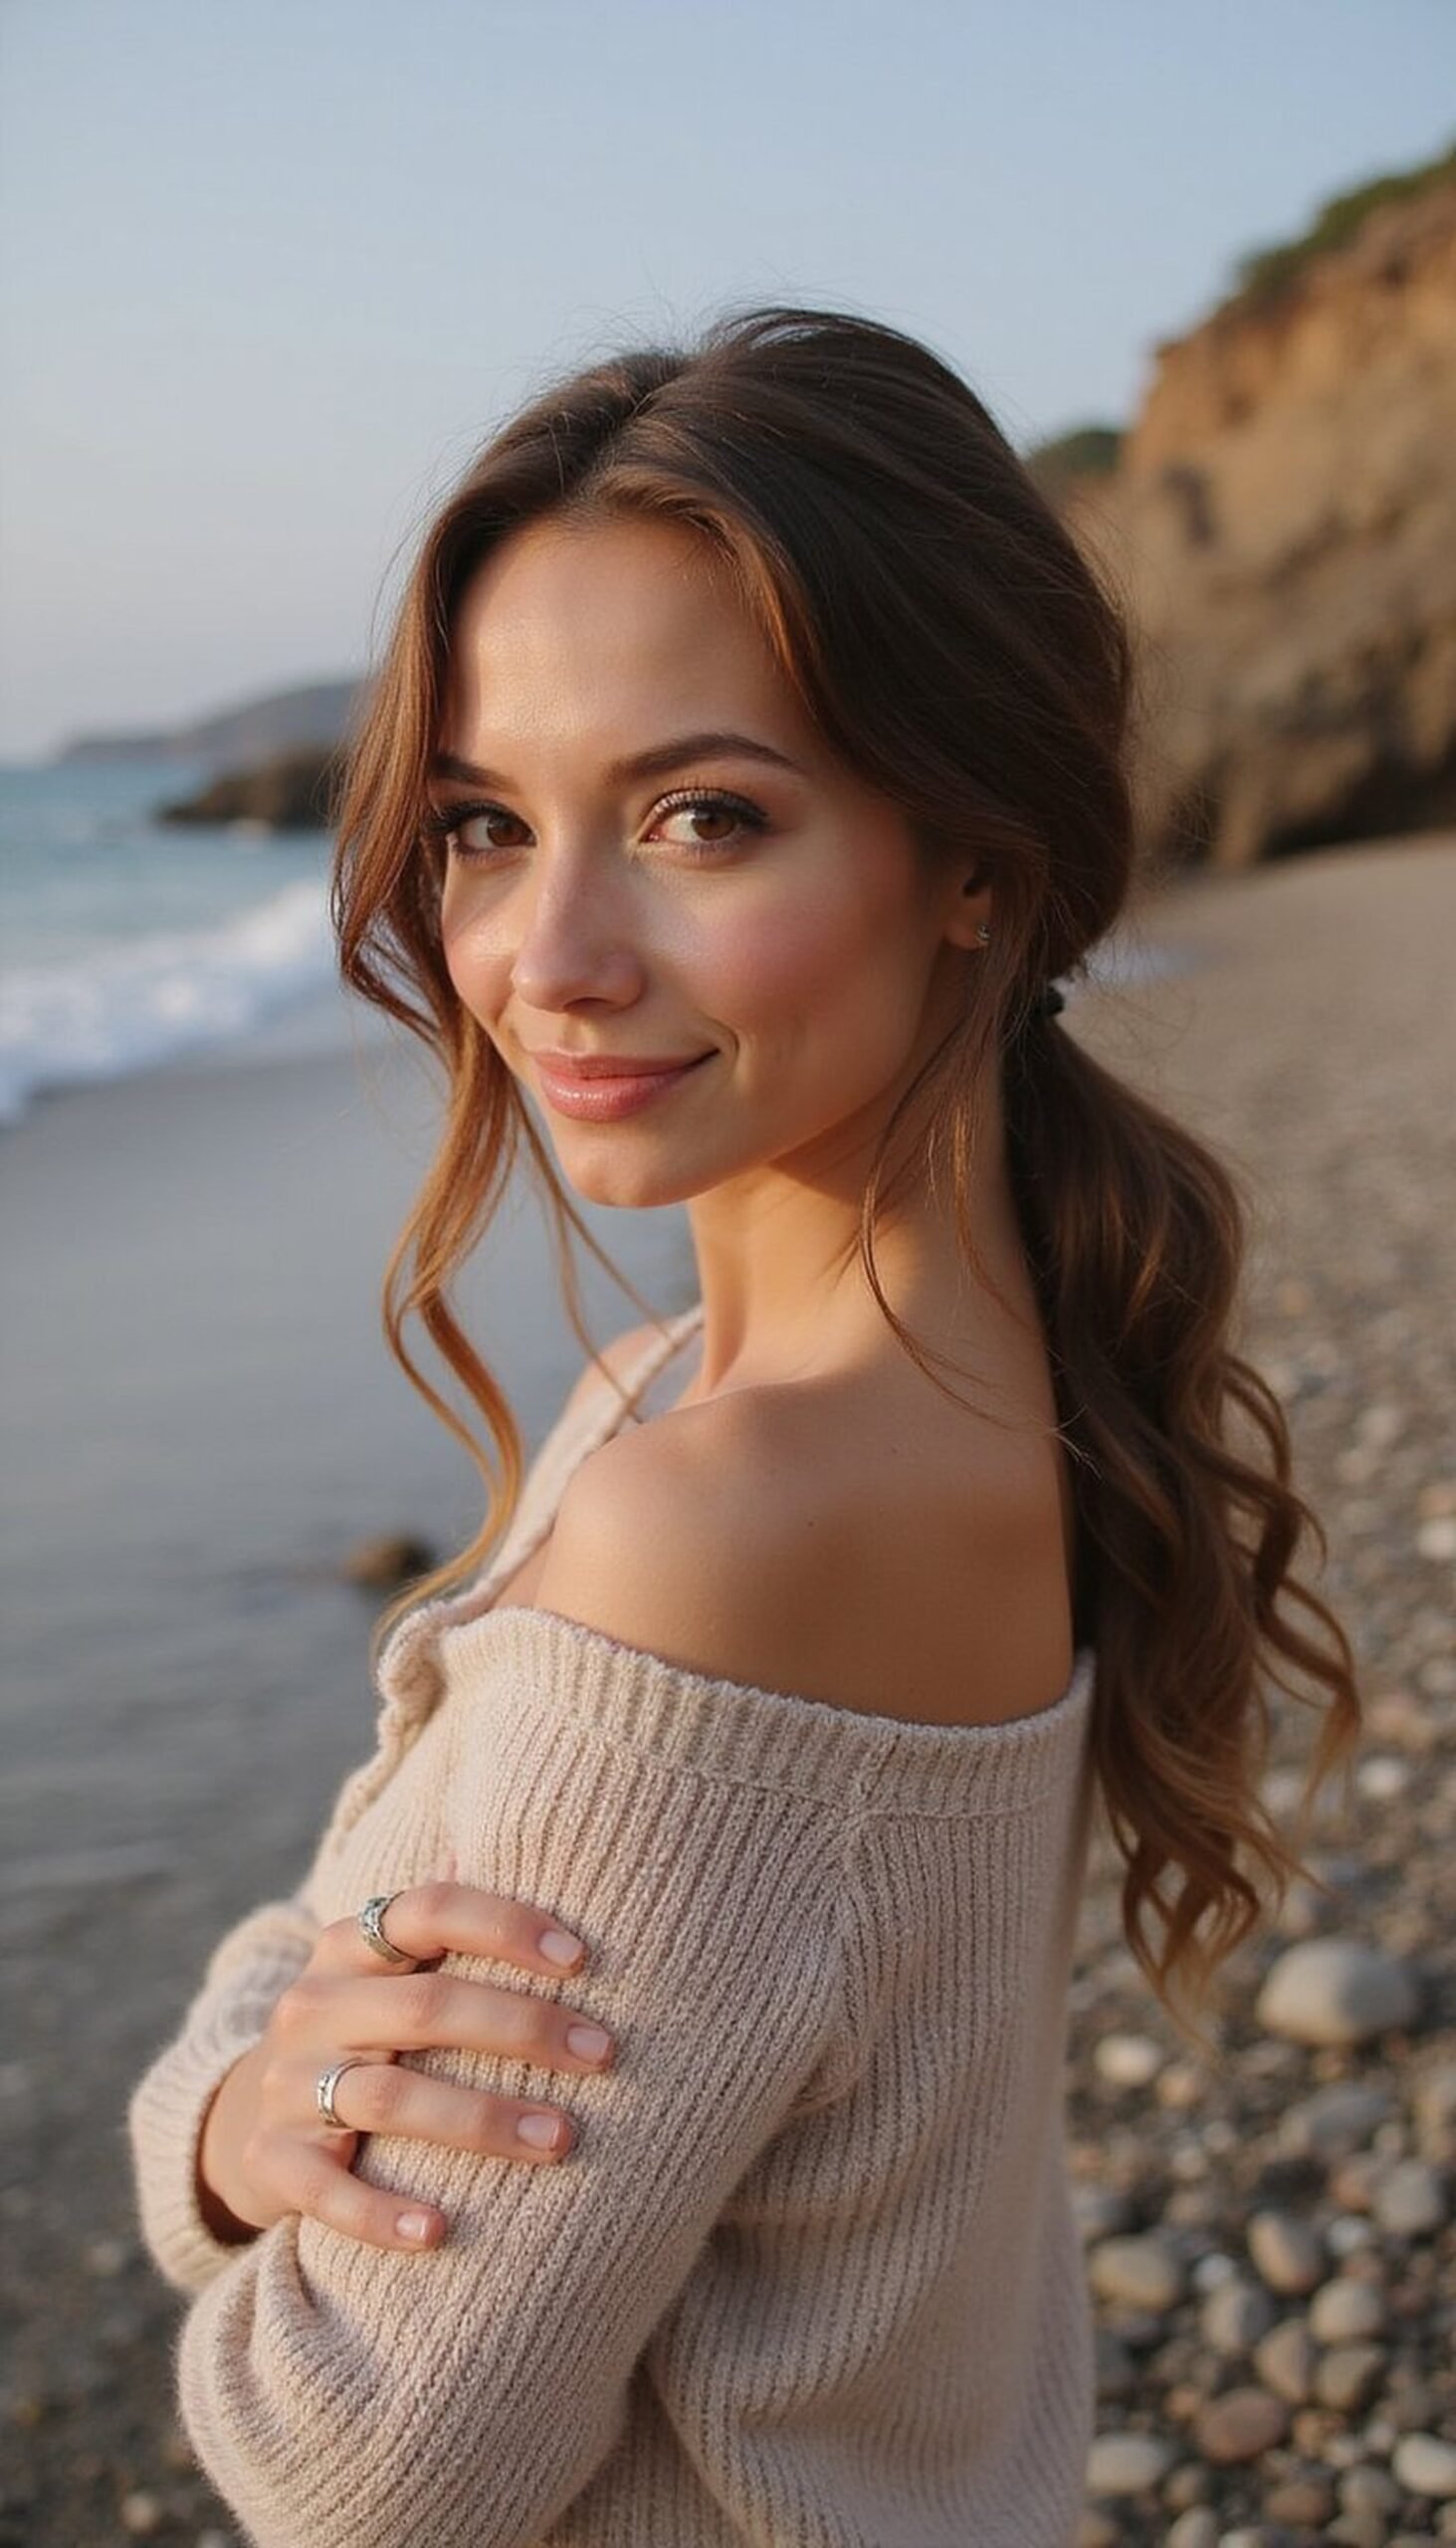
Sleek Low Ponytail With Wrapped Section

A sleek low ponytail keeps hair polished while staying cool in warm weather. Smooth hair back into a low pony at the nape, secure with an elastic, and take a small section of hair to wrap around the band to hide it. Tuck the wrapped piece under the elastic and pin. Add light serum for shine and use a soft brush to keep flyaways in check. This streamlined style is perfect for sunset dinners or travel days when a neat, put-together look is wanted without extra effort.
Styling Tips
- Apply a dime-sized serum to mid-lengths and ends for glossy finish.
- Use a toothbrush or small brush with hairspray to tame baby hairs.
- Secure the wrap with a hidden bobby pin for a seamless look.
Twisted Halo Braid For Soft Face Framing
The twisted halo braid gives a romantic, boho feel that stays secure through beach games and walks. Twist two front sections away from the face, bringing them around the back and pinning into a halo. Leave the rest of the hair loose with soft waves to create contrast. This style looks delicate in photos and keeps hair off the face without heavy pins. It works on medium to long hair and gives an effortless crown effect that’s great for casual days or a seaside dinner.
Styling Tips
- Start with slightly textured hair for easier twisting and hold.
- Use small pins that match hair color to keep the halo invisible.
- Gently pull twists to widen them for a softer, fuller look.
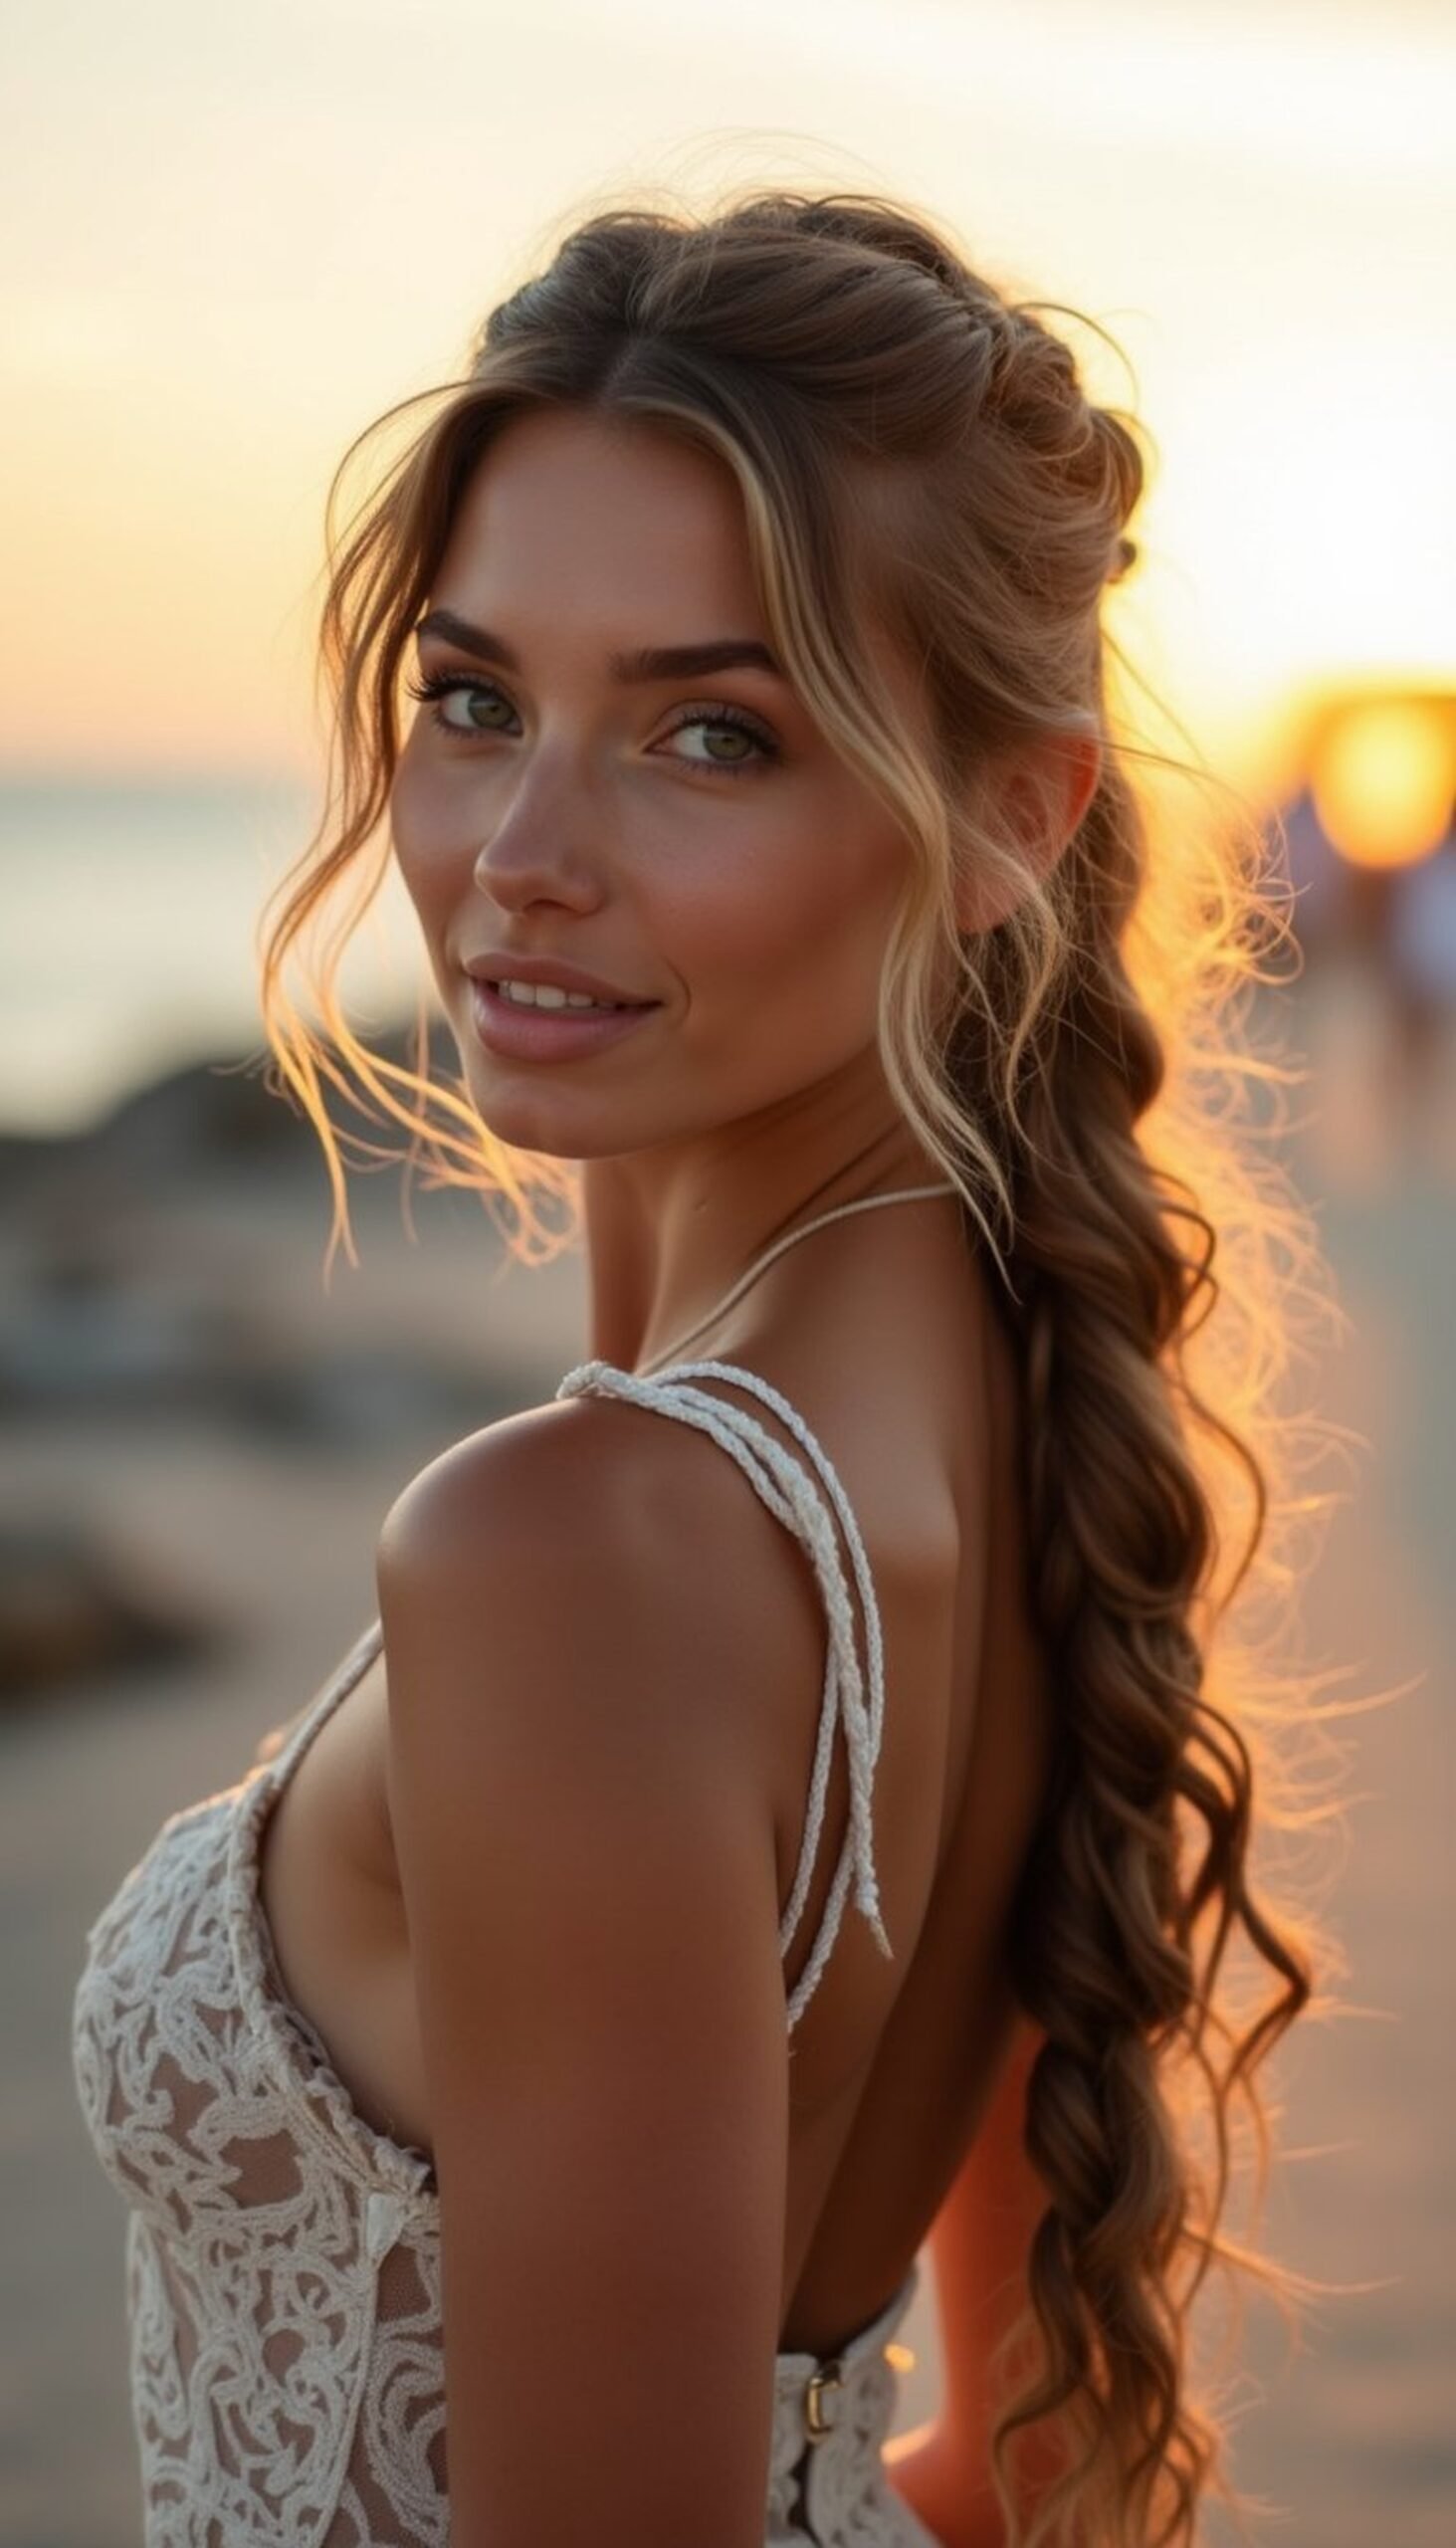
Fishtail Side Braid With Sun-Kissed Texture
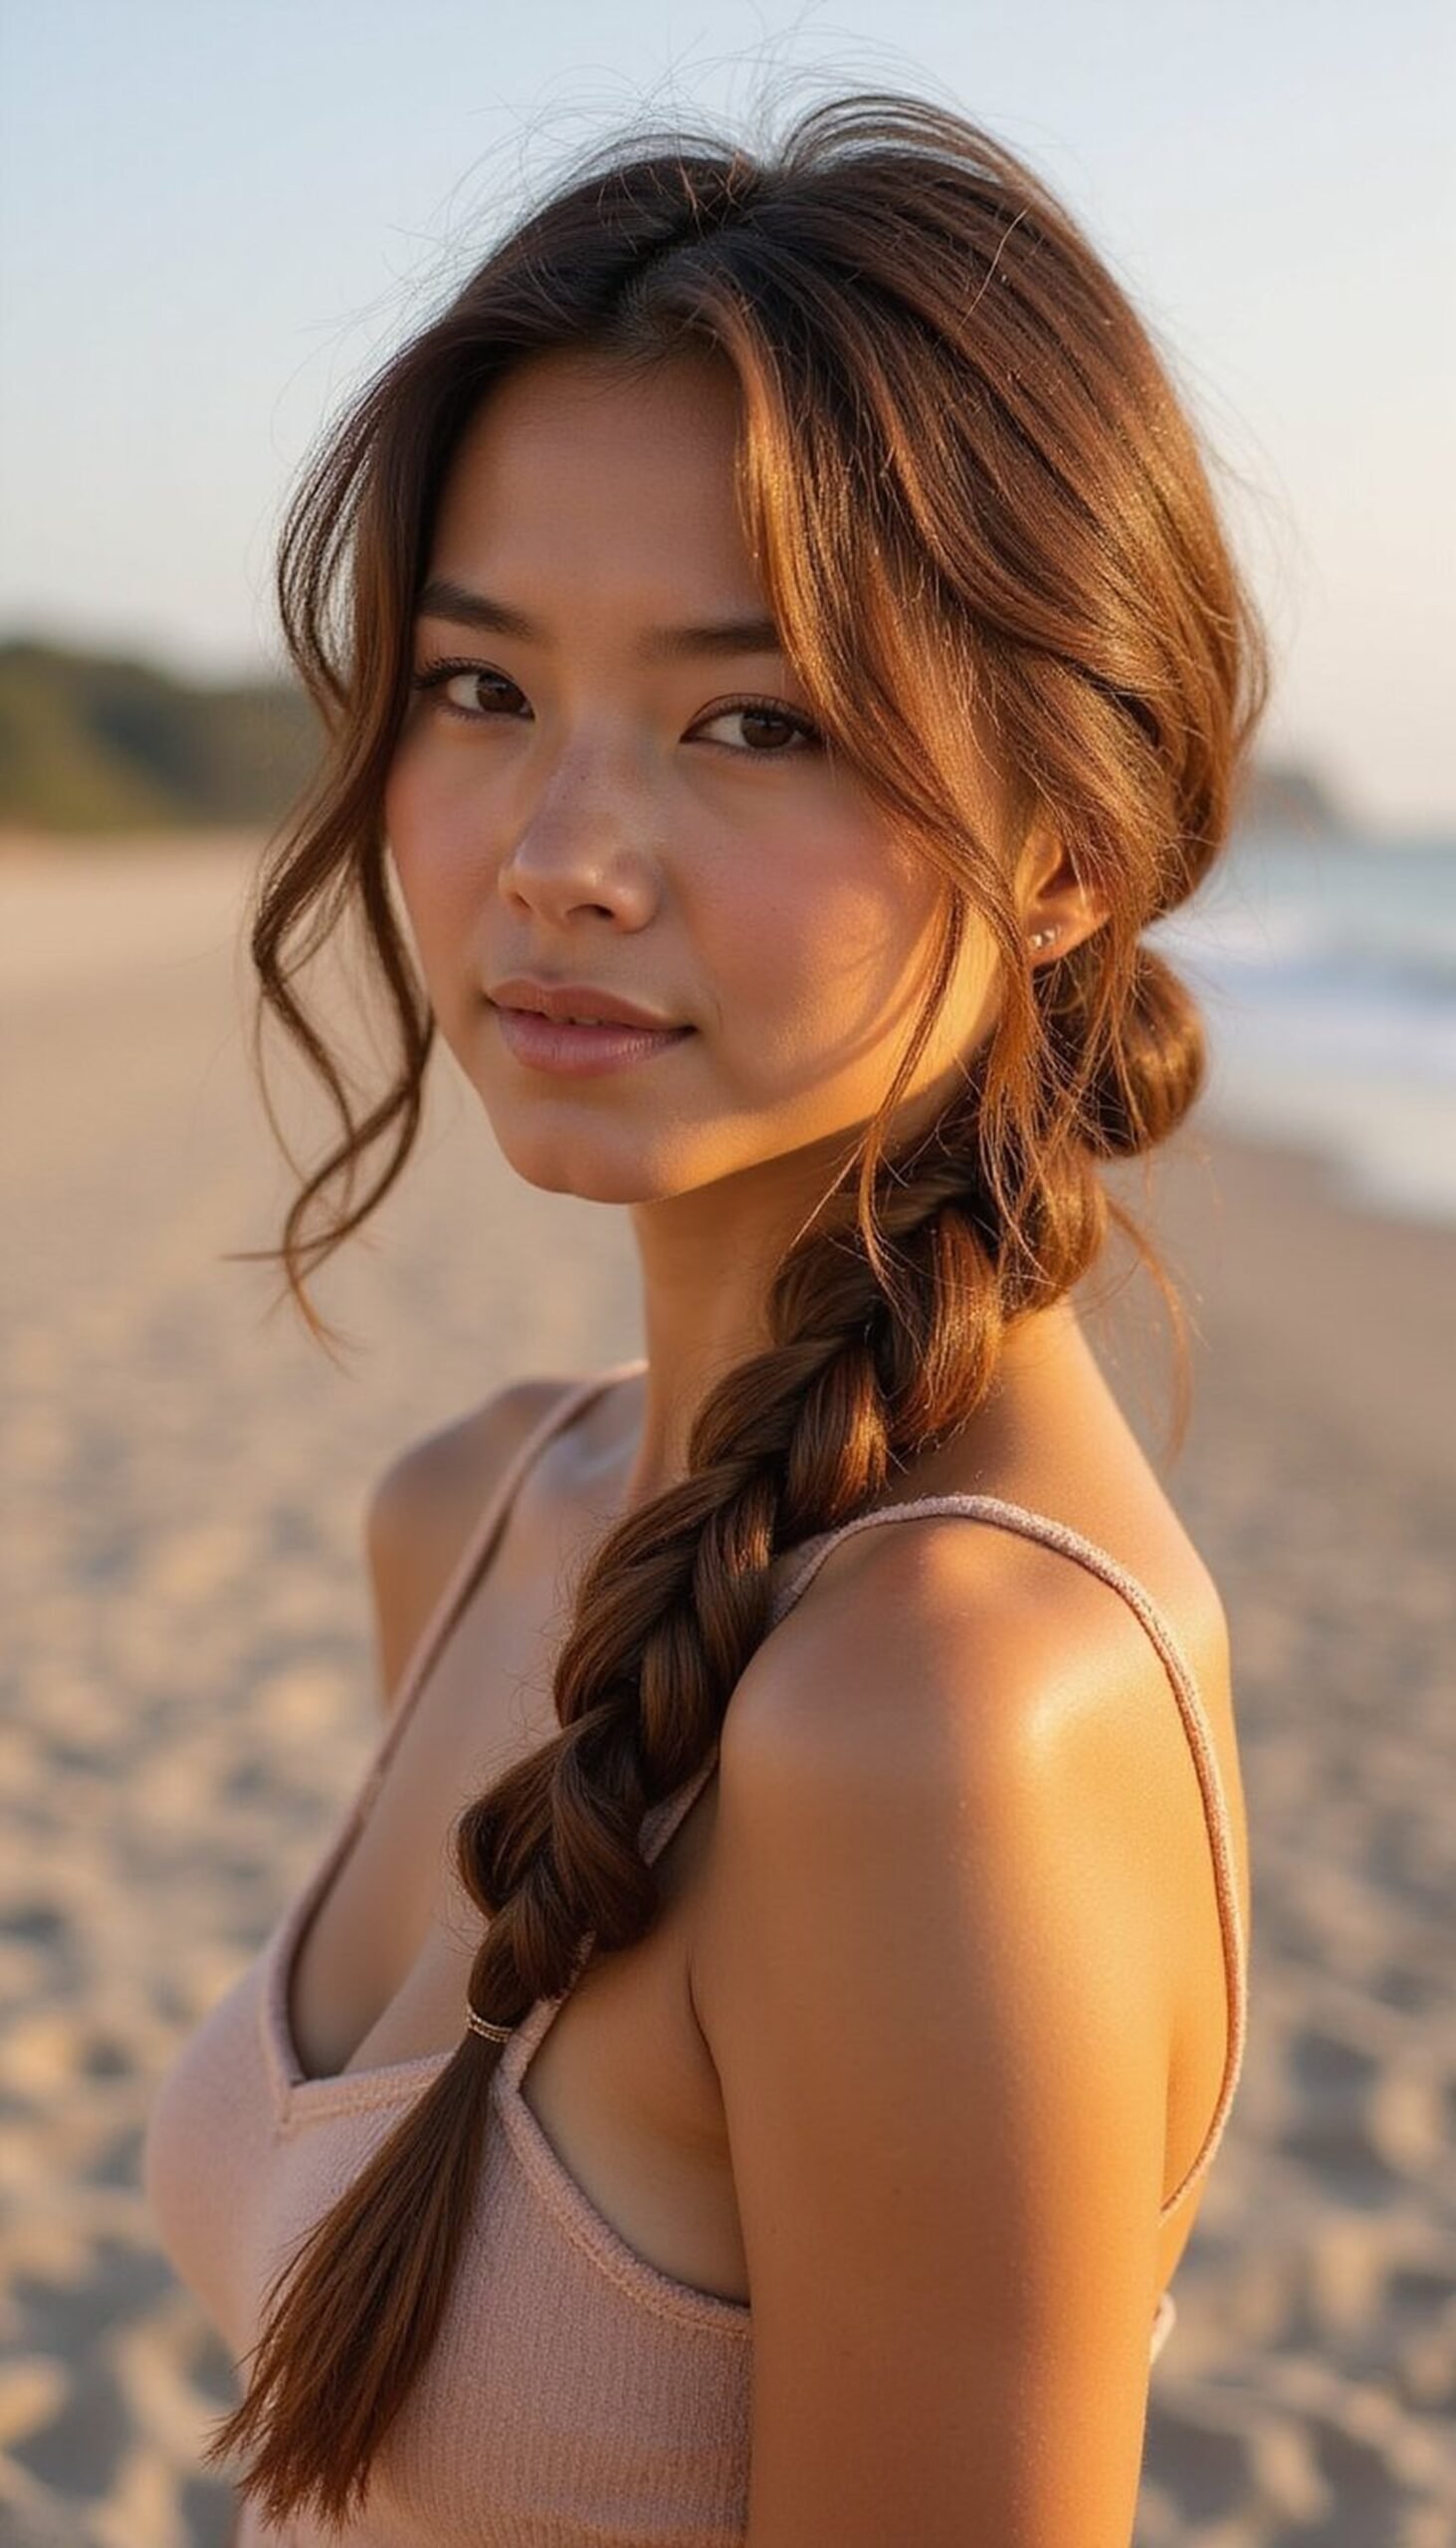
A fishtail side braid is elegant but relaxed for spring break photos. Sweep hair to one side and fishtail braid loosely from ear to ends, then pancake the braid gently to widen and accentuate texture. Lightly mist with texturizing spray for that sun-kissed, sandy look. Pull a few pieces around the face for softness. This braid stays put through activity and looks striking with off-shoulder tops or halter swimwear, giving a polished yet beach-appropriate vibe for late-afternoon strolls along the shore.
Styling Tips
- Prep hair with a sea salt or texturizing spray for grip.
- Pancake the braid by gently tugging each section for volume.
- Secure the end with a clear elastic and hide it with a ribbon if desired.
Playful Double Mini Buns With Baby Hair
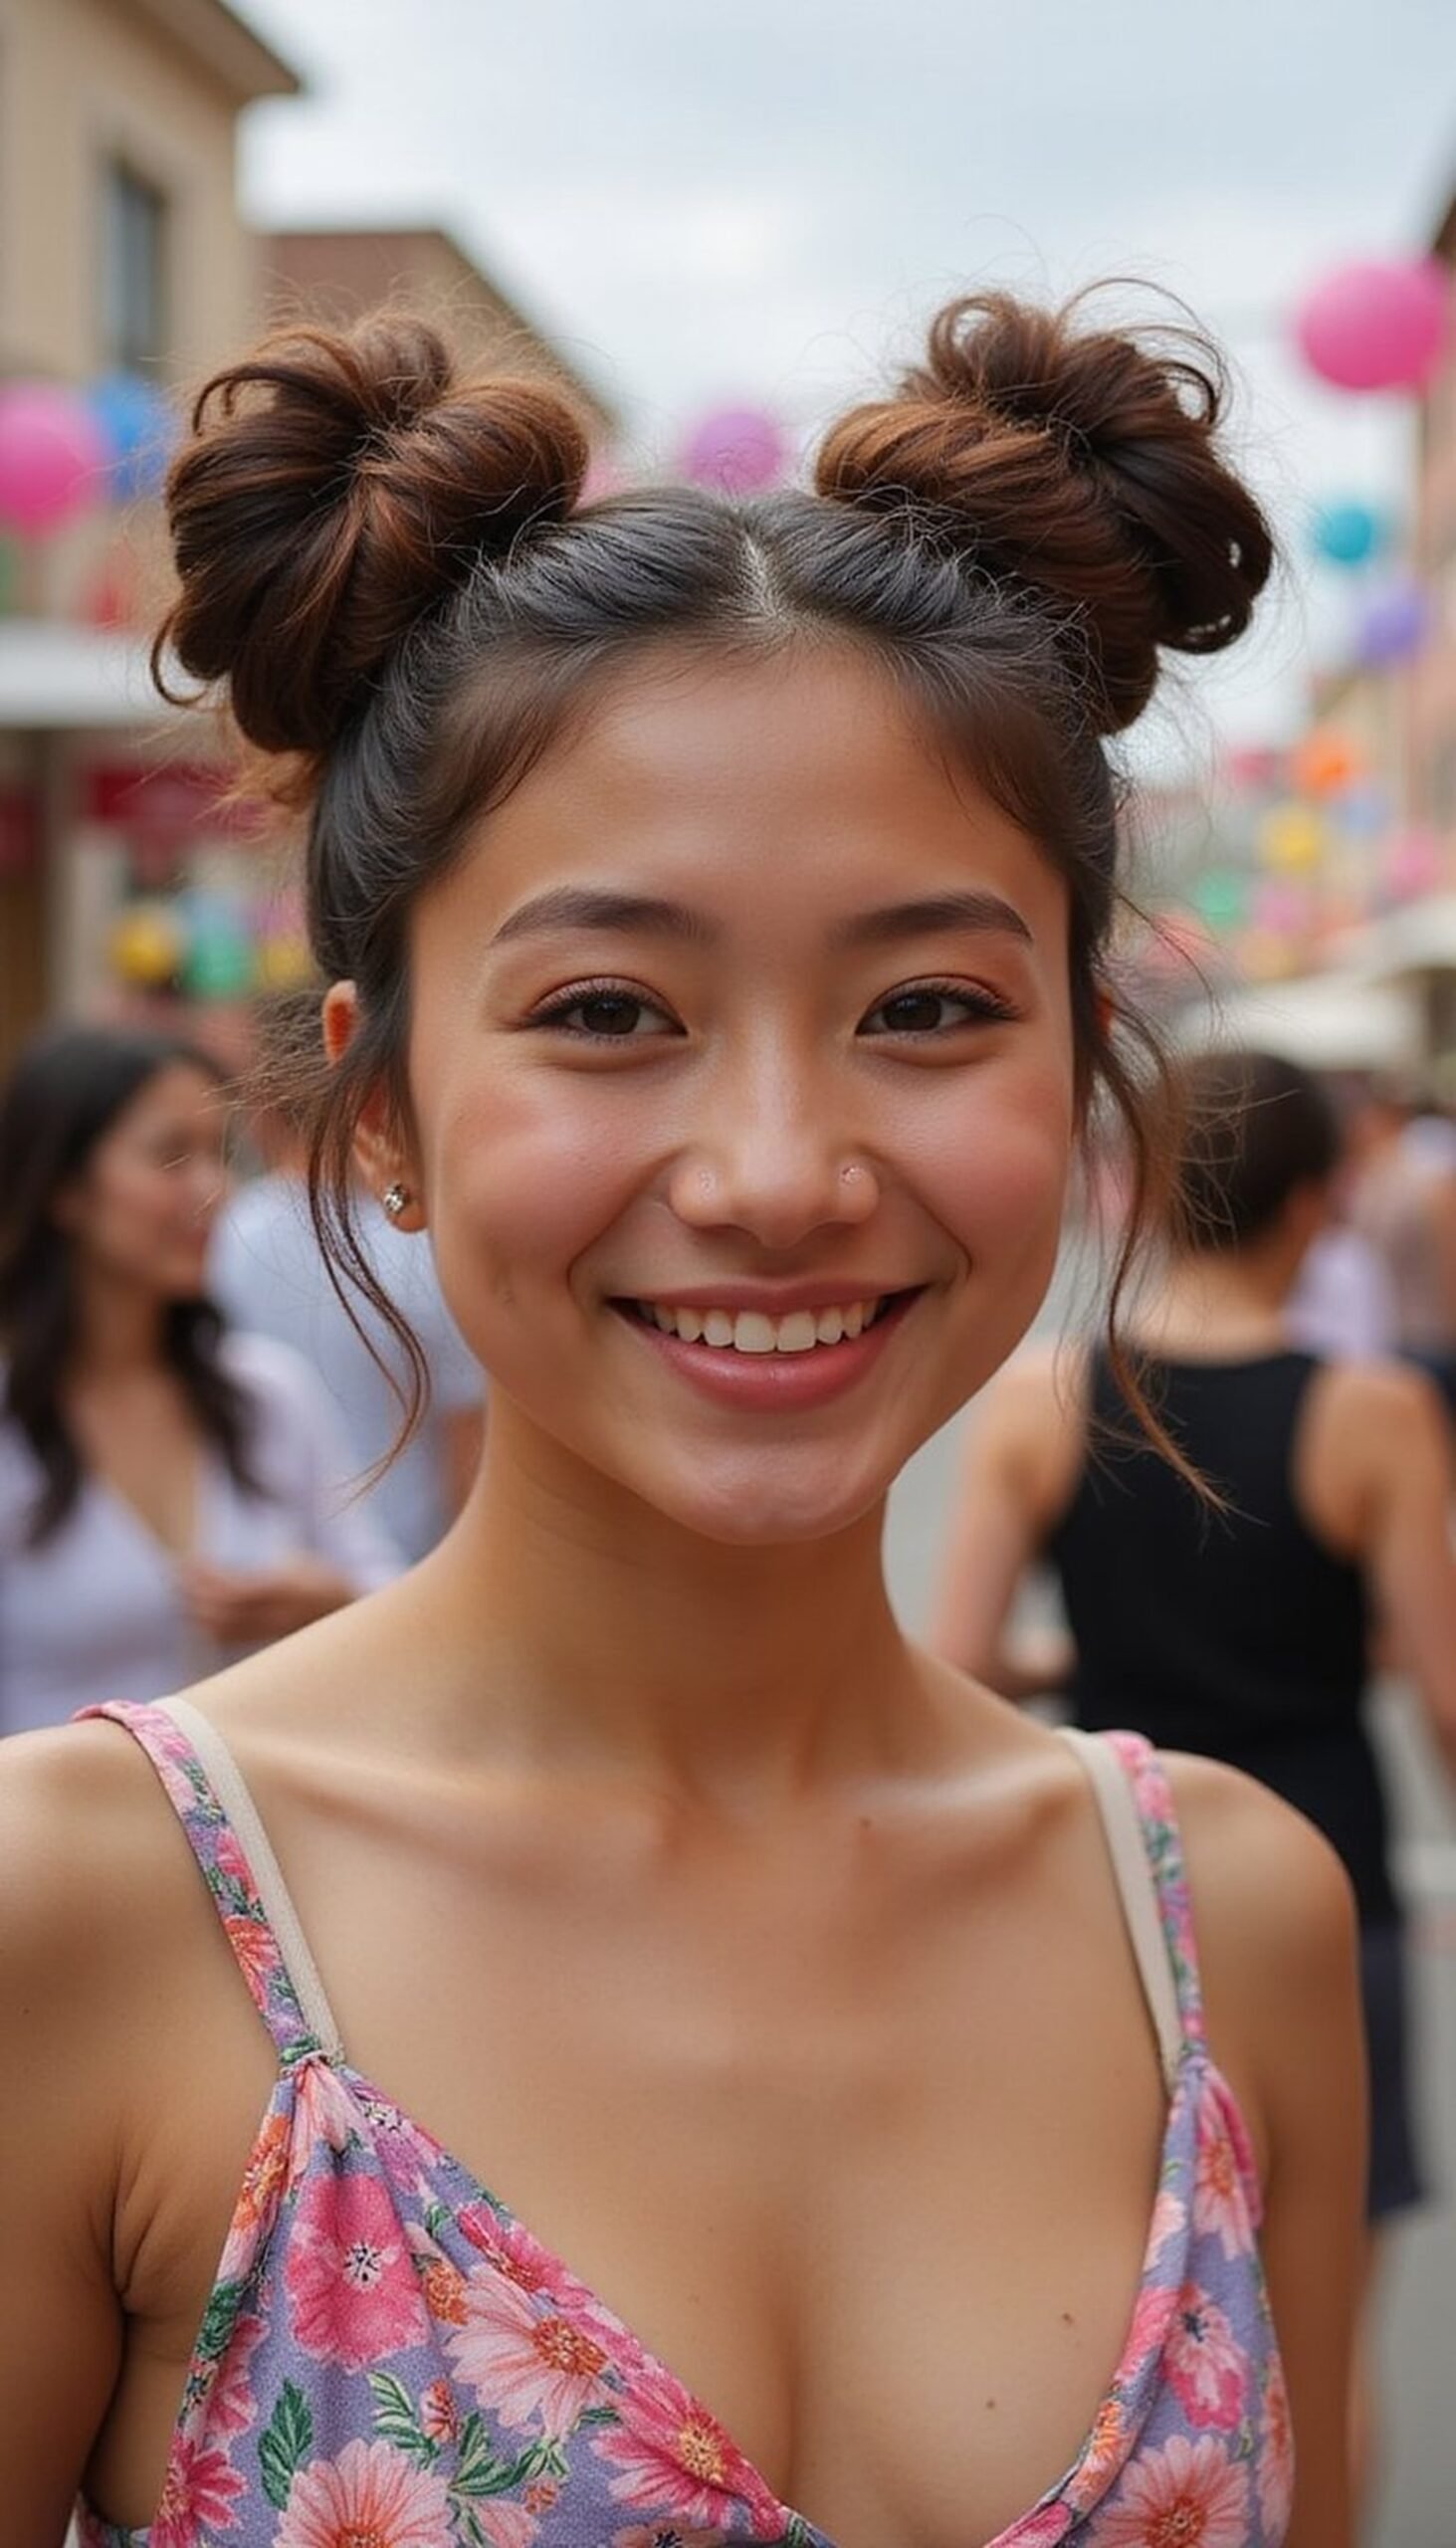
Double mini buns are playful and keep hair up while still staying cute for selfies. Part hair down the middle and twist each side into small buns at the crown or slightly lower. Pull out tiny tendrils and smooth baby hairs with a bit of gel for a styled finish. This look pairs well with sporty outfits and festival-ready accessories, and it’s forgiving for hair that’s growing out. The style is quick, fun, and a go-to when a hands-free, youthful vibe is wanted during long spring break days.
Styling Tips
- Use a texturizing paste to shape baby hairs without stickiness.
- Secure buns with small elastics and a couple of bobby pins for staying power.
- Add a sprinkle of dry shampoo at roots for extra grip before styling.
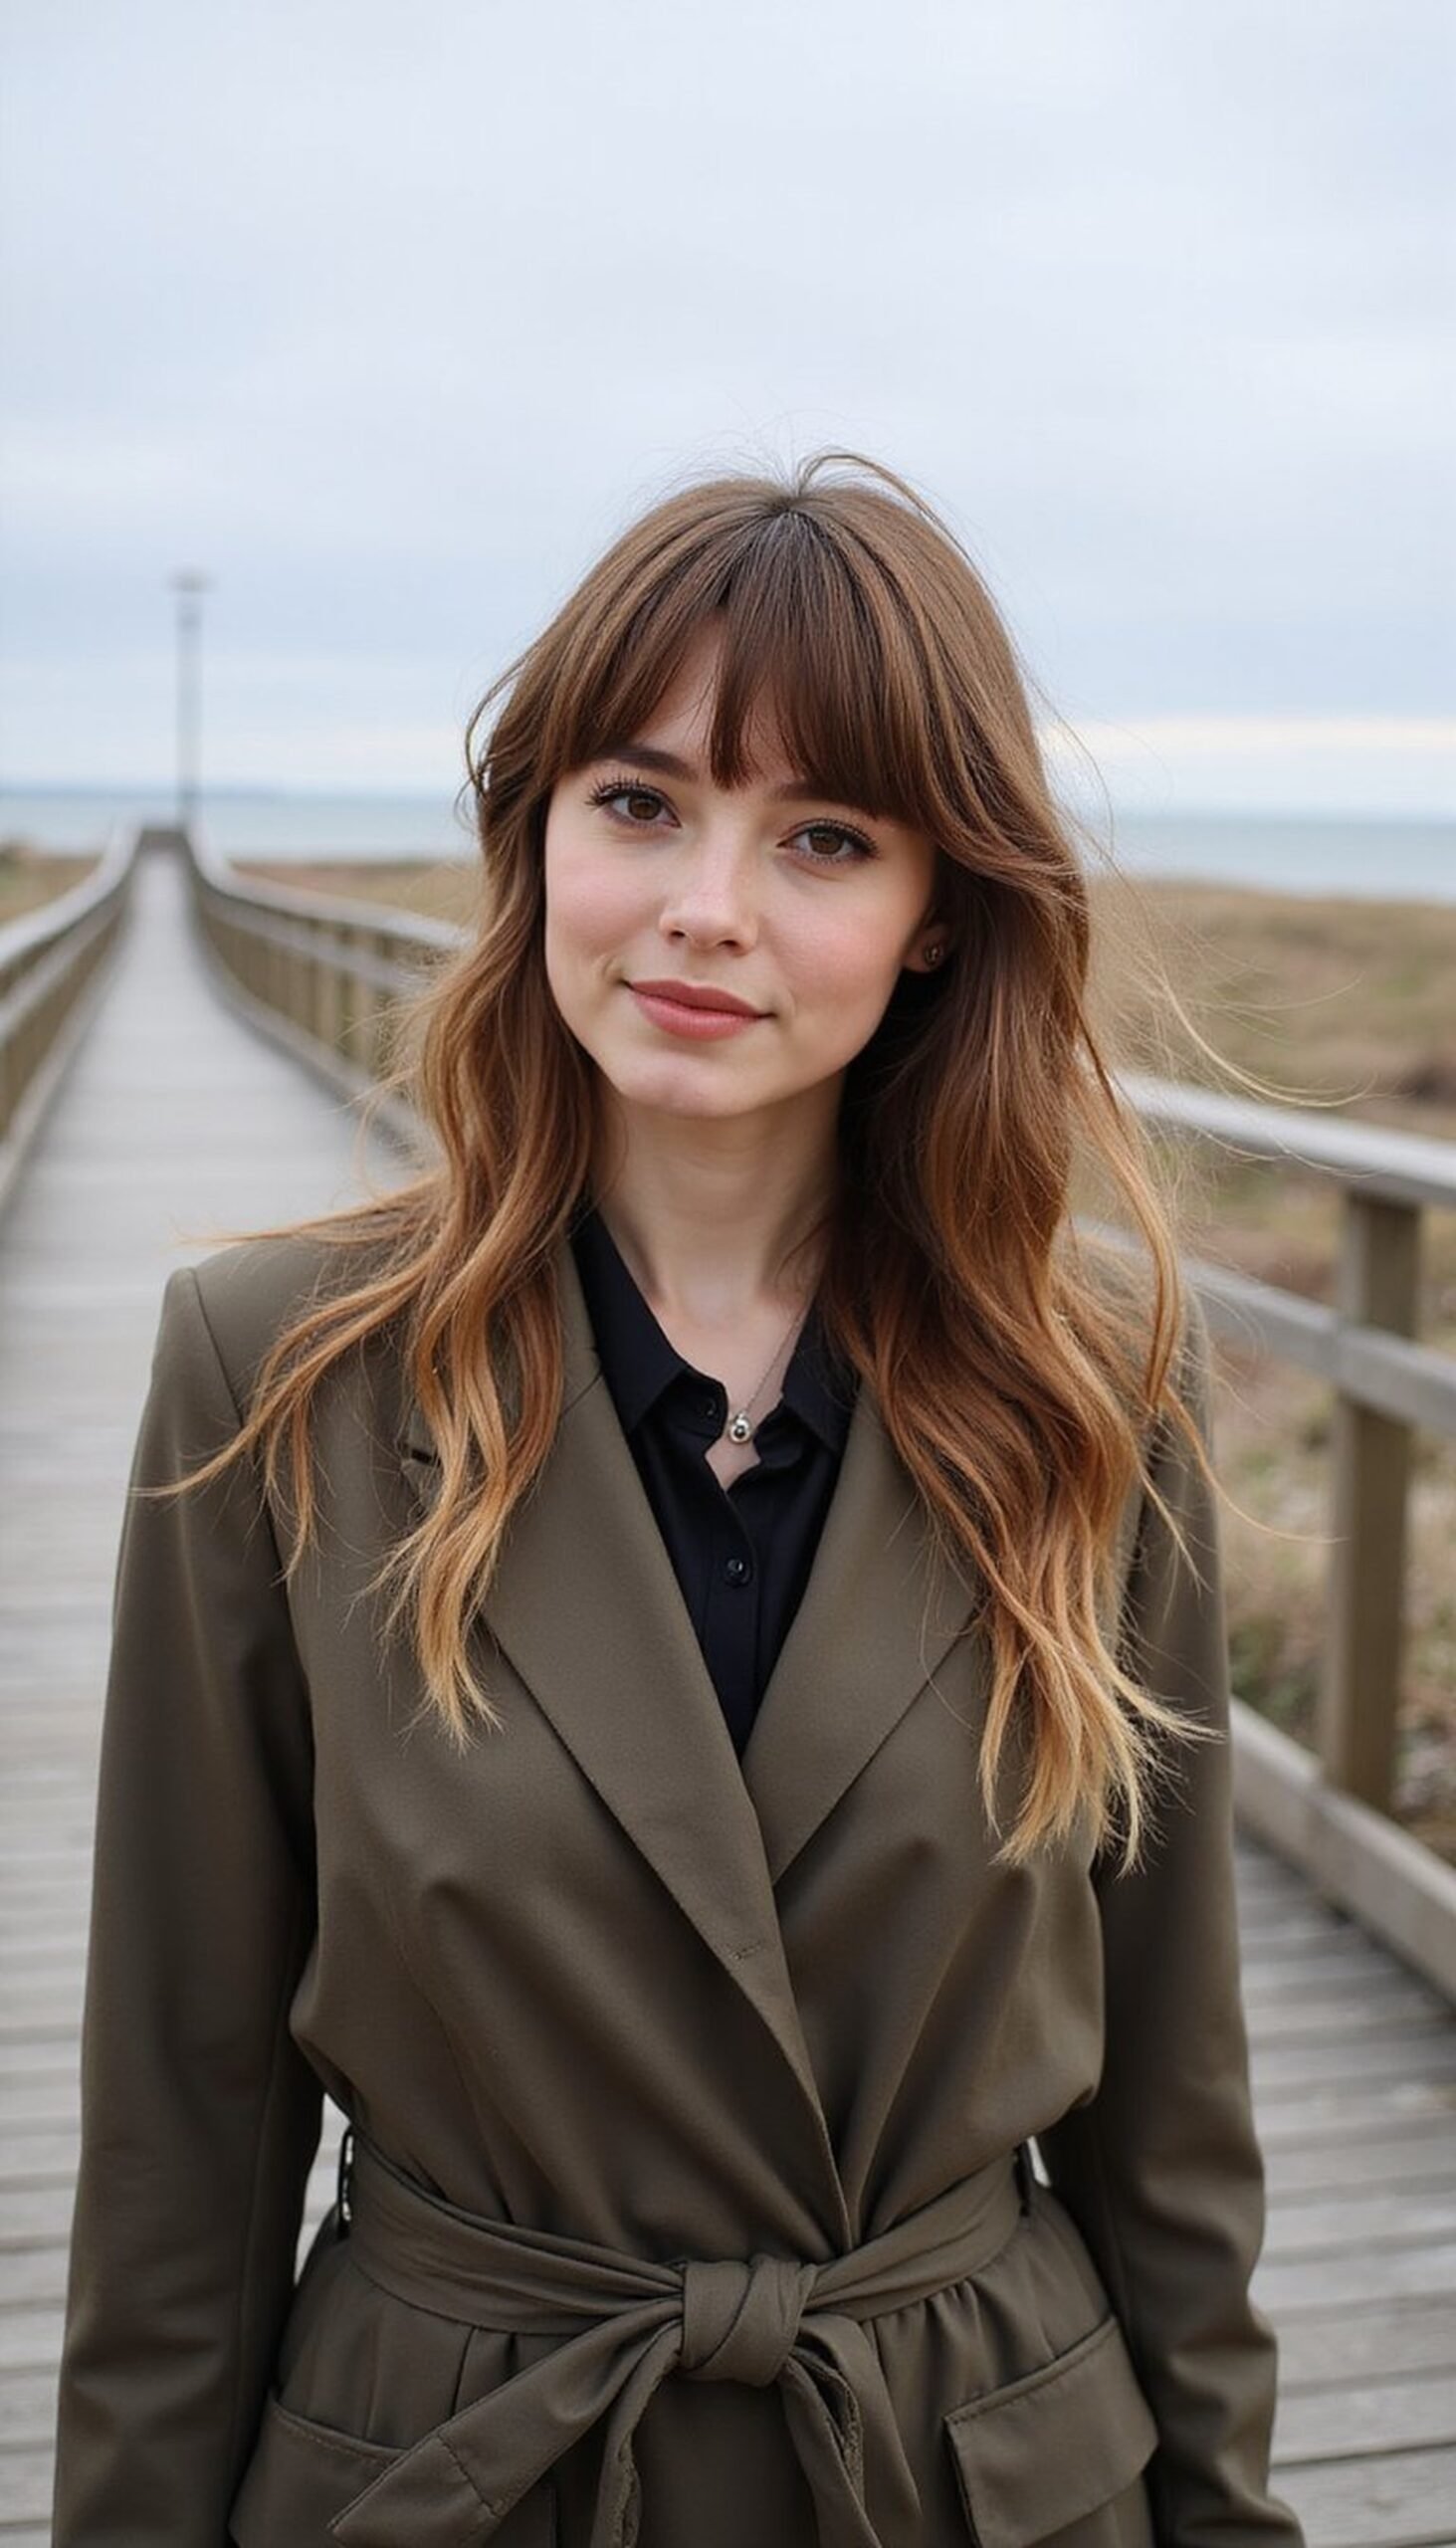
Textured Lob Tousle For Beachy Afternoon Vibes
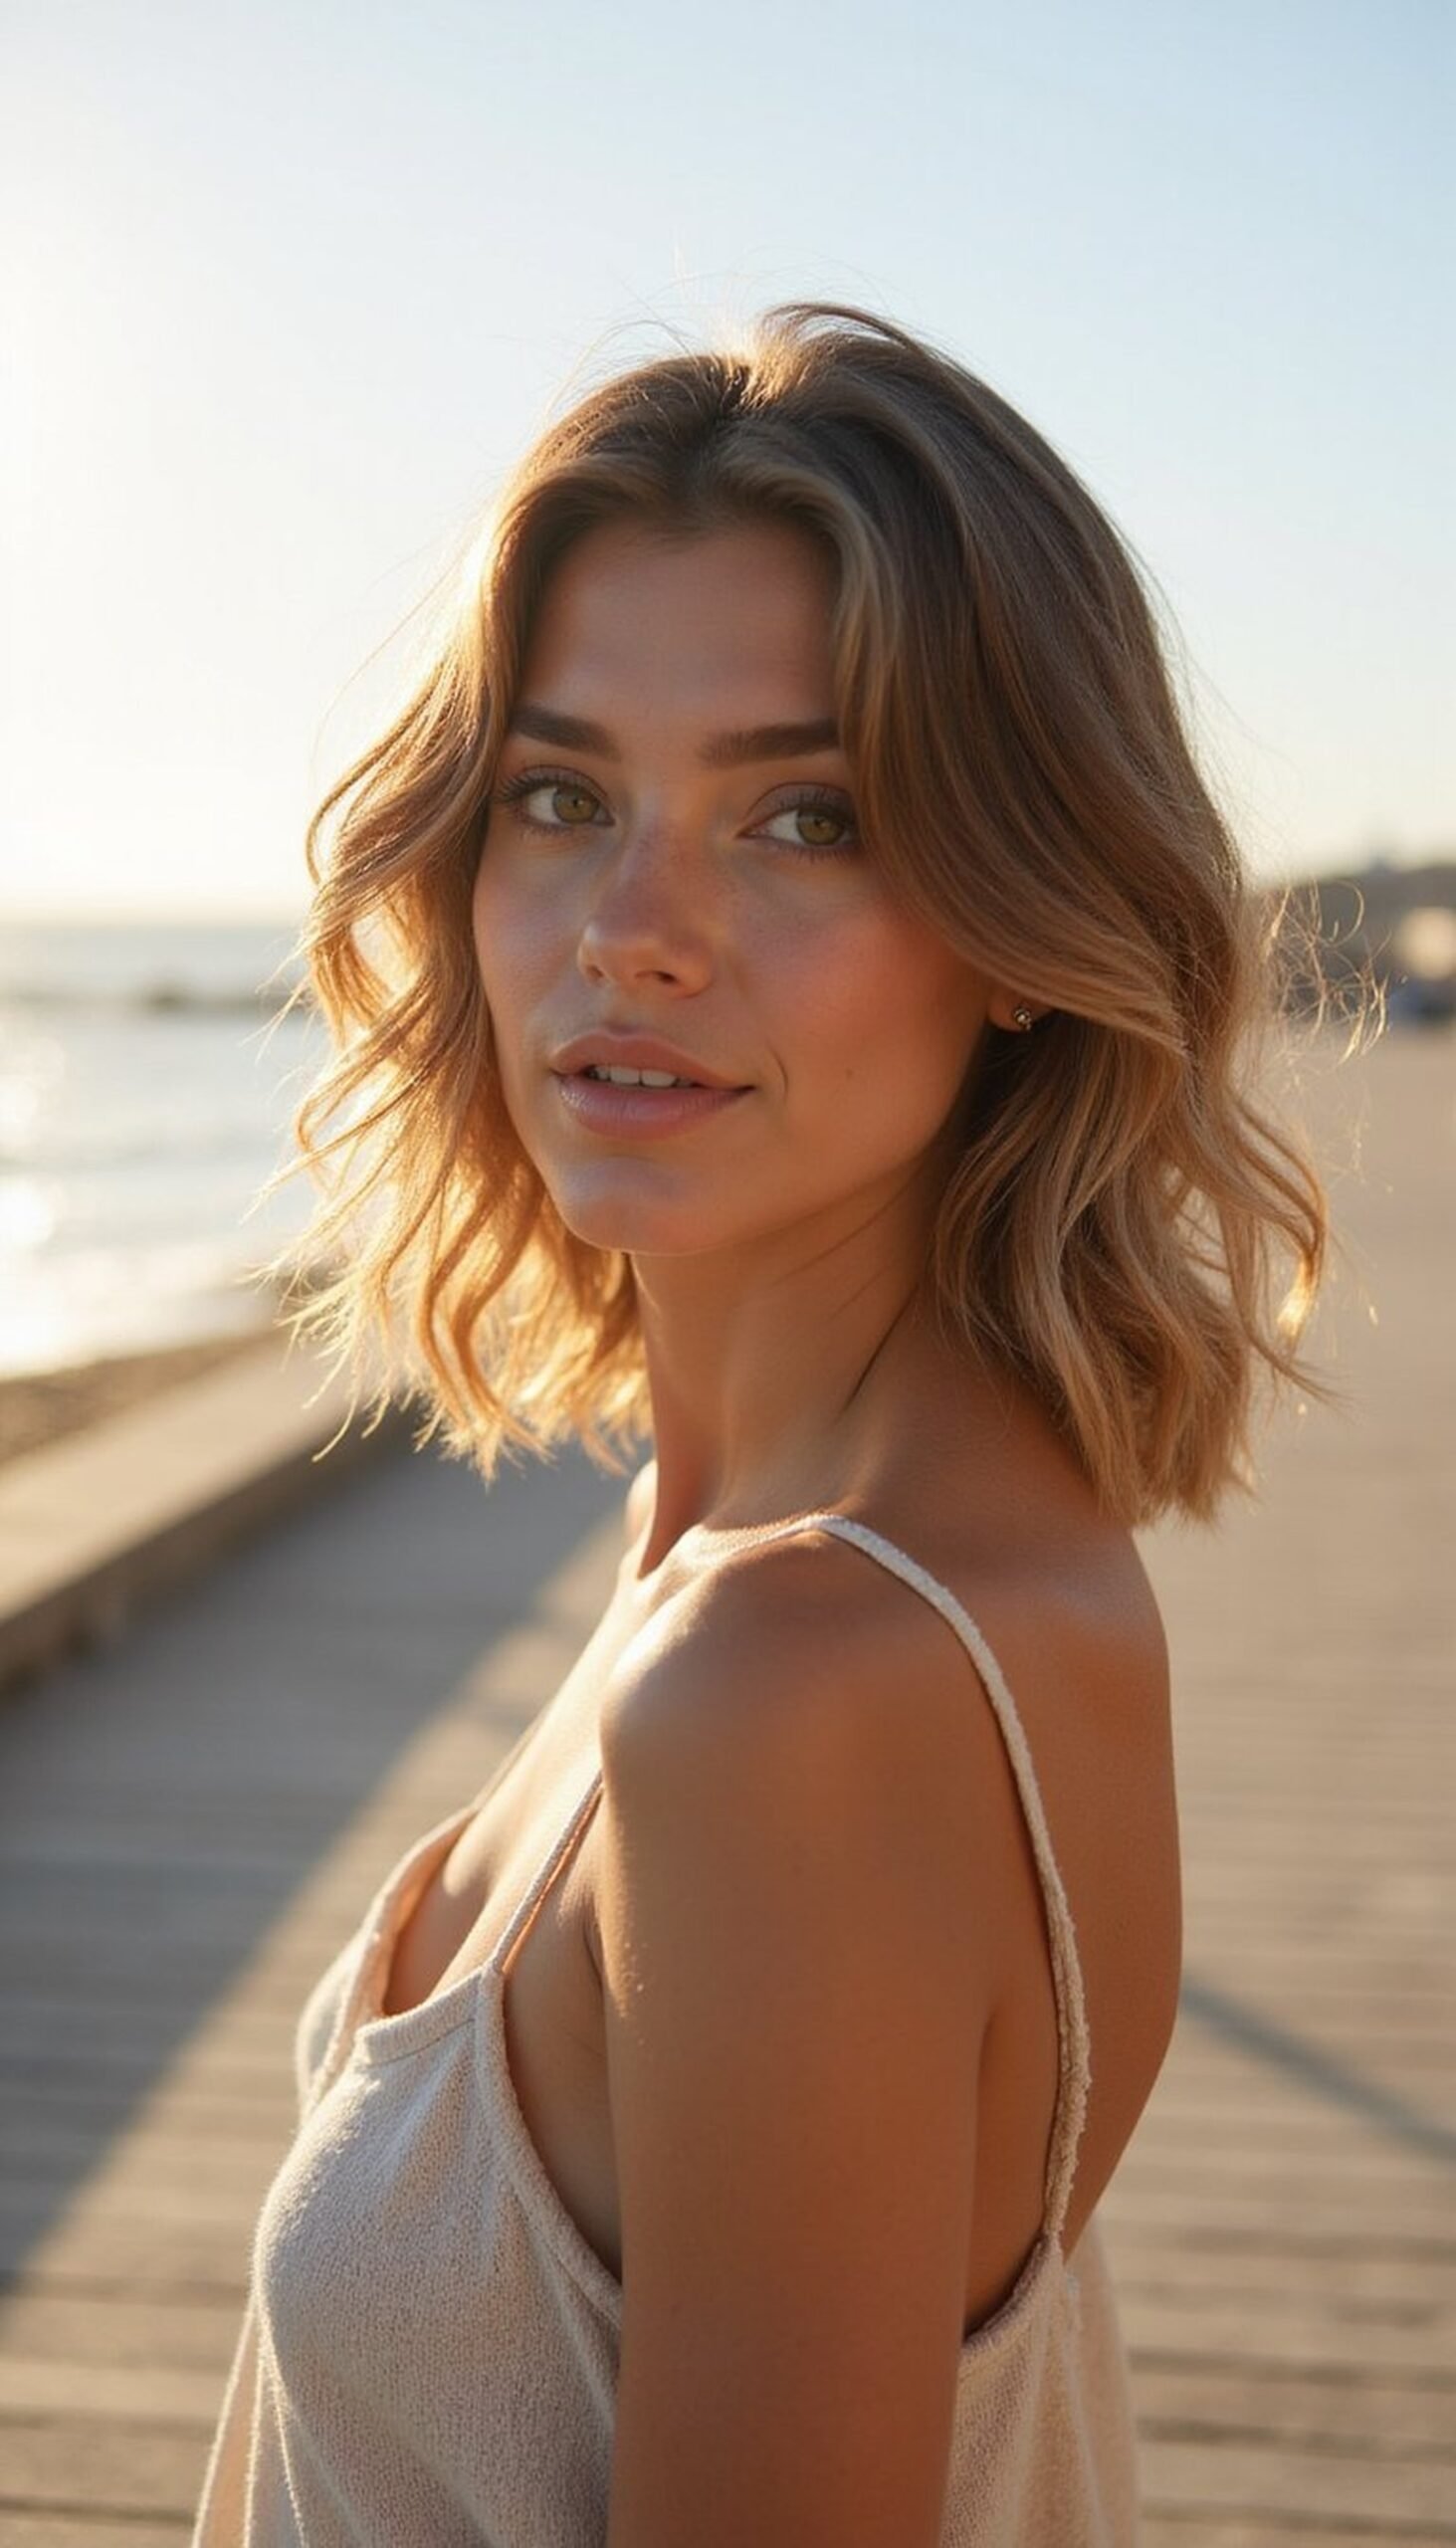
The textured lob tousle is effortless and breezy for beach afternoons. Add soft waves with a large-barrel iron or braid damp hair overnight for heat-free waves, then tousle with fingers and a bit of texturizing spray. This look frames the face and moves naturally in ocean breezes. It’s low-maintenance but camera-ready, perfect for pairing with casual sandals and a flowy cover-up. The lob length keeps hair from tangling too much in wind while still offering movement and a relaxed silhouette.
Styling Tips
- Use salt spray on mid-lengths to ends for added texture and separation.
- Finger-tousle rather than brush to keep waves alive and piecey.
- Apply a light heat protectant if using hot tools for waves.
Wet-Look Slicked Back Style For Night
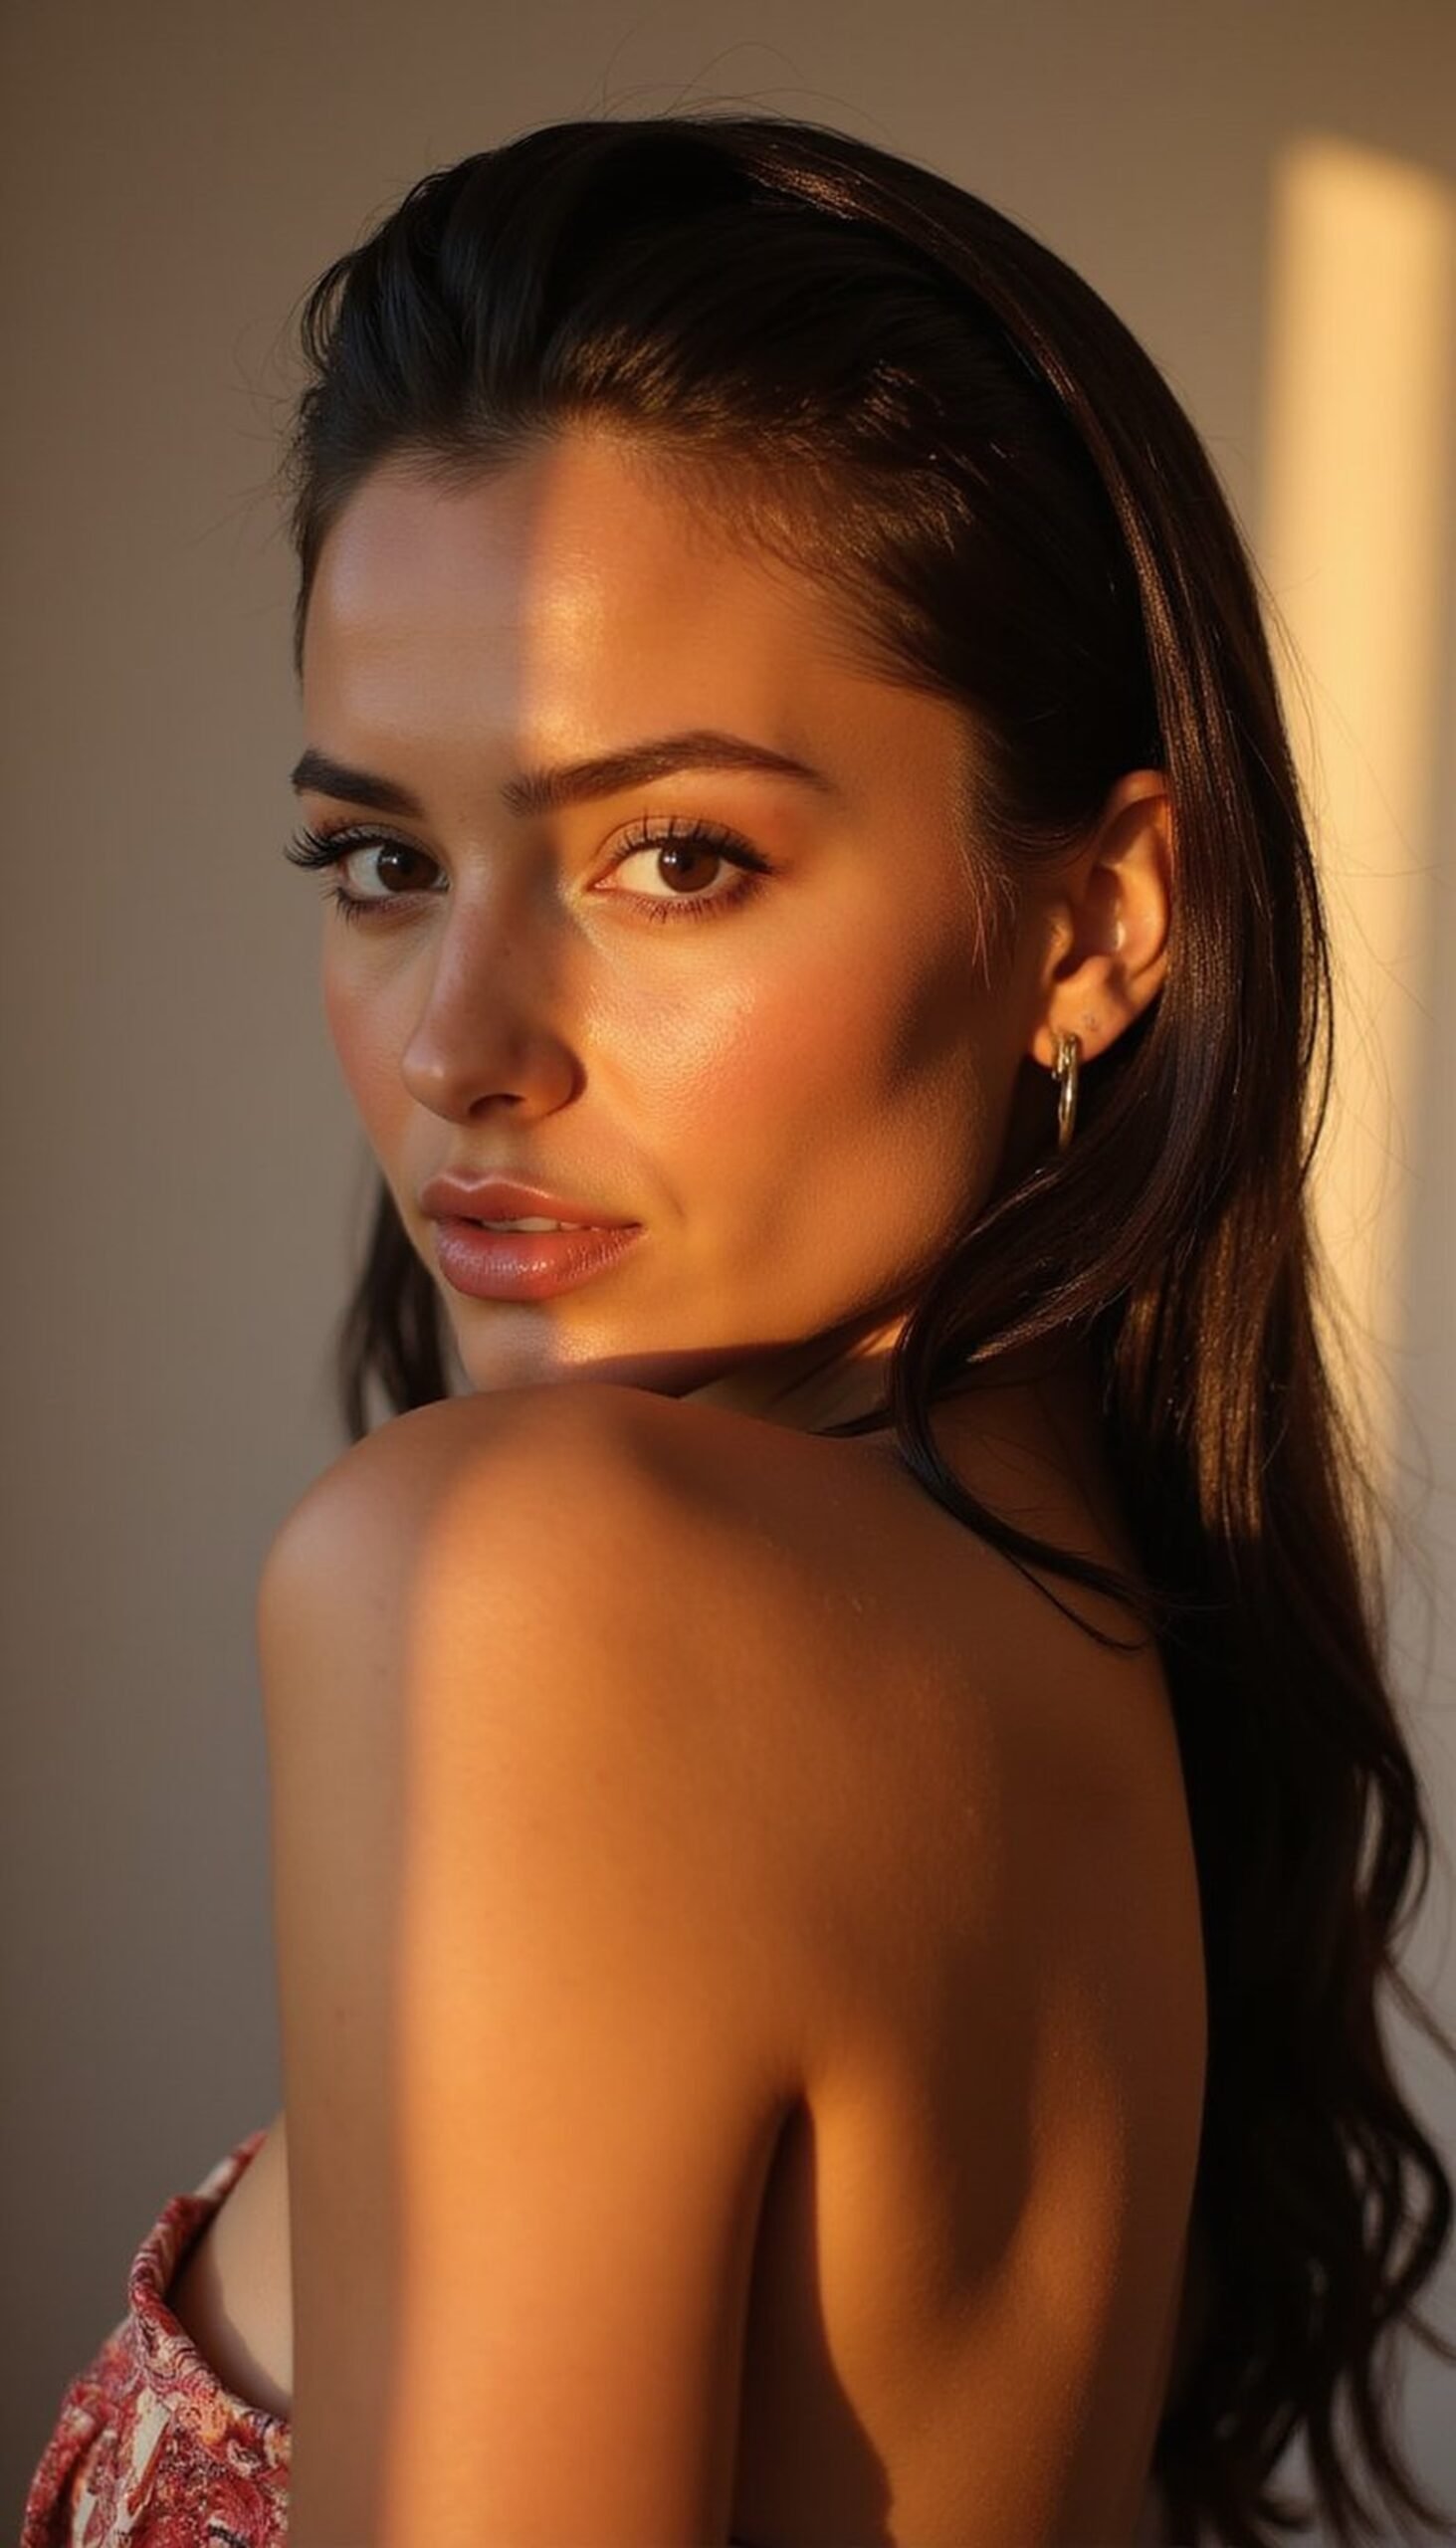
The wet-look slicked back style brings high-glam energy to spring break nights. Apply a generous amount of shine gel or pomade to damp hair and comb straight back, securing into a low pony or leaving it loose depending on preference. The glossy finish catches lights at evening events and pairs well with statement earrings. This style creates a modern, runway-ready silhouette while keeping hair away from the face, and it transitions effortlessly from dinner to dancing without needing a mirror touch-up.
Styling Tips
- Work product through hair in sections for even sheen and hold.
- Choose a non-greasy gel for a wet look that still feels wearable.
- Finish with a light mist of hairspray to lock everything in place.
Knotted Low Bun With Twisted Side Details
The knotted low bun feels romantic and secure for breezy spring break plans. Start with a low ponytail, loop it into a loose knot, and pin in place. Create two small twisted sections from each side and weave or pin them around the knot for a boho touch. Pull a few wisps loose to soften the look. This style pairs beautifully with floral clips or small accessories and holds up during windy outings or seaside dinners while maintaining a relaxed, intentional finish.
Styling Tips
- Loosely secure the knot first, then adjust for symmetry before pinning.
- Use flexible-hold pins to keep the bun comfortable all day.
- Add a spritz of flexible-hold spray to reduce flyaways without stiffness.
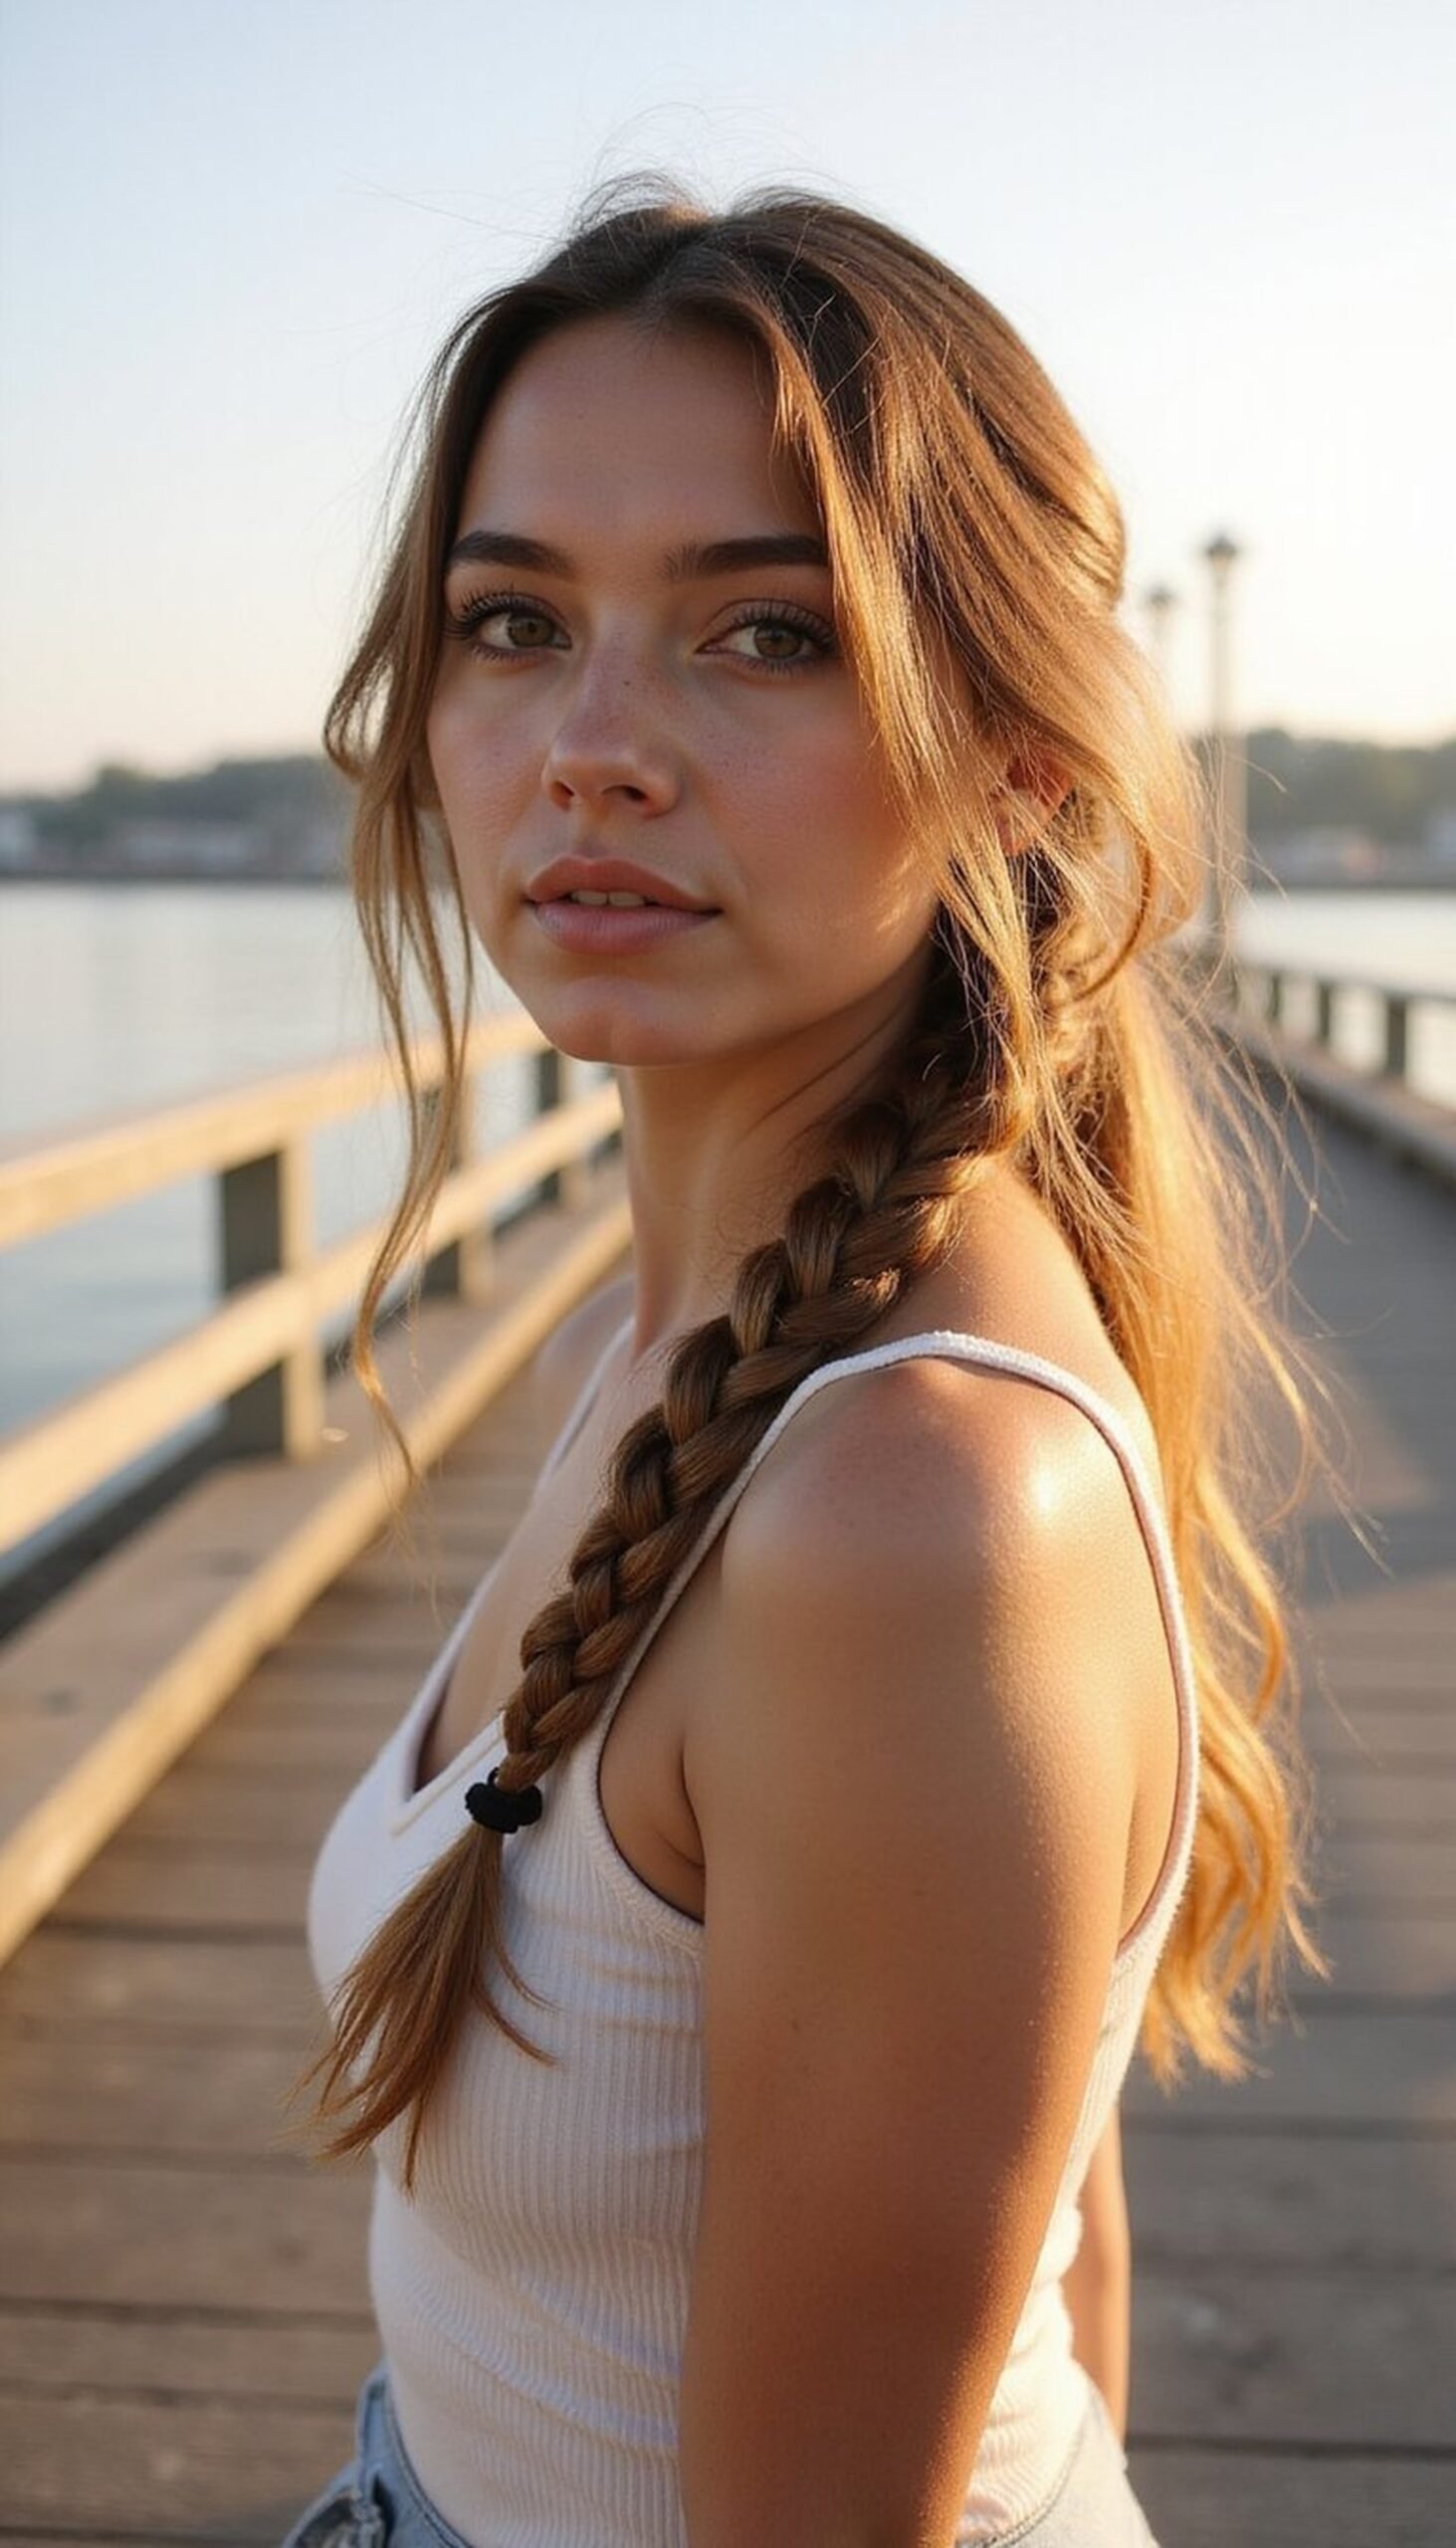
Braided Ponytail With Loose Wave Ends
The braided ponytail combines polish and beach texture into one easy style. Start with a mid-to-high ponytail, braid the length and secure the end, then tug pieces for fullness. Release the last few inches and curl or wave them for playful movement. This hybrid keeps hair controlled during activities but still reads relaxed and photo-friendly. It’s adaptable for longer lengths and looks great with statement hair ties or wrapped sections, giving an elevated finish that still feels casual for daytime exploring.
Styling Tips
- Prep ponytail with light texturizer for added grip while braiding.
- Pancake braid sections to add width and dimension.
- Curl ends with a large-barrel iron for soft wave contrast.
Bubble Ponytail For Playful Poolside Photos
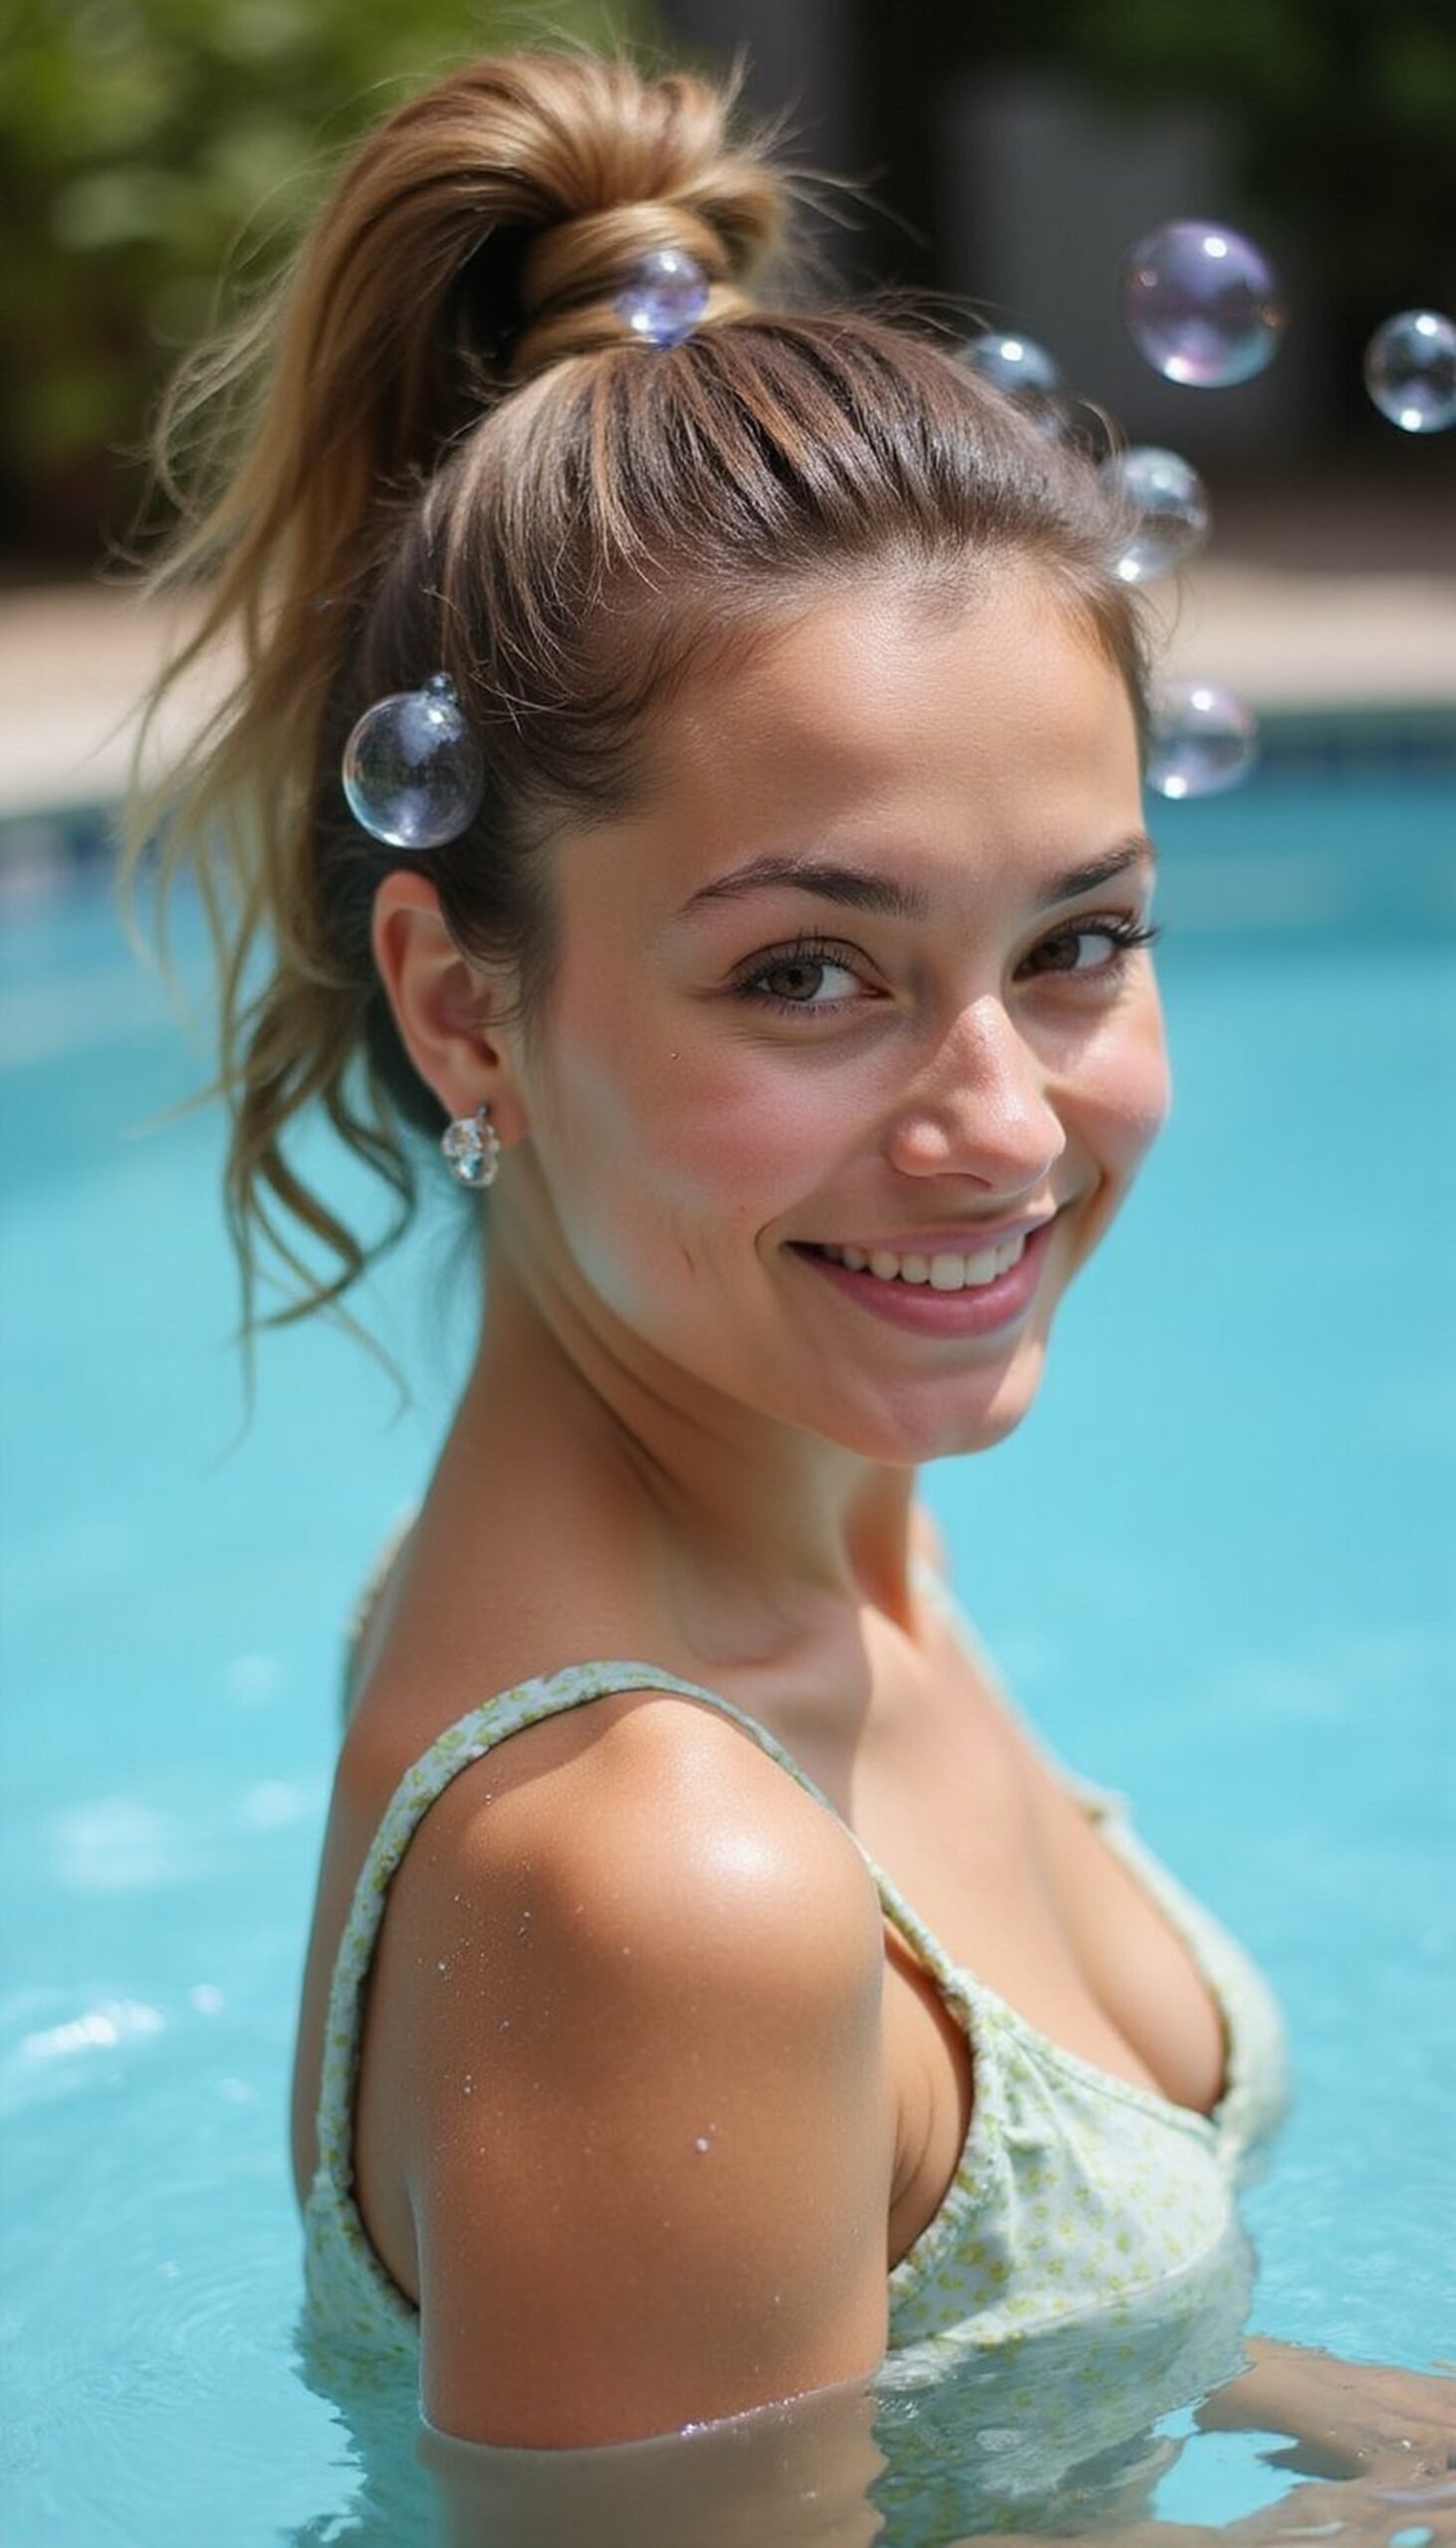
The bubble ponytail is playful, photogenic, and simple to create. Pull hair into a mid-height ponytail, then add clear elastics every few inches down the length, gently tugging between elastics to create rounded bubbles. For added texture, tease slightly or spray with texturizer before creating sections. The bubbly shape looks great in motion and keeps hair tidy for poolside lounging or active beach games. It’s a fun upgrade from the classic ponytail and works on straight, wavy, or curly hair.
Styling Tips
- Use clear elastics or color-match ones for a sleek look.
- Gently loosen each bubble to reach a uniform, rounded shape.
- Add a bit of shine serum to ends for a polished finish.
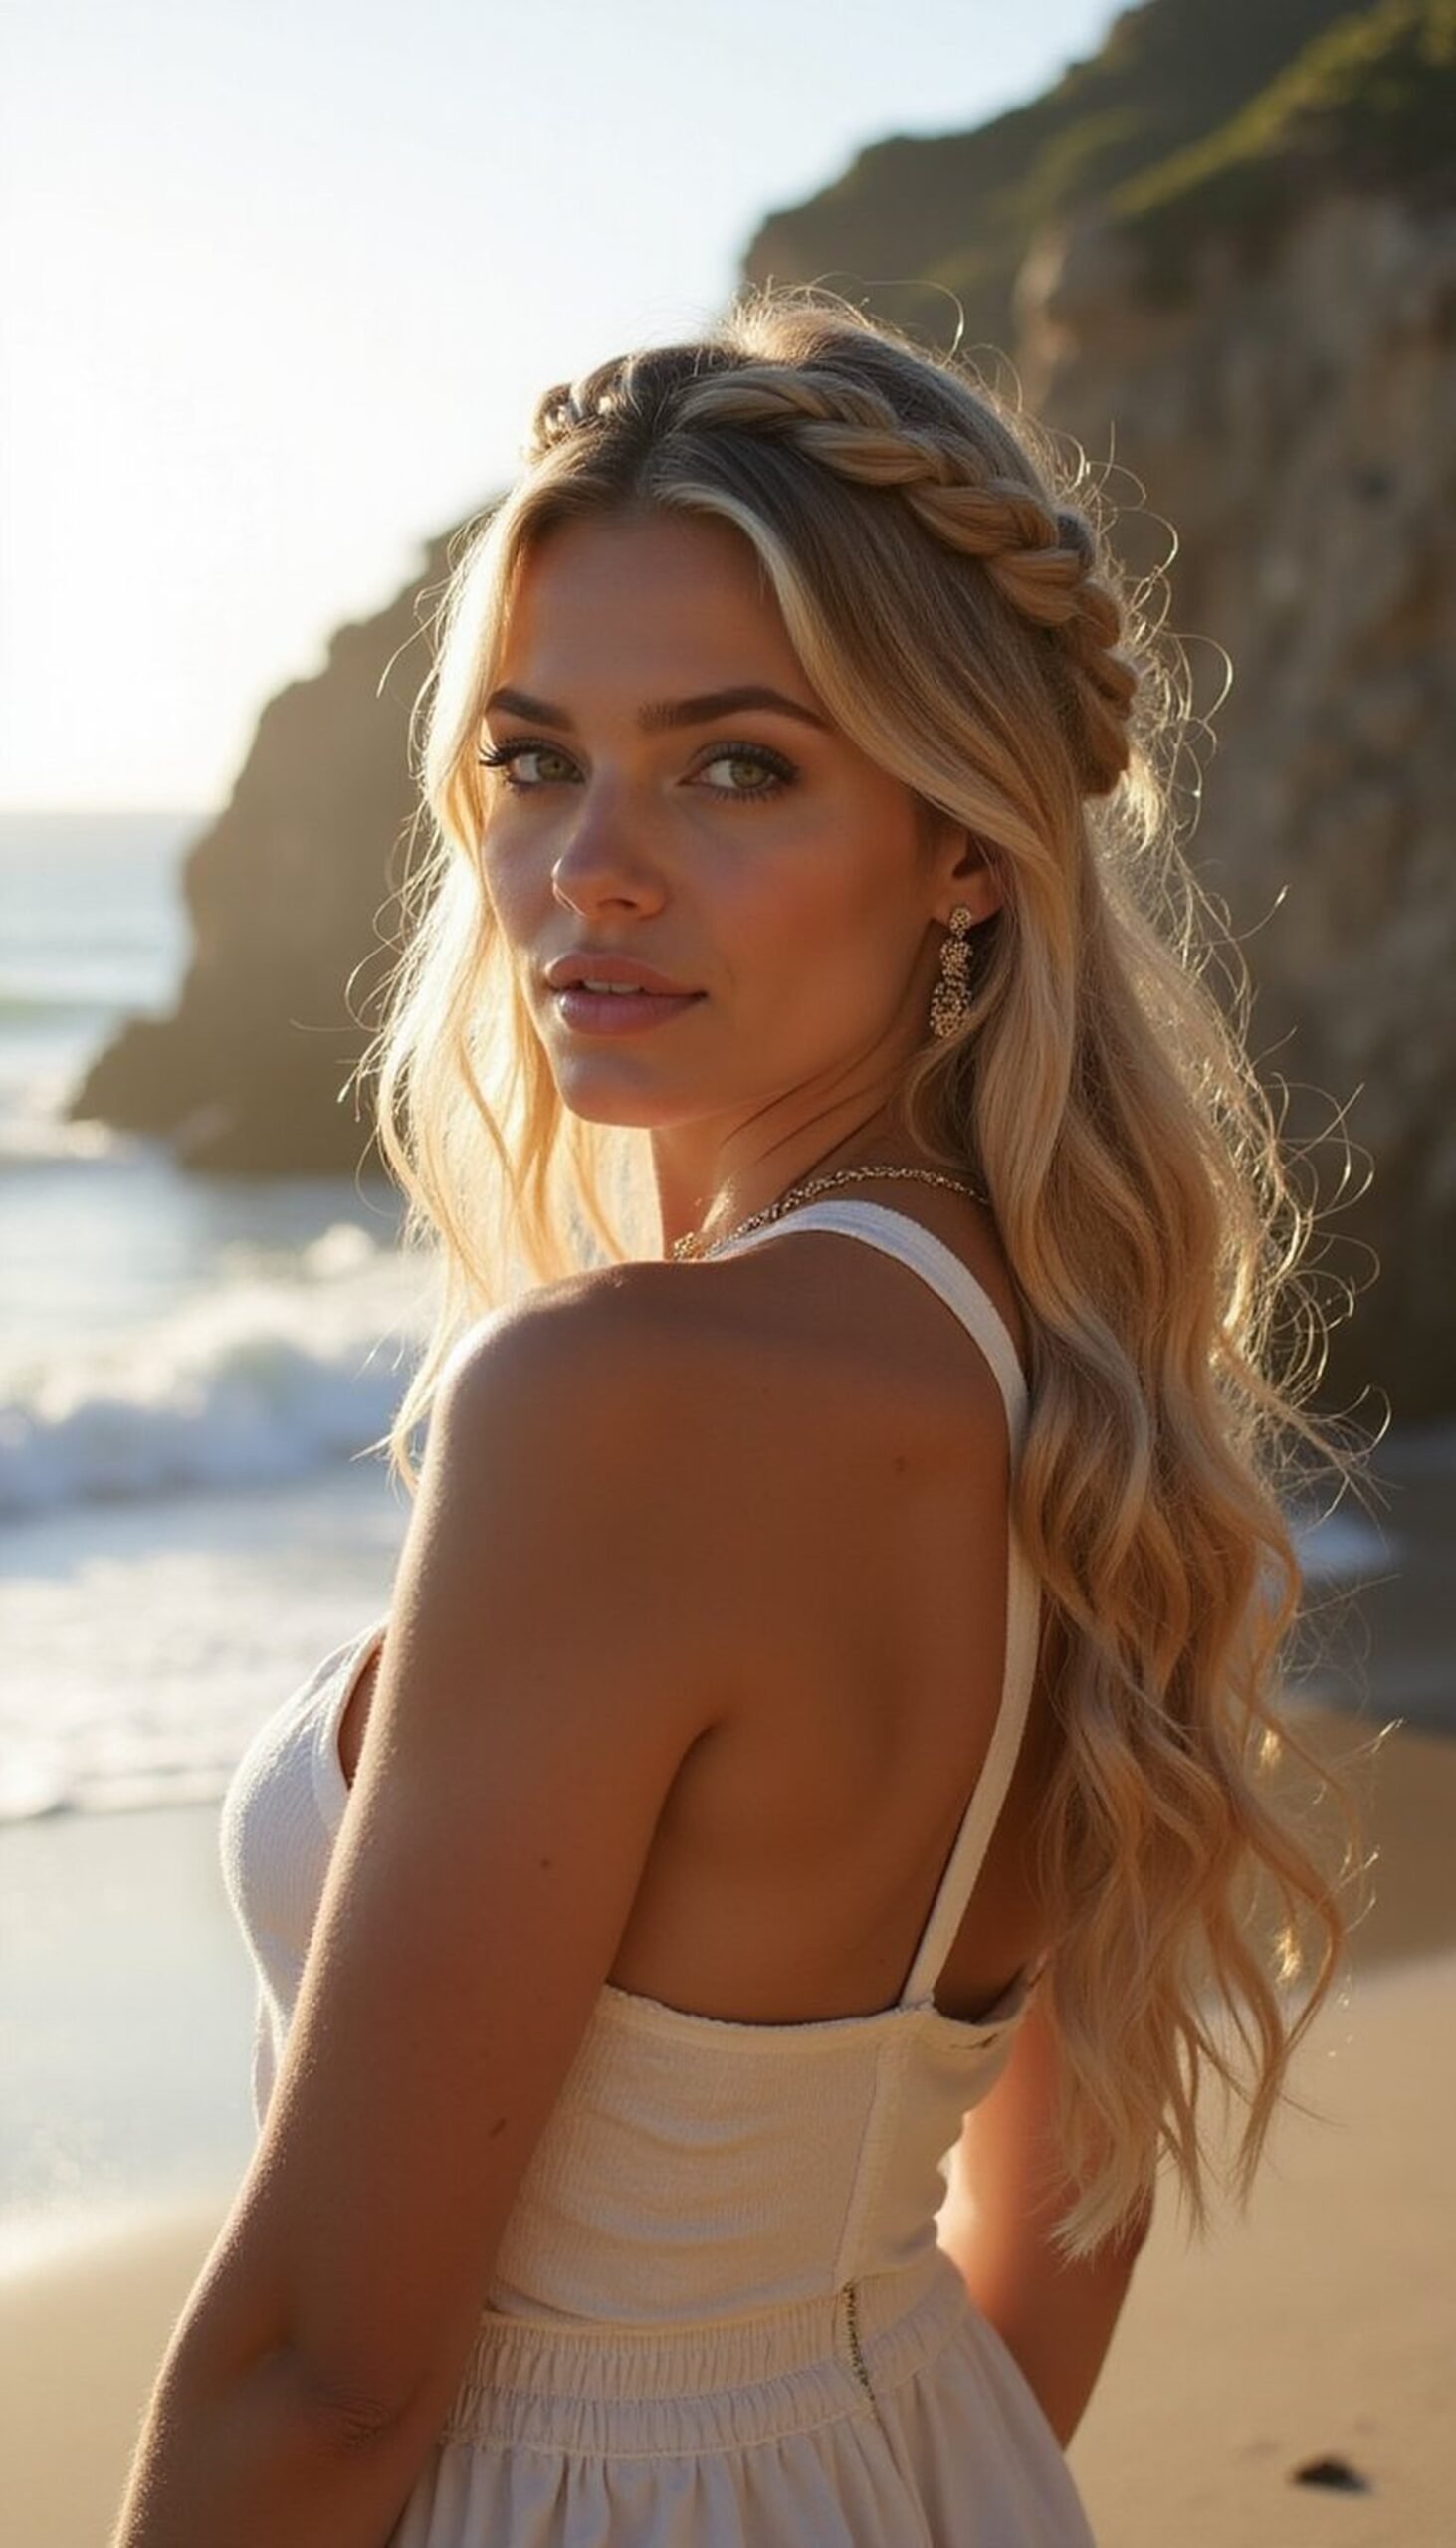
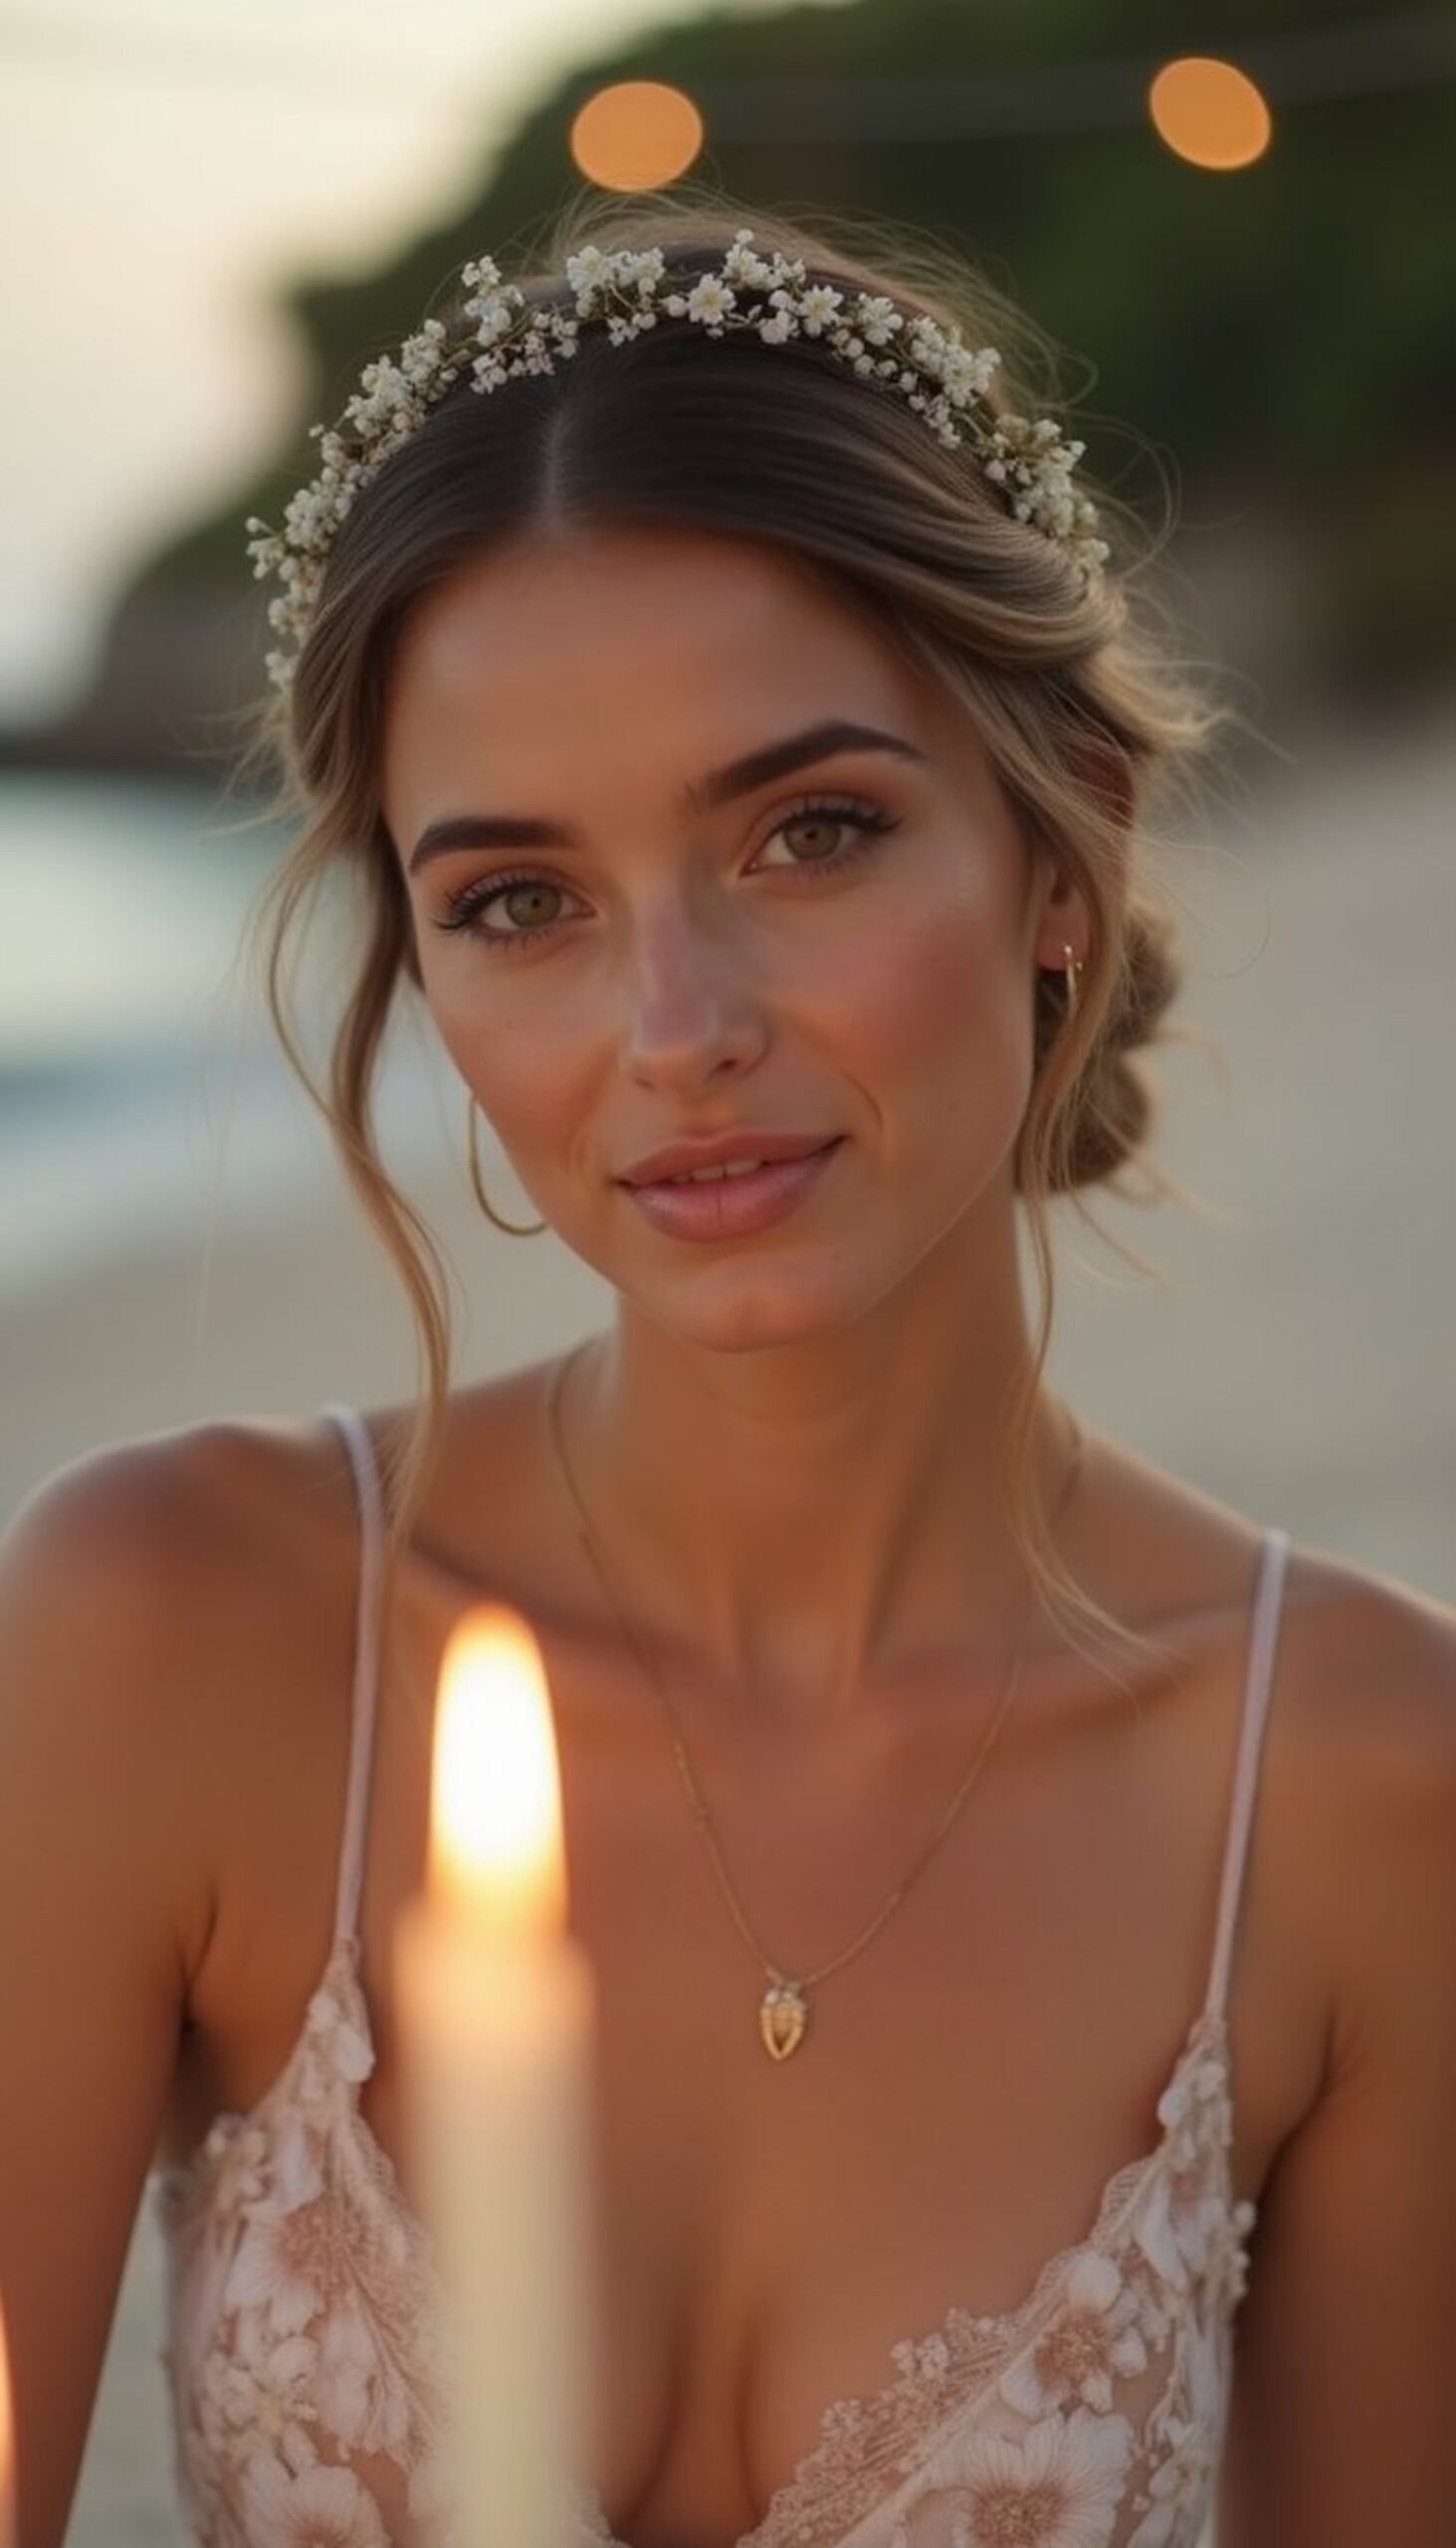
Bandana Crown Braid For Easy Sun Days
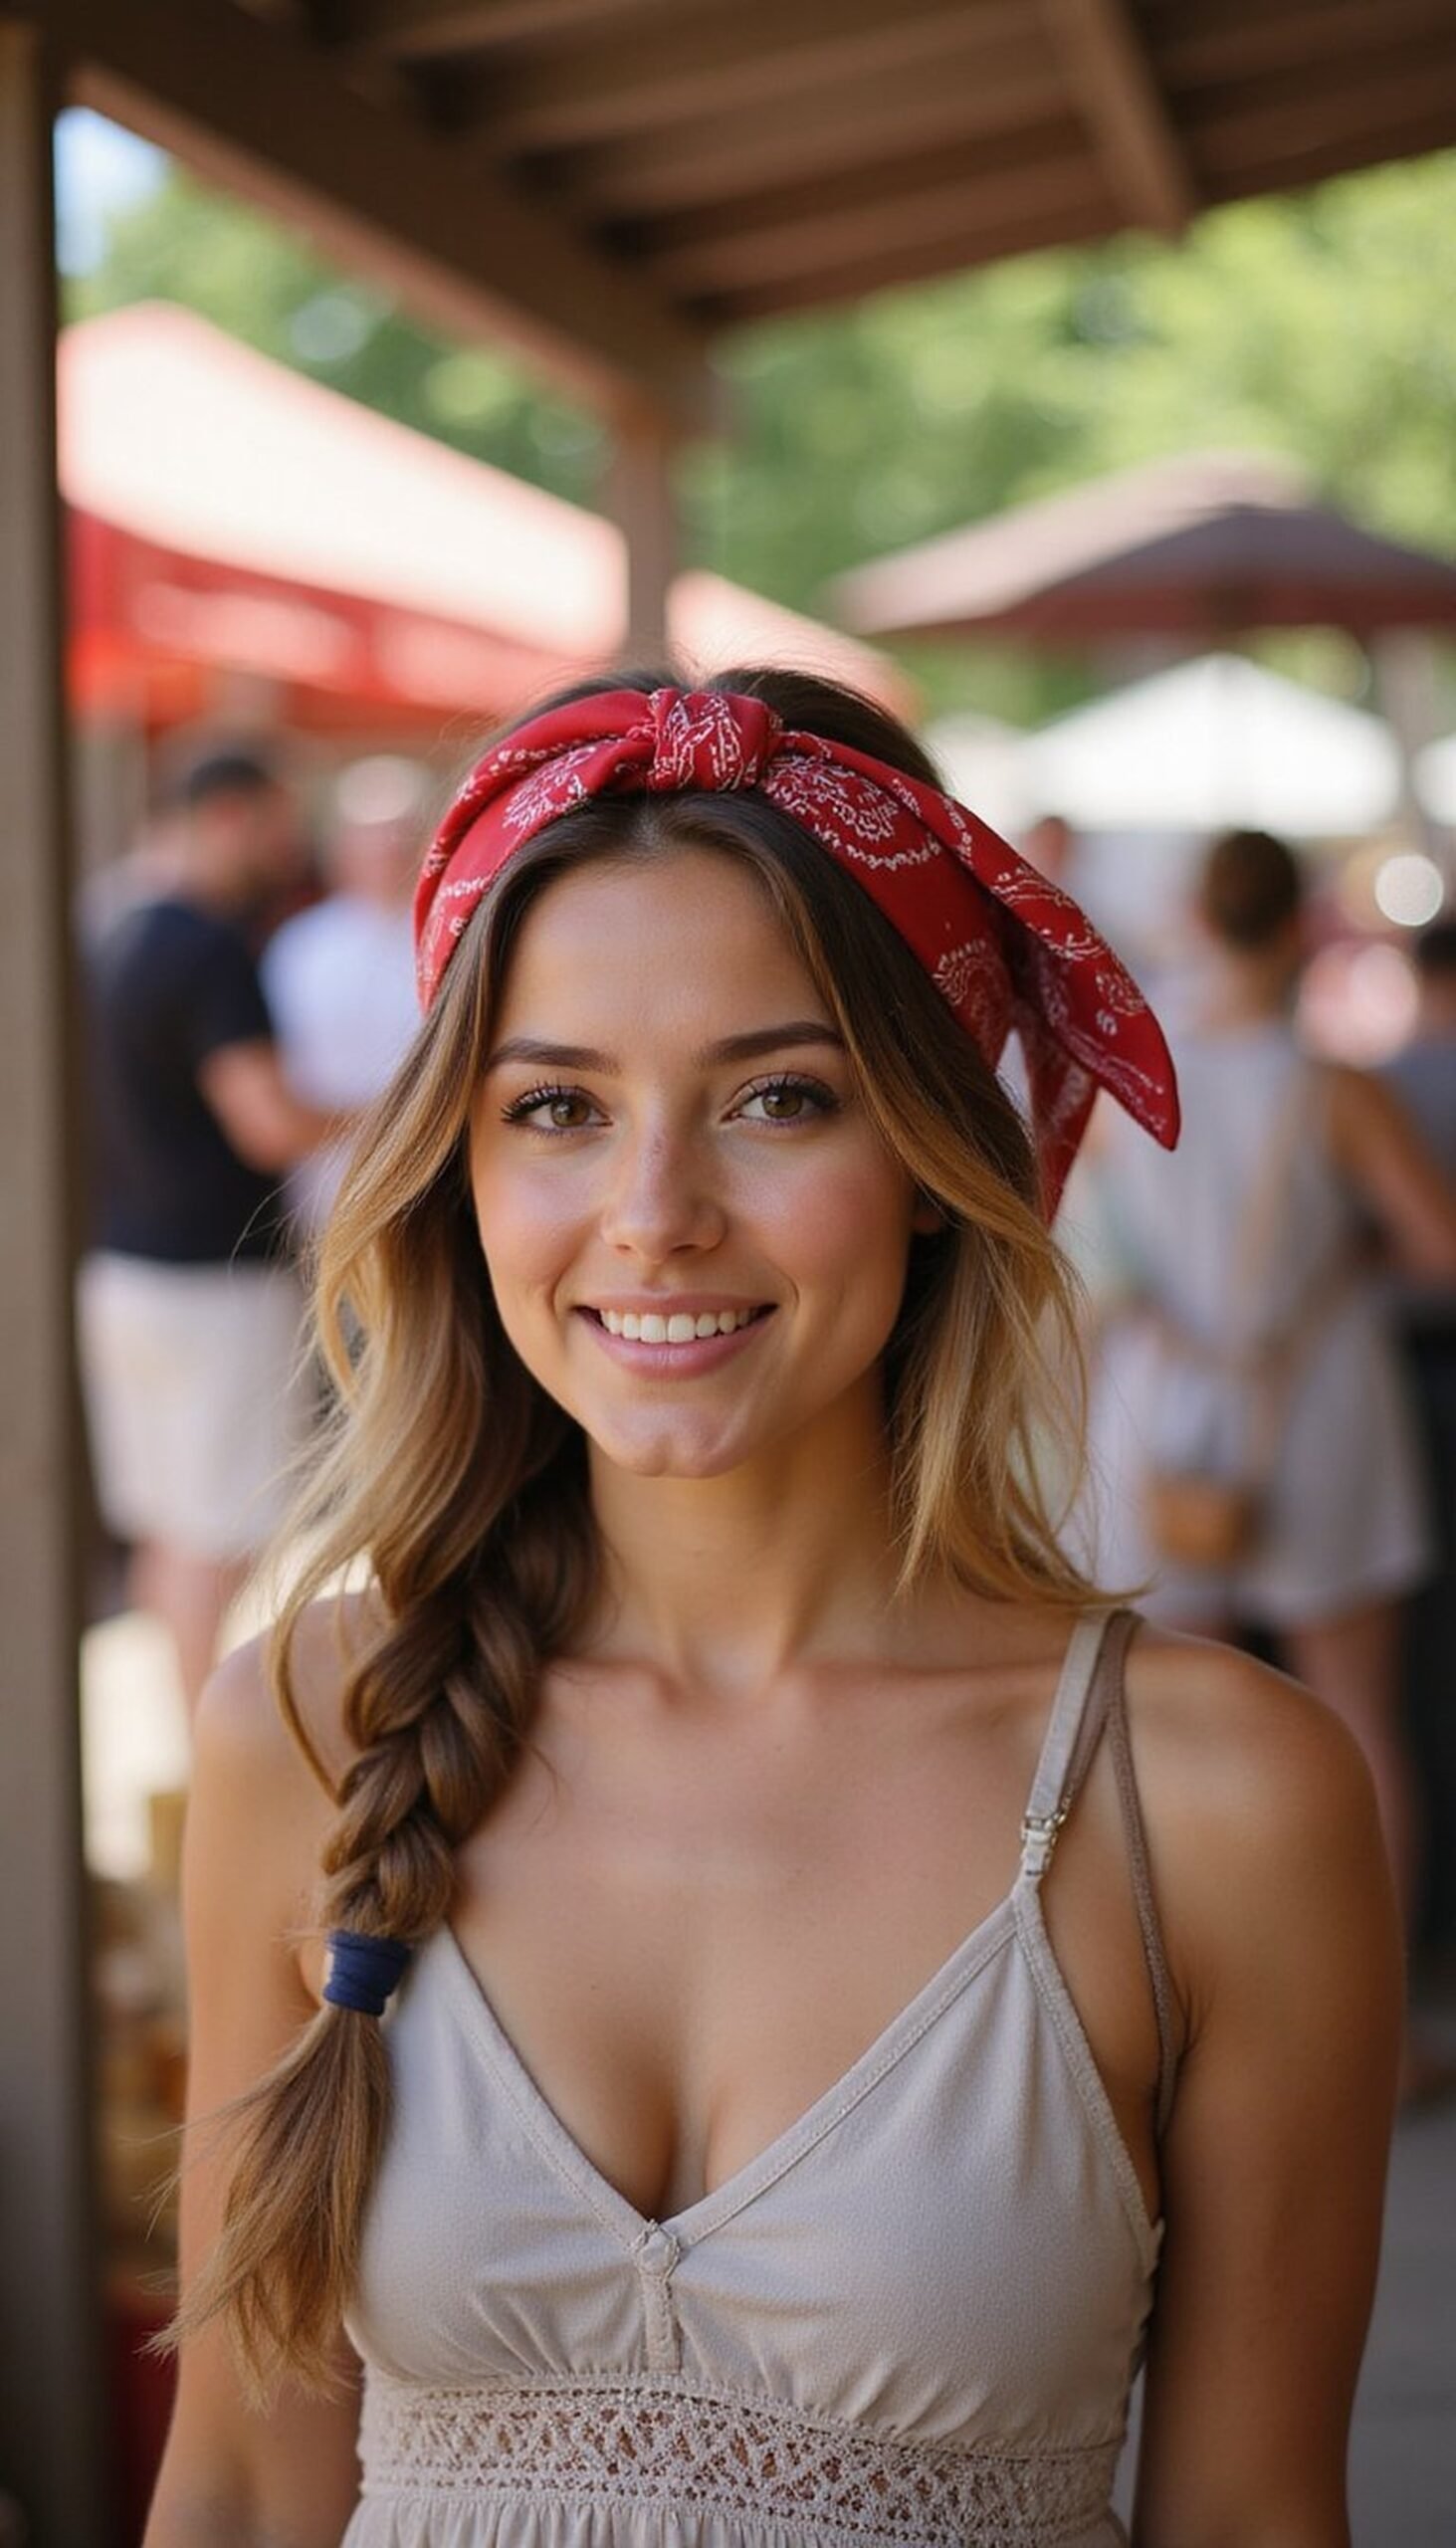
The bandana crown braid adds color and keeps hair manageable under the sun. Fold a bandana into a long strip, place it at the nape, and braid hair over it toward the front, securing at the top or tucking the ends. The fabric acts as both an accessory and a gentle hold for the braid. This style is lightweight, breathable, and ideal for beach walks or market stops. It also creates a pretty frame for sunglasses and can be paired with loose waves or a straight finish.
Styling Tips
- Choose a cotton bandana that complements your outfit and skin tone.
- Keep braid loose for a soft, bohemian crown effect.
- Secure the bandana ends discreetly under the braid for a neat finish.
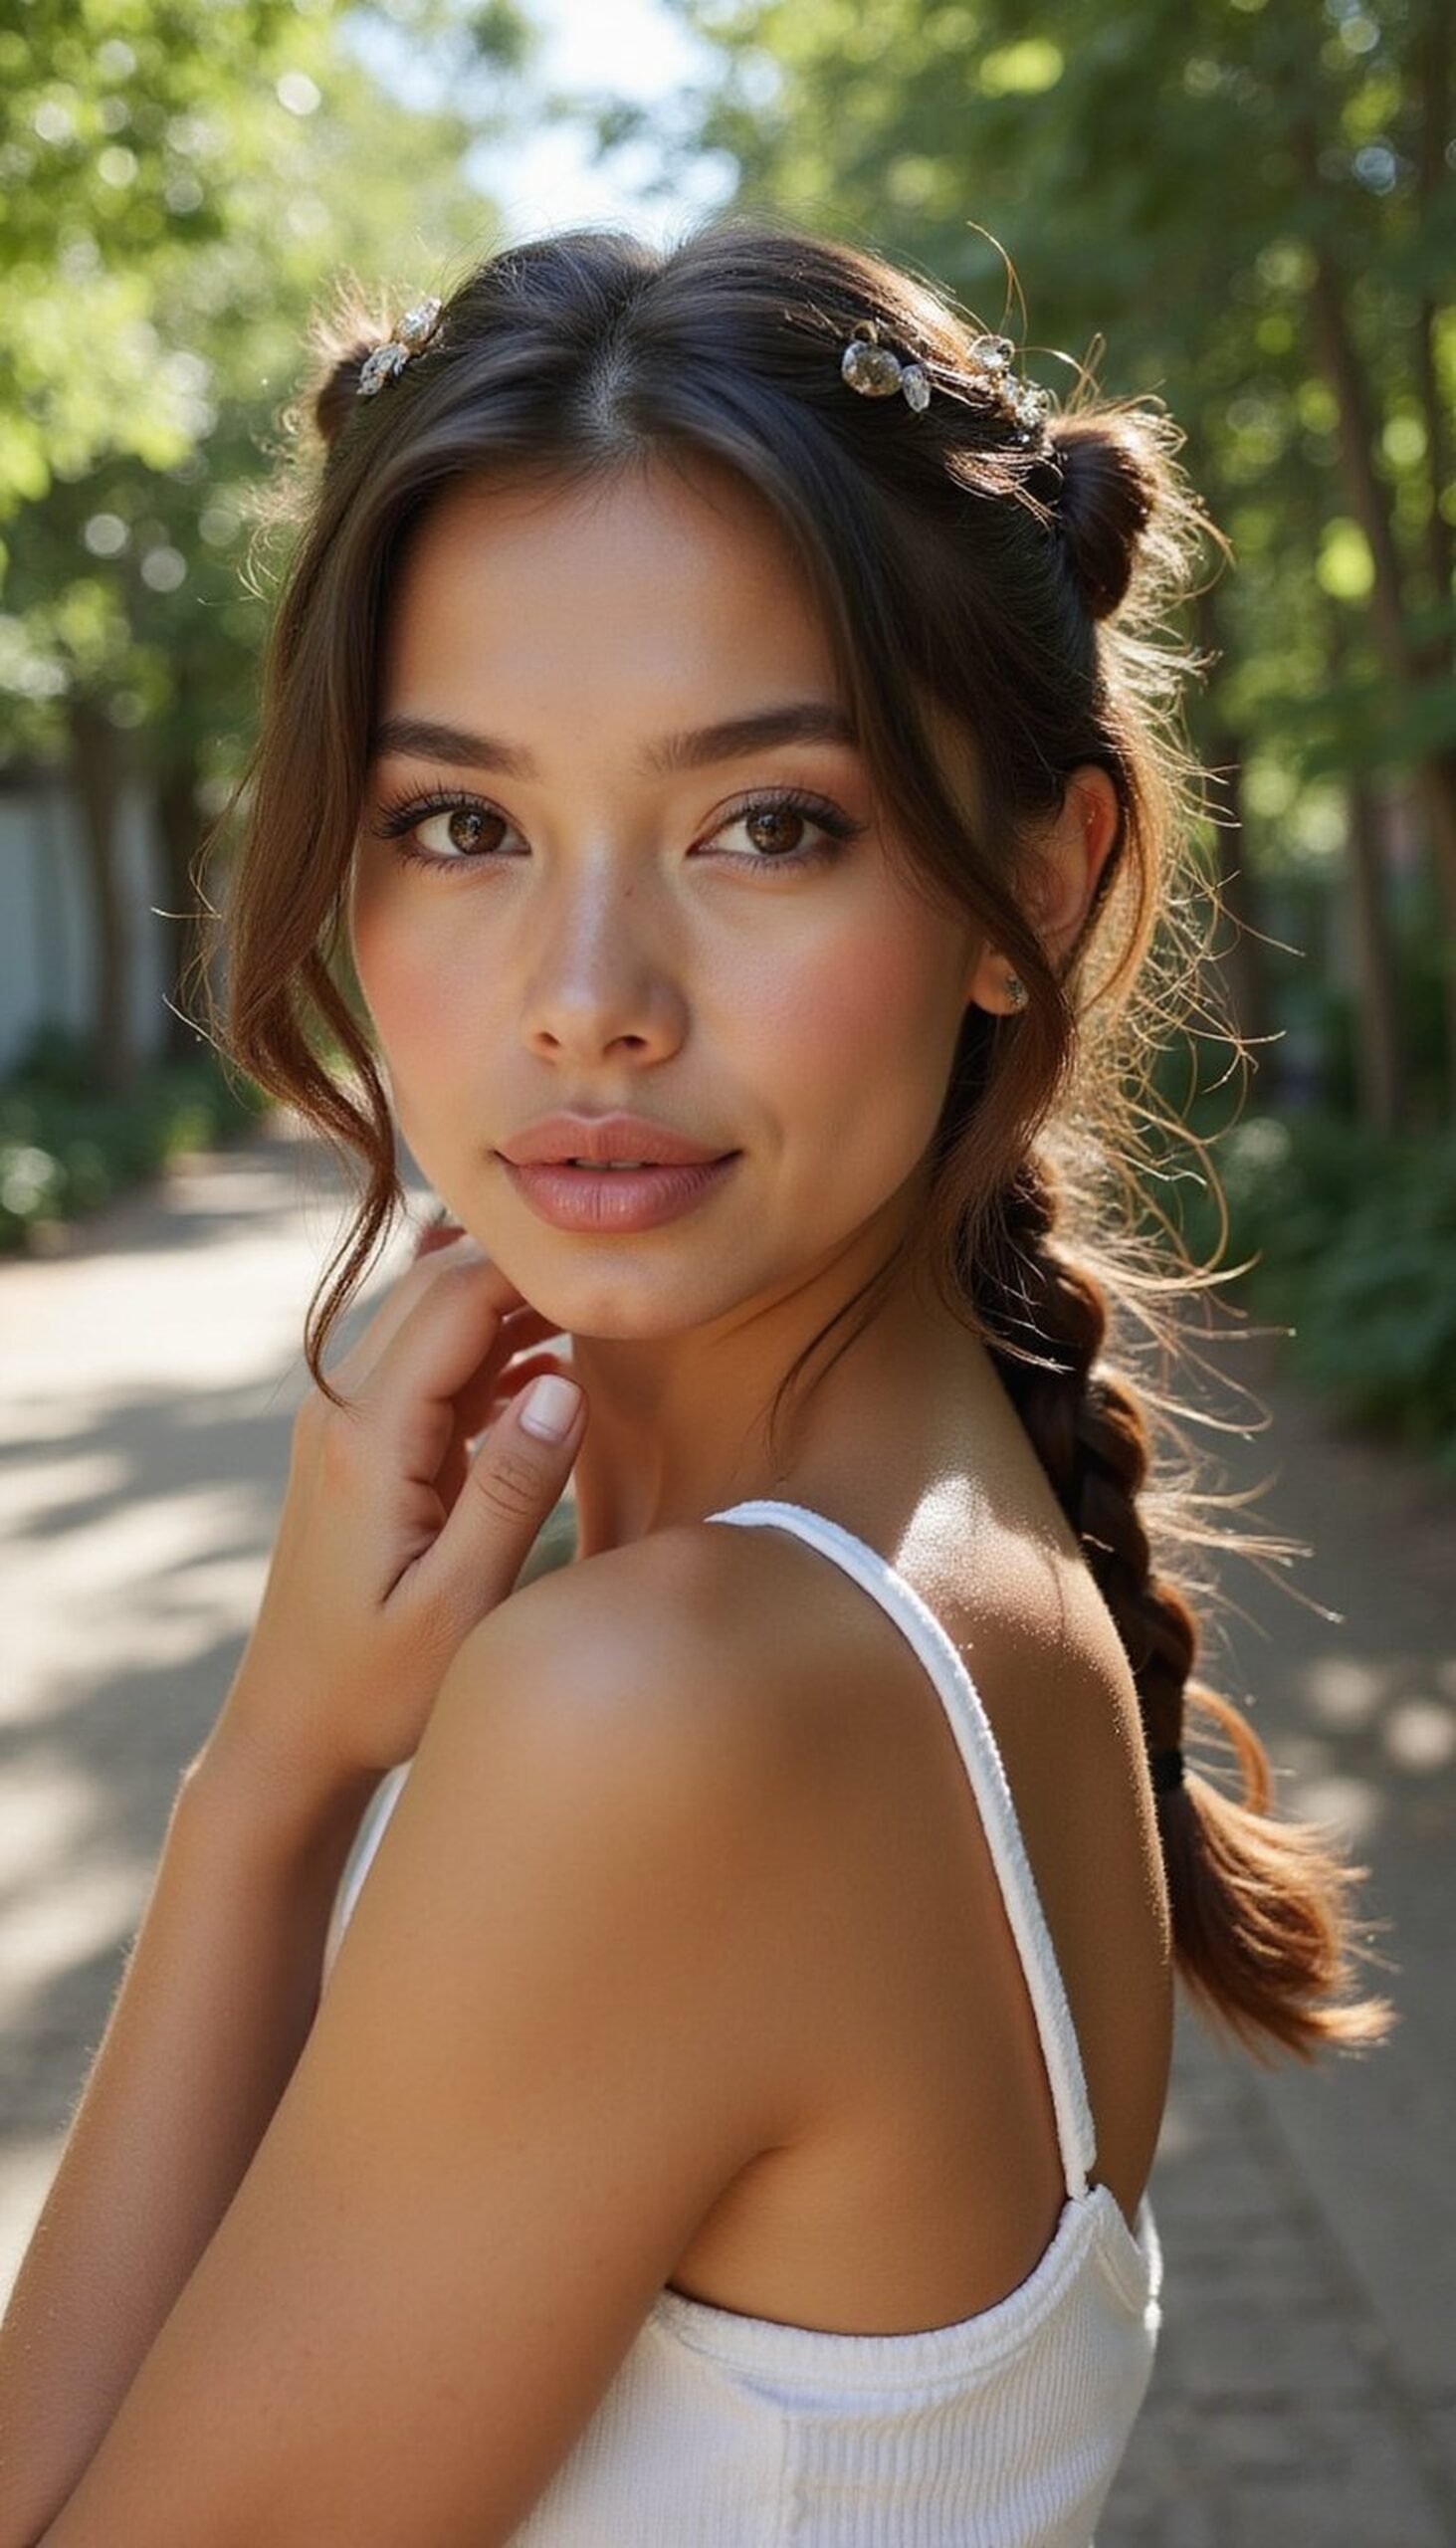
Rope Twist Updo With Floral Pins
The rope twist updo is graceful and stays neat during active beach days. Create two rope twists from each side, bring them to the back, and pin into a low updo. Tuck small floral pins or faux buds into the twist for a seasonal accent. The look reads feminine and refined without being fussy, and it works well for both brunch and evening plans. Keep strands slightly undone to maintain a relaxed vibe that looks polished in photos without feeling overly styled.
Styling Tips
- Add light texturizing spray before twisting for grip and volume.
- Use discreet pins that match hair color for invisible hold.
- Place tiny floral pins asymmetrically for a natural, effortless accent.
Side Dutch Braids With Soft Curtain Face Framing
Side Dutch braids that tuck behind the ear create a sporty-chic look with gentle face framing. Braid close to the scalp along one or both sides, leaving curtain pieces free to soften the profile. Loosen the braids slightly for a relaxed finish and secure ends under a ponytail or leave them loose. This option keeps hair secure during windy excursions while adding a flirty touch for evening photos. It’s a versatile choice that pairs well with sunglasses and seaside attire for an effortless spring break mood.
Styling Tips
- Work with slightly damp hair for cleaner braid definition.
- Pull braid edges outward for a fuller, softer appearance.
- Tuck ends under or tie with a ribbon for a pretty finish.
Mermaid Twist Ponytail With Subtle Volume
The mermaid twist ponytail layers interest into a classic shape. Create a mid-height ponytail, then twist small sections from the top and sides into the pony, securing with pins or elastics as you go to build textured detail. Add subtle teasing at the crown for volume, and tousle the tail for soft movement. The result reads whimsical and beach-inspired, perfect for photo ops near tide pools or sunset spots. It elevates a ponytail without taking extra time and keeps hair manageable for active days.
Styling Tips
- Tease lightly at the crown for lift before twisting sections.
- Secure twists with small clear elastics for neat placement.
- Finish with a light mist of flexible-hold spray for lasting shape.
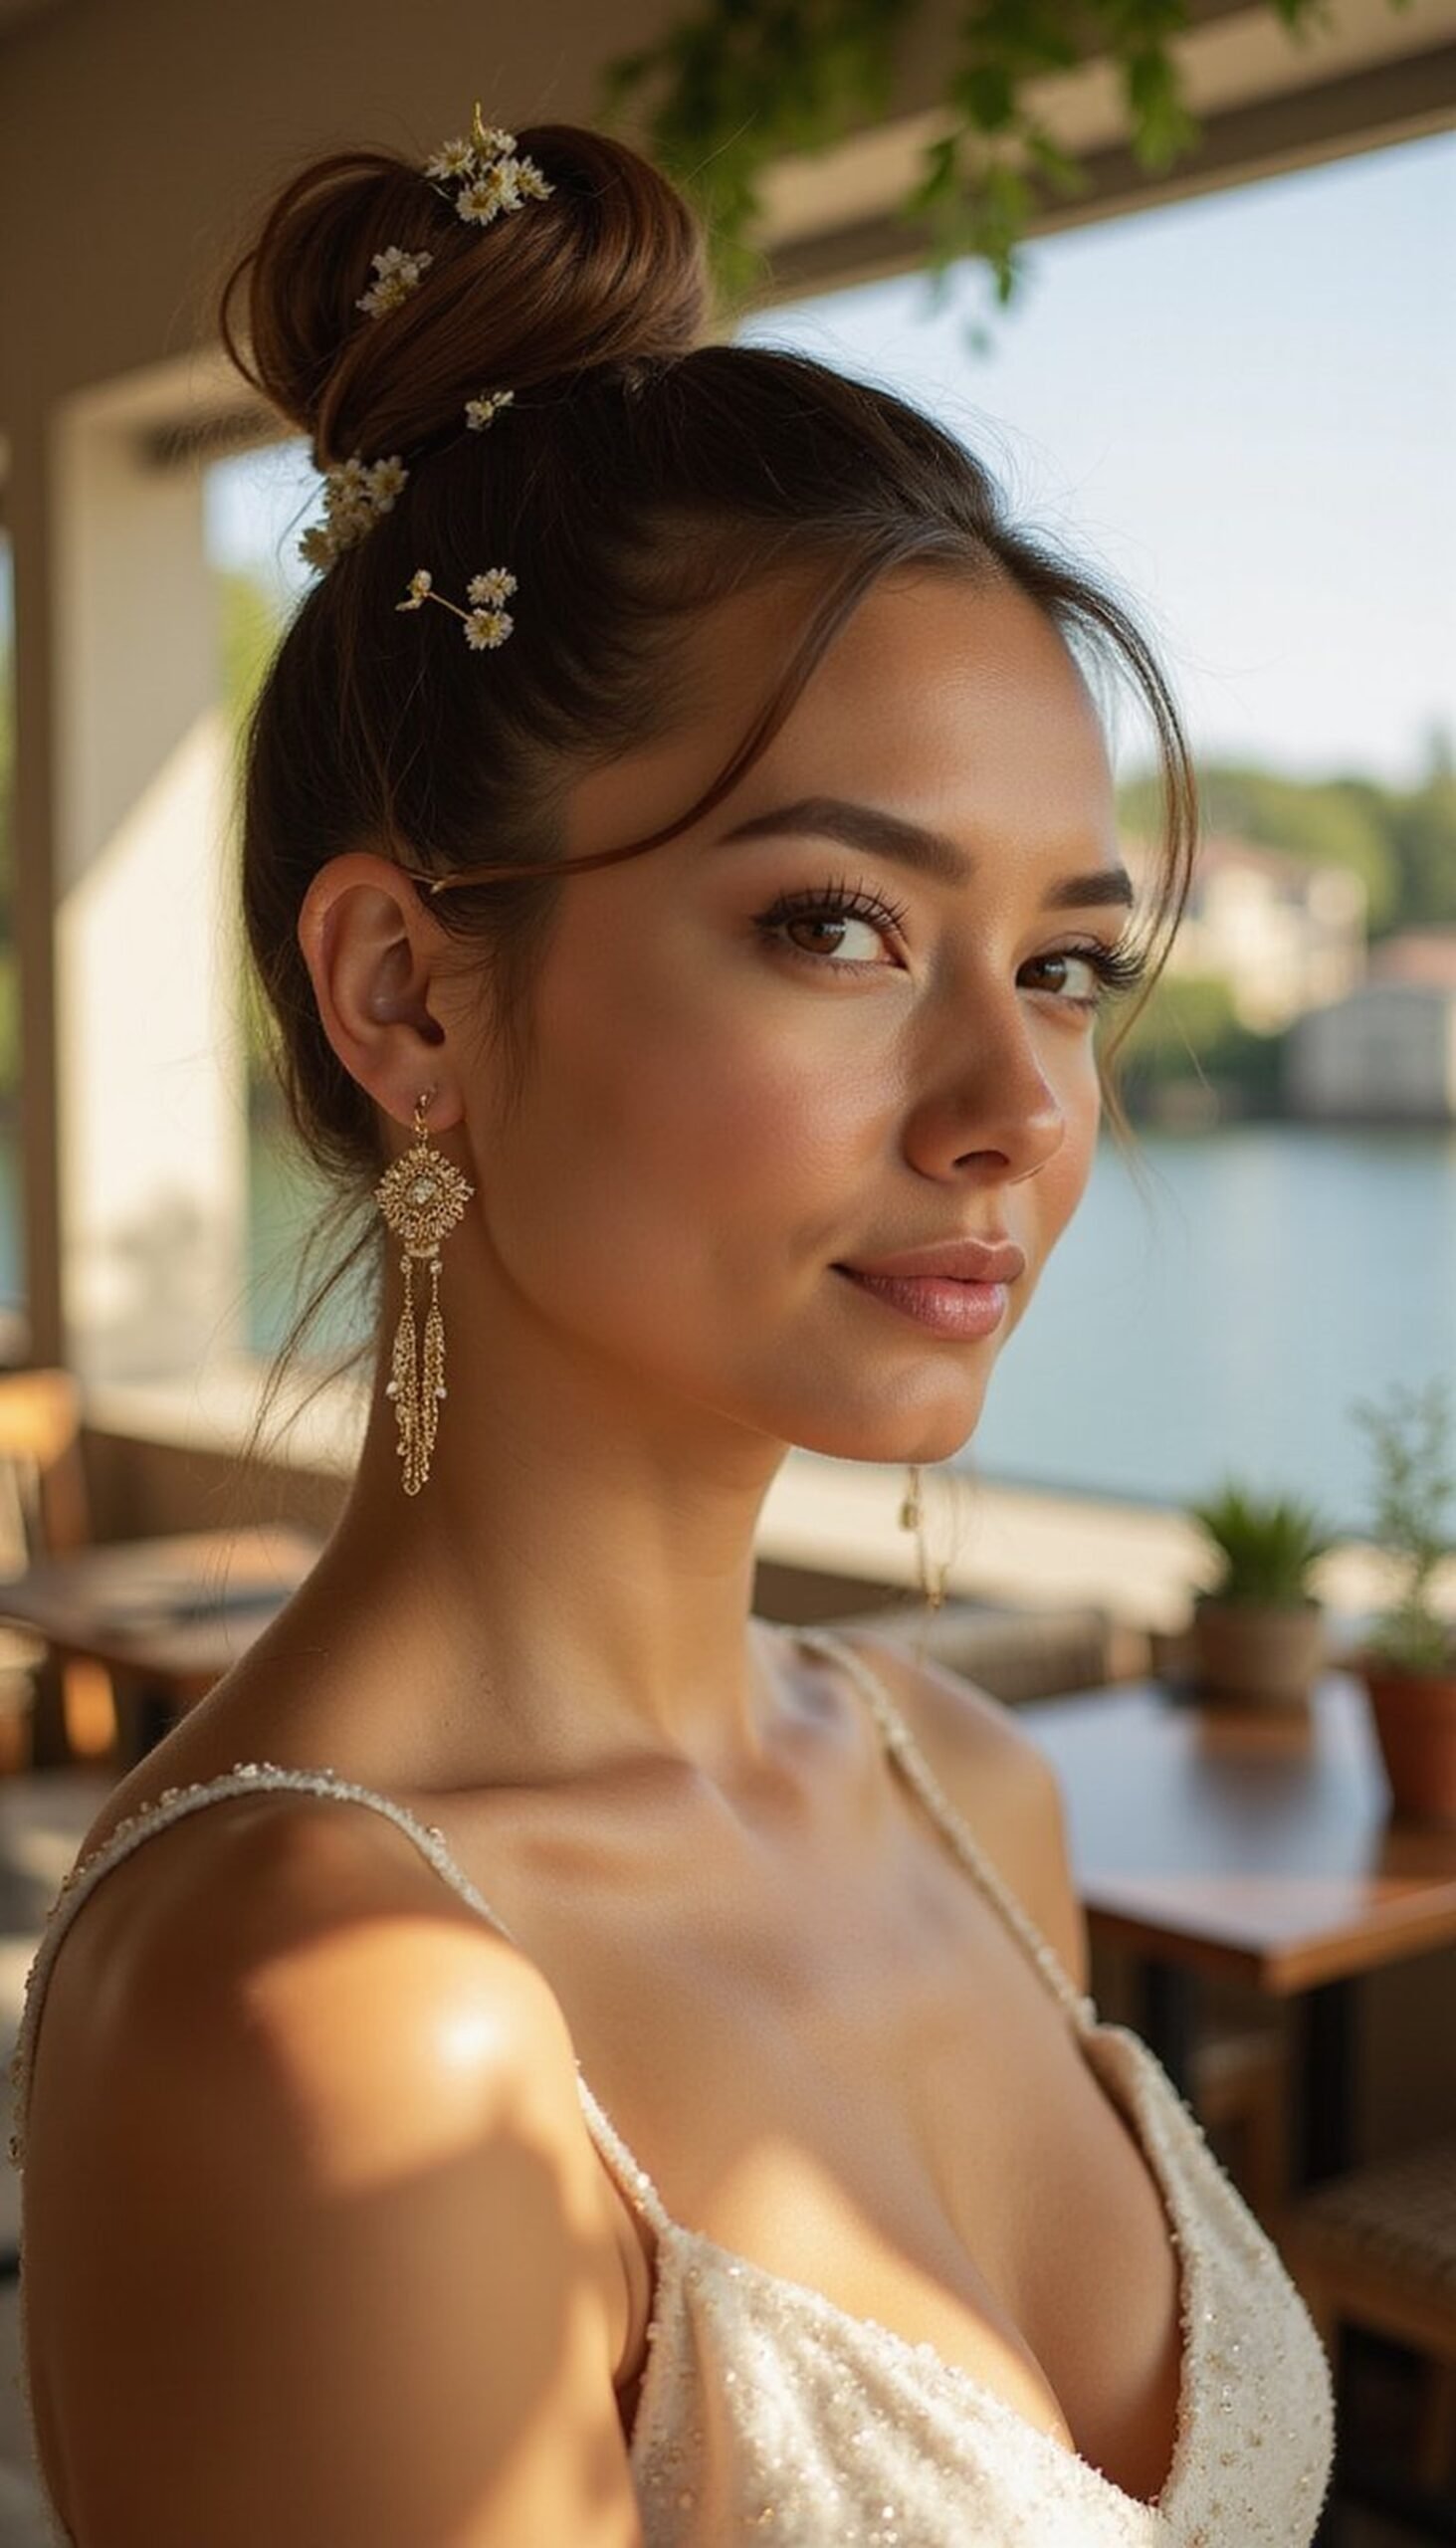
Polished Low Chignon Adorned With Tiny Flowers
The polished low chignon is timeless and romantic for a sunset dinner or photoshoot. Smooth hair back into a low bun, twist neatly, and secure with pins. Tuck in tiny fresh or faux flowers around the base for springtime charm. Keep a couple of wisps loose at the temples for softness. This look balances elegance with relaxed charm and stays comfortable through warm evenings. It’s an ideal option when a dressier vibe is wanted but convenience and long-lasting hold are still priorities.
Styling Tips
- Use smoothing balm sparingly to prevent frizz without weighing hair down.
- Pin flowers into the bun after securing the chignon for stability.
- Apply a soft-hold spray to keep wisps and petals in place gently.
Quick Sailor Braids For Active Beach Days

Sailor braids are sporty, neat, and perfect for days full of activity. Create two tight braids starting at the hairline and braid down to the ends, securing with elastics. Keep them close to the head to prevent tangling and to protect hair from wind and water. These braids dry quickly and stay comfortable under hats or helmets, making them ideal for paddleboarding or bike rides. They also look strong and stylish in action shots, showing off a tidy, adventurous silhouette.
Styling Tips
- Apply a small amount of cream or gel to smooth edges and reduce frizz.
- Braid firmly but not so tight that the scalp feels sore.
- Use matching elastics to keep the look streamlined and neat.
Pinned Curtain Bangs For Windy Boardwalk Mornings
Pinned curtain bangs offer a quick fix when wind threatens a perfect shot. Sweep the bangs off the face and secure with a few decorative bobby pins or clips, creating a soft side part. Let the rest of the hair fall naturally or add loose waves for texture. This trick keeps the face unobstructed for photos and is easy to refresh throughout the day. It’s a discreet way to style growing bangs or to tame pieces that want to blow forward in gusty seaside conditions.
Styling Tips
- Use clipped pins that coordinate with accessories for a cohesive look.
- Sweep bangs slightly to the side before pinning for a natural curve.
- Touch up with lightweight hairspray to keep pins secure in breeze.
Half-Up Twisted Knot With Beachy Texture
The half-up twisted knot is a simple way to lift hair off the face while keeping the rest flowing. Take two side sections, twist them toward the back, and tie into a small knot, securing with pins. Add a texturizing spray to create that lived-in, sun-washed finish. This style is low-effort but looks intentionally styled in photos and works well with hats or headbands. It keeps hair comfortable for all-day wear and provides a flattering frame for neckline and shoulders in pictures.
Styling Tips
- Create loose twists rather than tight ones for a soft effect.
- Secure the knot with discreet pins tucked underneath for neatness.
- Finish with a spritz of texturizer for grip and beachy separation.
Mini Fishtail Crowns Around The Hairline
Mini fishtail crowns are delicate and flattering, framing the face with artisanal detail. Create small fishtail braids on each temple and pin them across the hairline like tiny crowns. Pull at the braids gently to fan them out for volume and soften the effect with a few loose strands. This look reads whimsical and keeps hair tidy while adding handmade charm to any outfit. It’s fantastic for photo moments when a subtle, crafted hair detail elevates the overall look without extra bulk.
Styling Tips
- Work with slightly textured hair for easier fishtail braiding.
- Secure ends under the crown with tiny clear elastics and pins.
- Loosen braid edges for a fuller, softer crown effect.